by Marie | Jan 9, 2017 | Hawaii, Travel

There are a couple of ideas floating around that you need to be mindful of before starting your search for the cheapest way to get to Hawaii or anywhere else.
1. Those friends who tell you that you have to keep checking 10 different flight search engines, making sure that your web browser is set to incognito are using the least efficient way of searching.
2. Blogs that tell you to wake up at 3 am because that’s when prices mysteriously drop, makes no sense. What happens in other time zones? Do we all wake up at 3 am in sequential order? Of course not!
3. Forget the travel agents and the budget airlines, cheap flights come around more often than you think and finding them is as easy as the app Hopper!
Here’s my experience using Hopper to find the cheapest way to get to Hawaii!
When my friends all started booking their reading week trips to Cuba and Punta Cana I decided that I wanted to go somewhere different. Instead of throwing $1400 into a classic grad trip of binge drinking and sunburns I was going to throw that money at a crazy adventure. On the hunt for the cheapest travel costs for the greatest travel reward, I cruised the app store for some help. I passed on Tripadvisor and Expedia, only because my gut told me I needed to look for an alternative to the big companies. Hopper had the most user-friendly interface and kept things simple. I plugged in my dates and the price came out to around $650. The app told me to book now because prices wouldn’t drop anymore. Hopper recommended I change my dates to two weeks earlier which knocked $200 off! I frantically emailed my professors about assignments during those dates and received the all clear. I called up a friend and we booked it that night.
But get this, my friend booked his ticket seconds before me and got his round-trip ticket from Toronto, Ontario to Honolulu, HI for only $423 taxes in! Not only was it cheap but it was a direct flight with Air Canada. A double win. I had the unfortunate luck of getting my trip for $523 because the price went up in the few seconds my ticket was being processed. Nonetheless, still a steal.
Using Hopper

- Get your phone and download the app. Hopper calculates optimal times to book flights at their cheapest and it’s pretty spot on. If you use it well, it will change your life.
- Choose the Cheapest Airport. Think about a place you want to go in the next 4-6 months and choose your start and end airports.
-
Choose the Cheapest Date. Hopper will show you exactly what dates are the cheapest which is why flexibility is important.
-
Click start watching your trip. Now you can forget about the trip because Hopper does the work for you. You will be notified when the price of your flight drops to the lowest possible amount for the criteria you chose.
-
Book at the optimal time! I call it literal magic.
Did you find a good deal on a flight through Hopper? Let me know!
by Marie | Dec 5, 2016 | Alberta, Travel
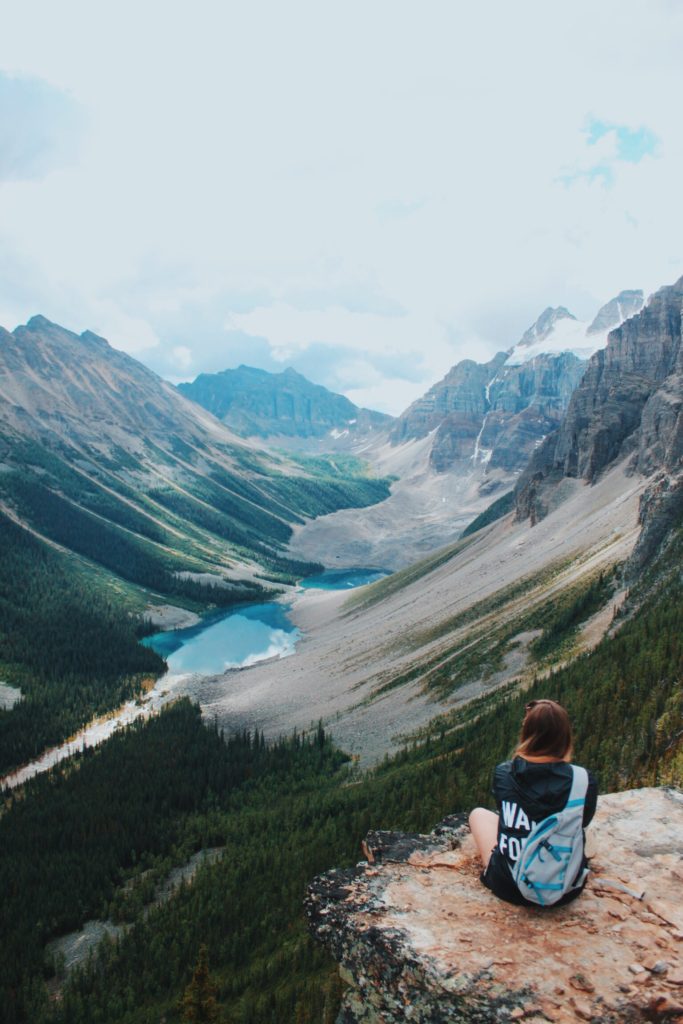
Tower of Babel is my favourite hike in the world! If you are physically able then you need to do it.
Taking the back trail away from Moraine lake towards consolation lakes you will hit the path that leads over rock boulders. There is no signage so these instructions are probably the only thing you can base your route off of. With your backs to Moraine Lake, you should be staring at the cliffs ahead. Out to the left, you will see the cliff which is the Tower of Babel. Just to the right of the Tower is the general direction you want to head in, it is a valley in between cliffs. The route begins by maneuvering over large boulders, bring good shoes! I recommend sticking to the cliff on the right as the rocks are bigger and it will be easier when you can hold on to the rock on the right.
After the big rocks you will hit little rocks and then scree. Sideways stepping (if you don’t have poles) is the easiest way to go up and down. STAY TO THE RIGHT. I cannot say this enough. After 1.25 hours you’ll most likely get to do a short free climb up on to the cliffs or you can find your own way (there is no ‘right’ way) which is all the fun. When you are almost at the top you will see a narrow passage to the left, which will be tempting because it is straight. However, the rocks are so loose your effort will be futile. Once you get up the cliff just take your own route off to the left and you will see a huge flat area with lookouts on all sides.
I don’t know if this is still there, but someone set up rocks on top of the cliff that resembles a living room set up (equipped with a TV, a couch, and a fire pit).
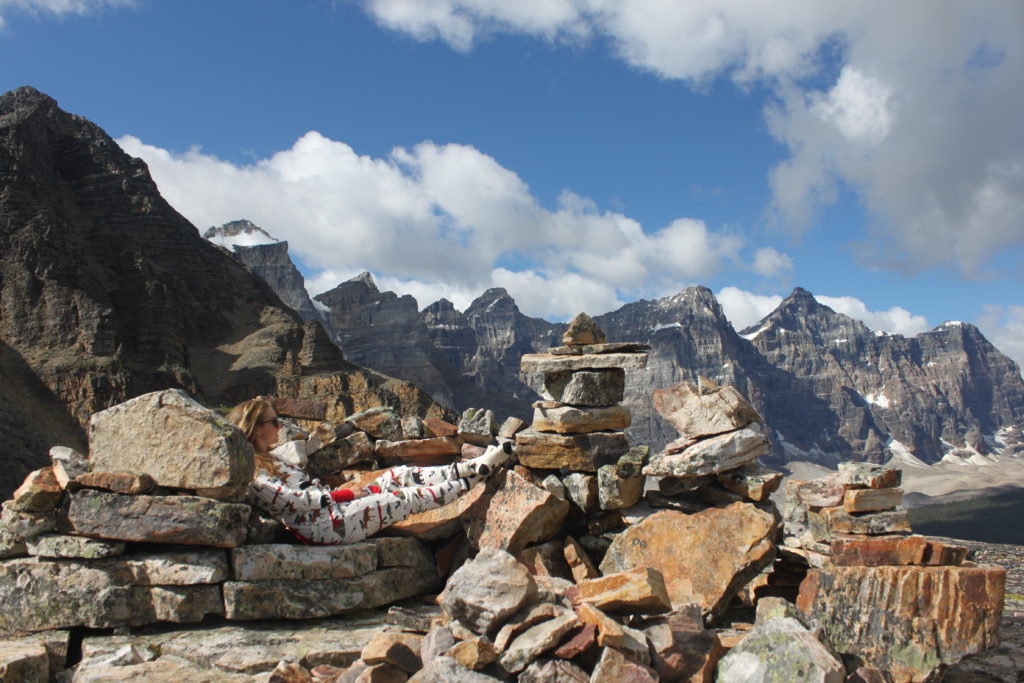
*Many people recommend using hiking poles and wearing helmets because this is a moderately dangerous hike if you are not aware of your surroundings.
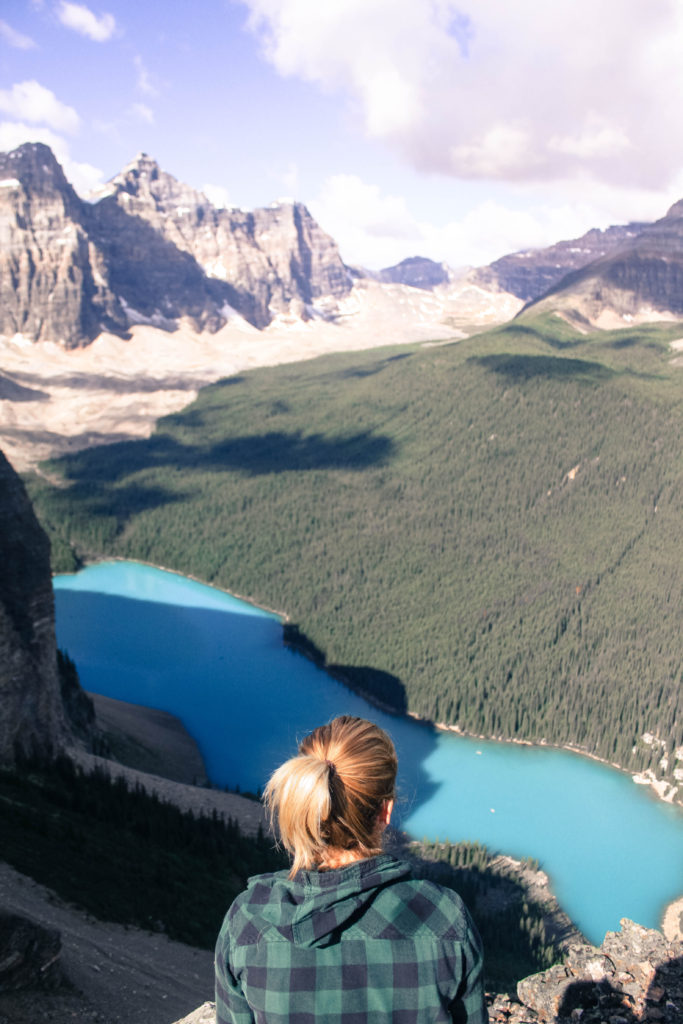
Location: Start at the Moraine Lake parking lot, then take the beginning of the trail to Consolation Lakes. If you pass through large boulders and enter into a forest again you have gone too far!
Round Trip Time: 3 hours (if you don’t stay for very long at the top) I recommend bringing food and hanging out for a while
Difficulty: Hard
Effort: 4.5/5
View: 5/5
For more inspiration and more photos from Banff, follow me on insta! @mariescholz
signed, sealed, delivered,
Marie
by Marie | Aug 17, 2016 | Alberta, Travel
So you’re thinking about heading to Banff are you? The first place that should be on your list is Moraine Lake, but it’s crazy. Tour busses roll in by the tens every hour of the day starting at 9am and don’t stop until the early evening. This dilemma has lead me to seek alternatives to your classic 10 peak shot starting with Consolation Lakes Hike. This is a pretty popular hike since it is the most
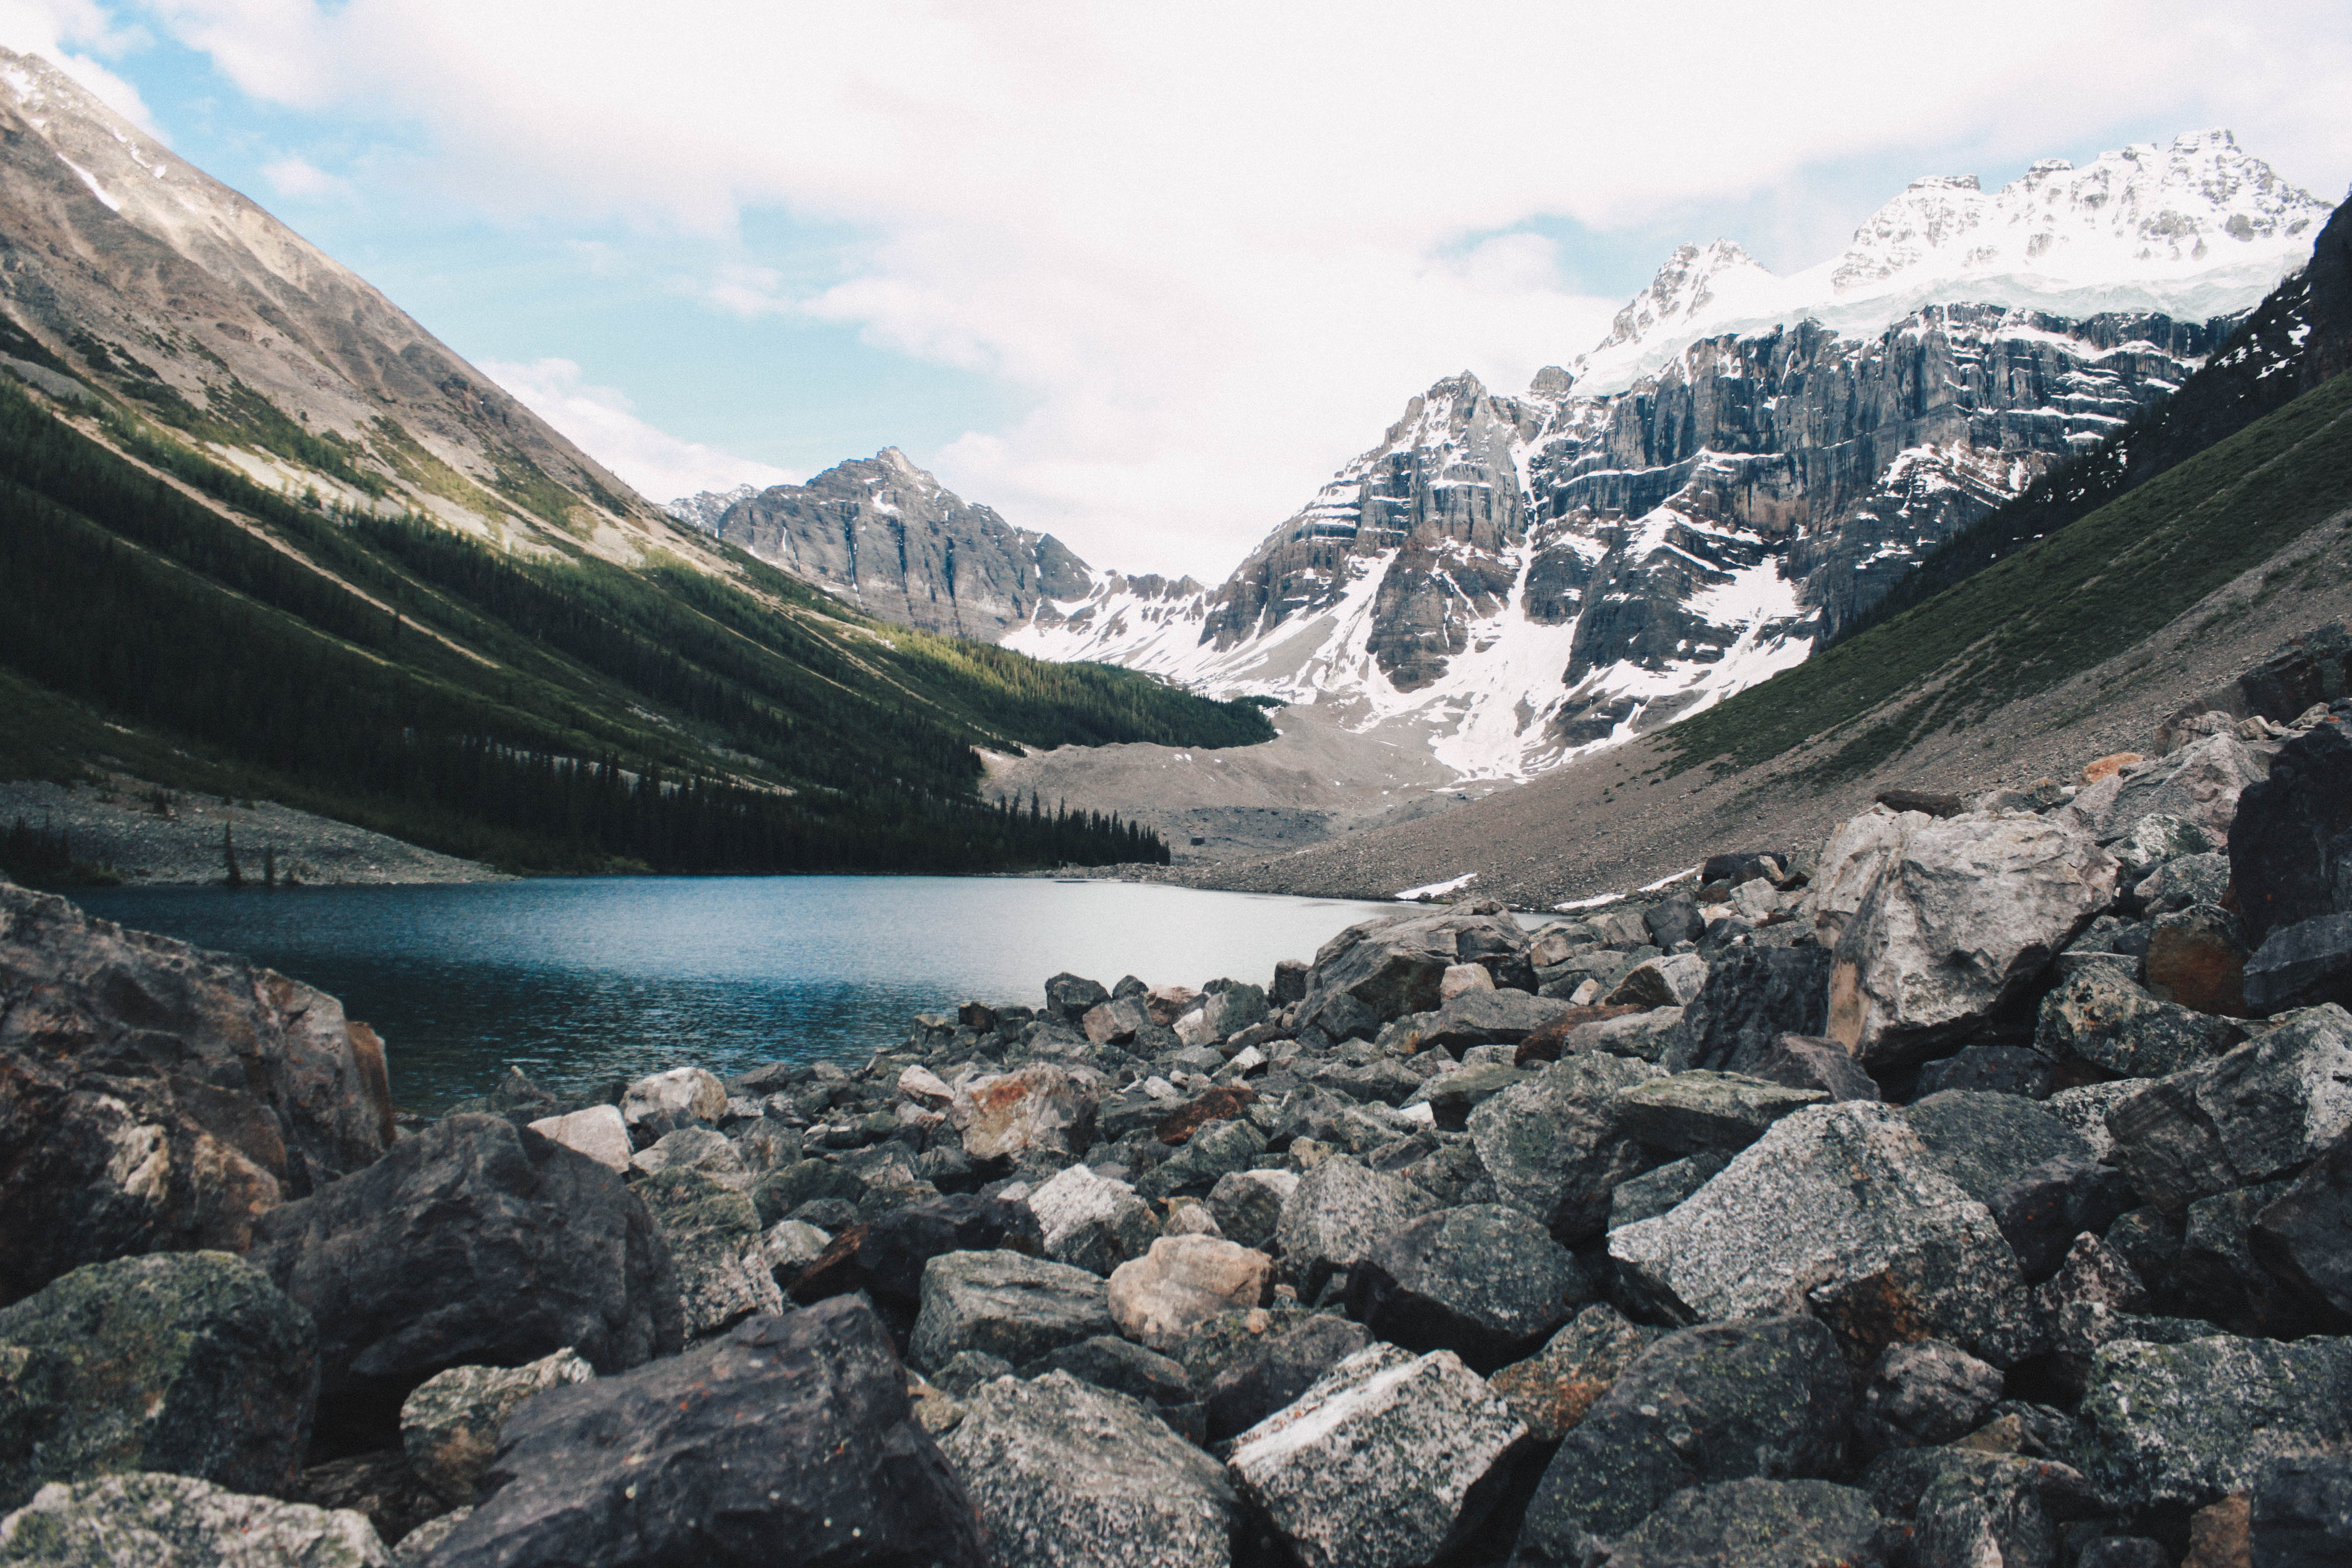
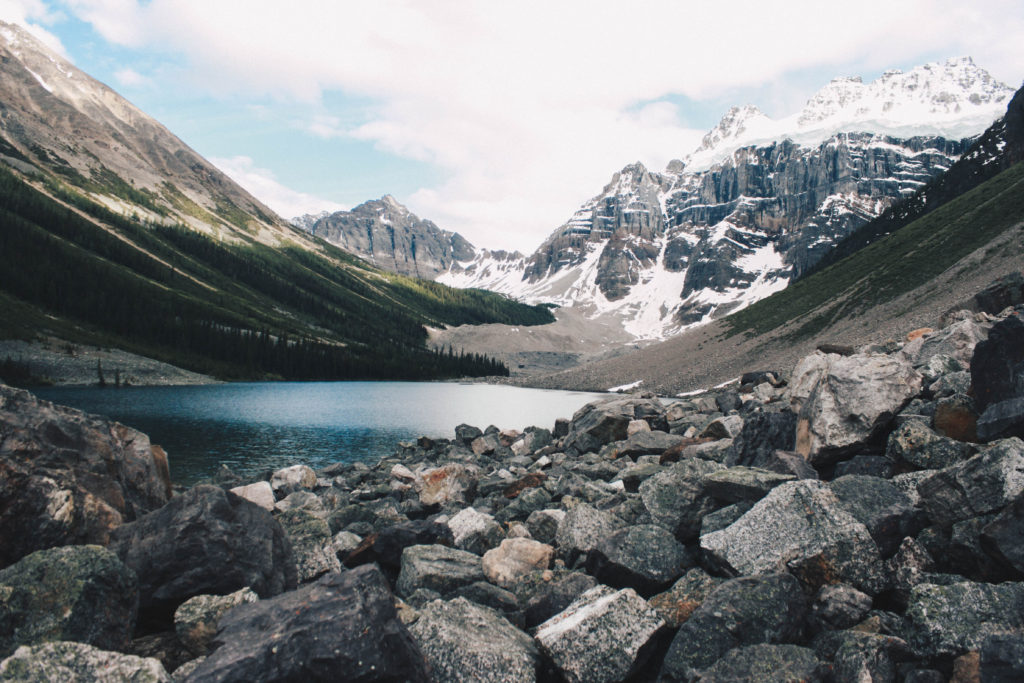
This is a pretty popular hike since it is the most well-marked trail around Moraine Lake and Moraine Lake is always packed. Arrive early! By early I mean before 8 am to score yourself a nice parking spot. For the duration of this hike, you will be walking over fairly flat terrain in a wooded area blocking your views until the trail opens up to two joining lakes that sparkle even when the sun doesn’t shine. There are MANY rocks and boulders which you can climb over to get a great view of these hidden lakes.
Location: 45 min from Banff. Take a left off the main road towards Lake Louise. The trailhead is at Moraine Lake, hard to miss it.
Roundtrip Time: 1.5 hours, 6 km
Effort: 2/5
View: 3/5
I usually judge my hikes based on effort:view but I’ve added photos for you to see for yourself.


If you have any questions let me know!
signed, sealed, delivered,
Marie

