by Marie | May 17, 2022 | Alberta, Couples, Engagements, Travel
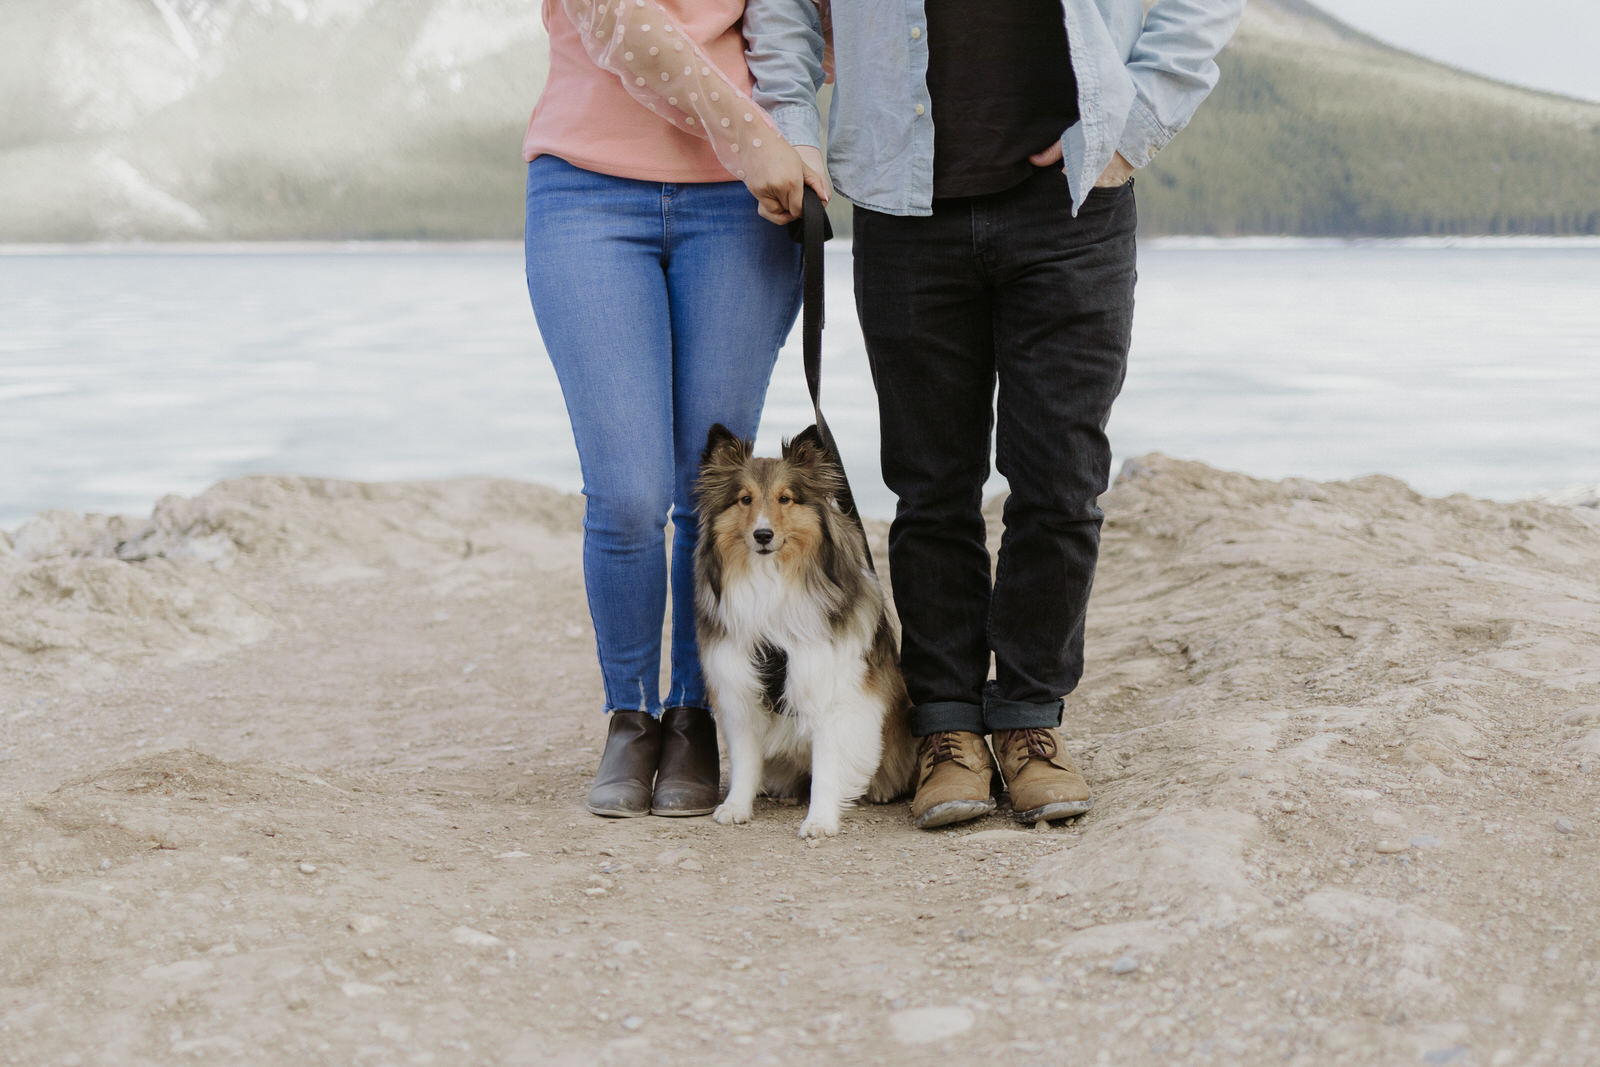
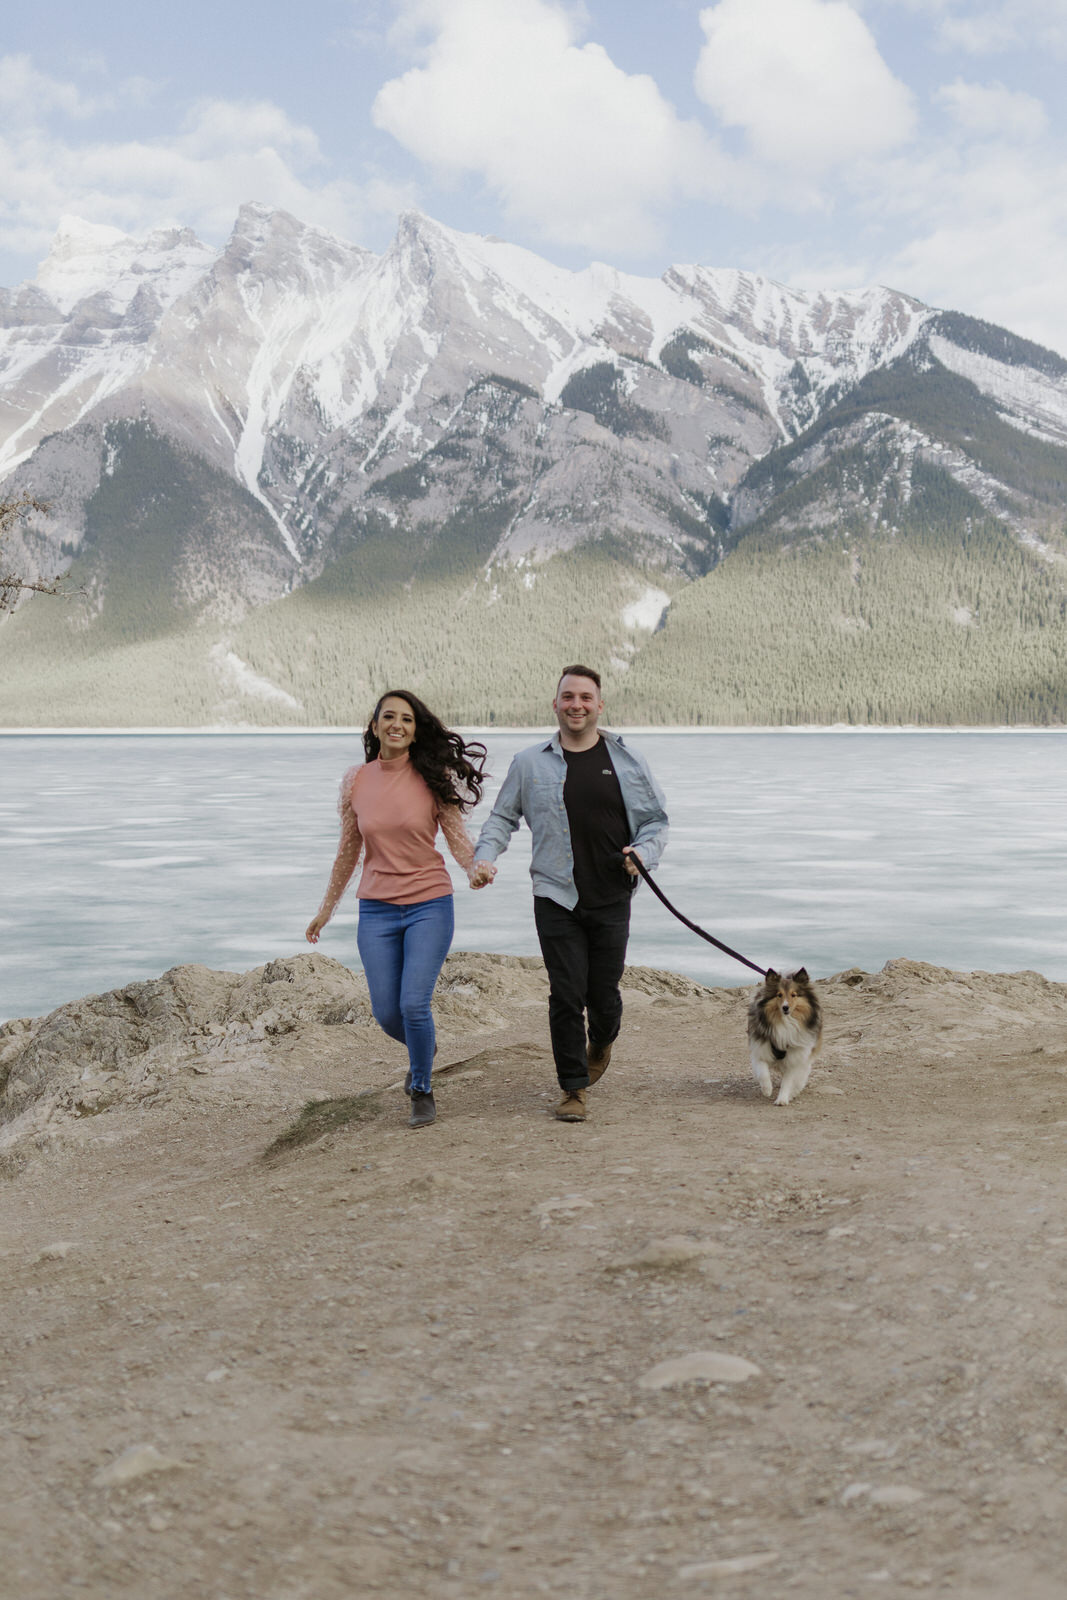
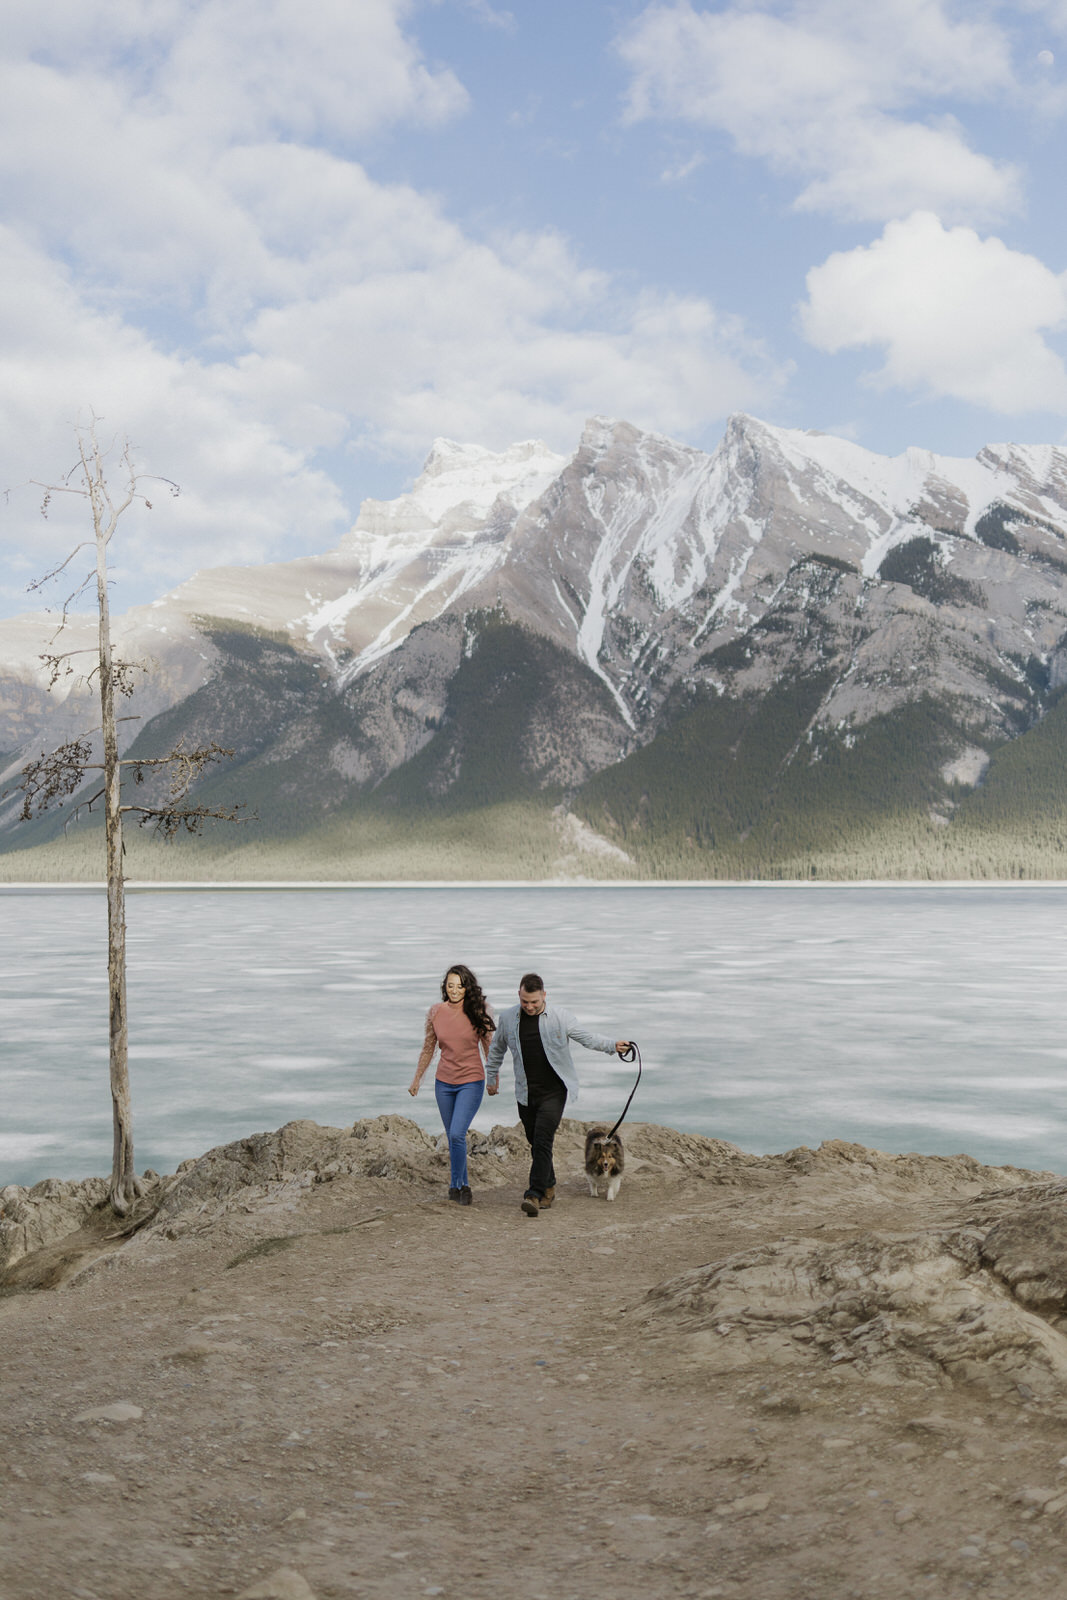
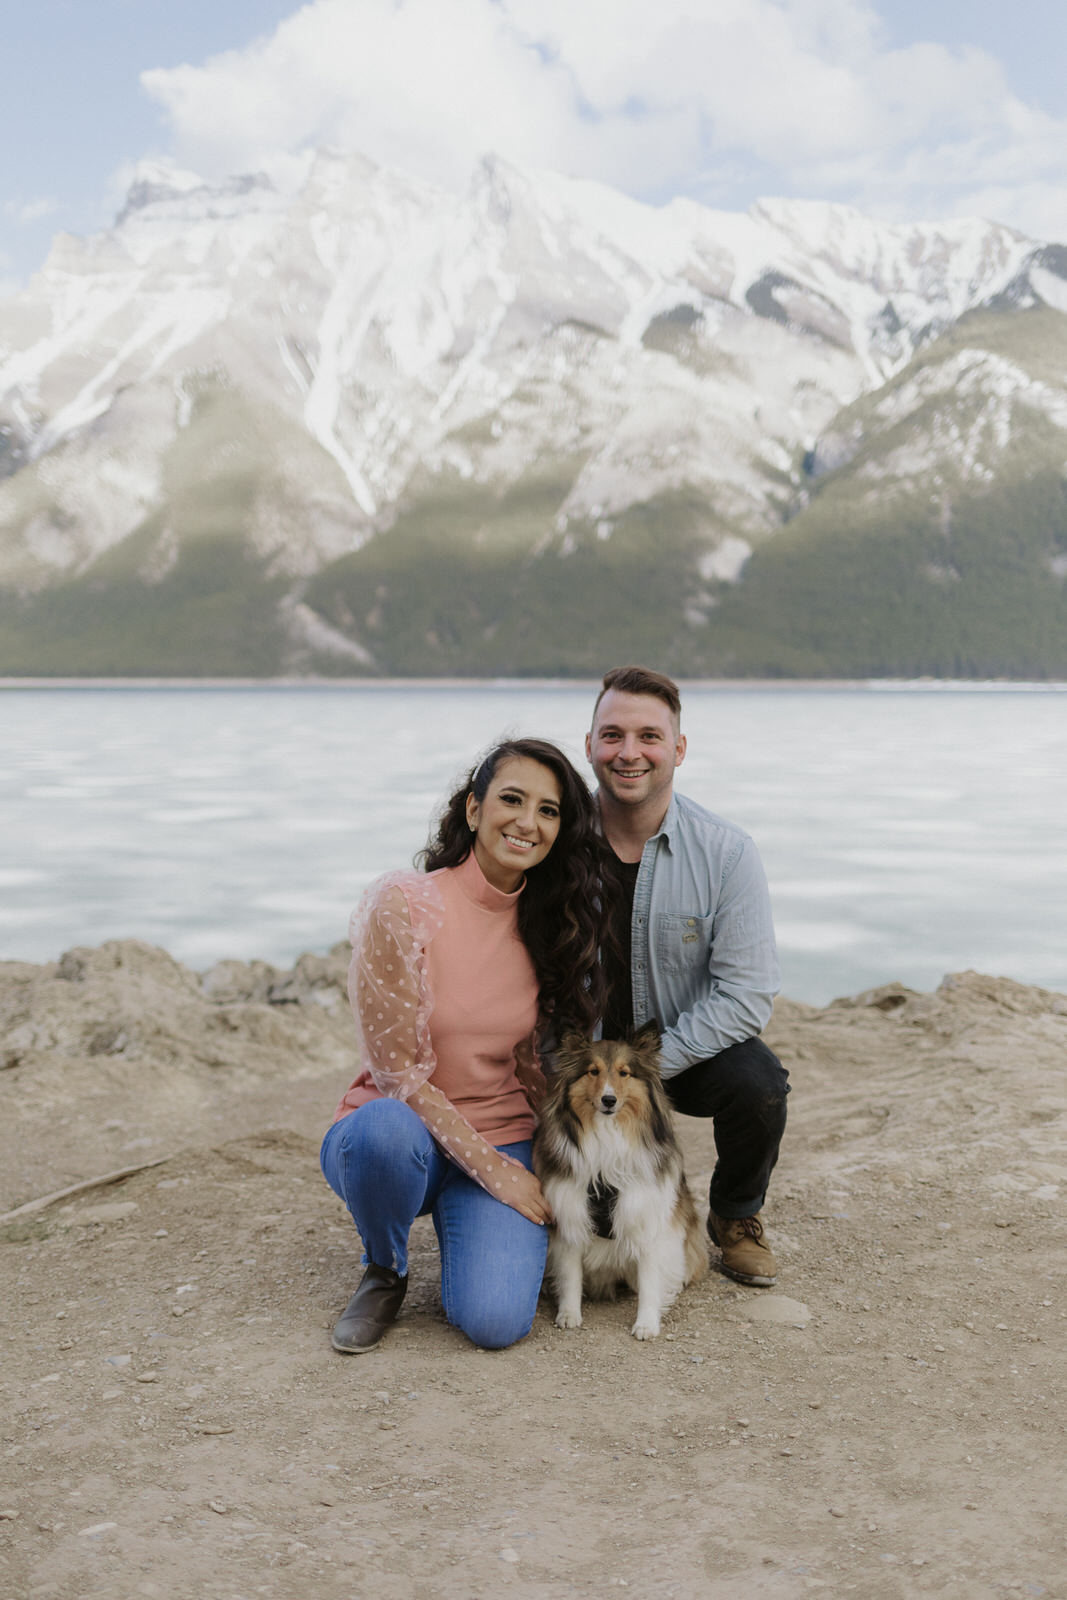
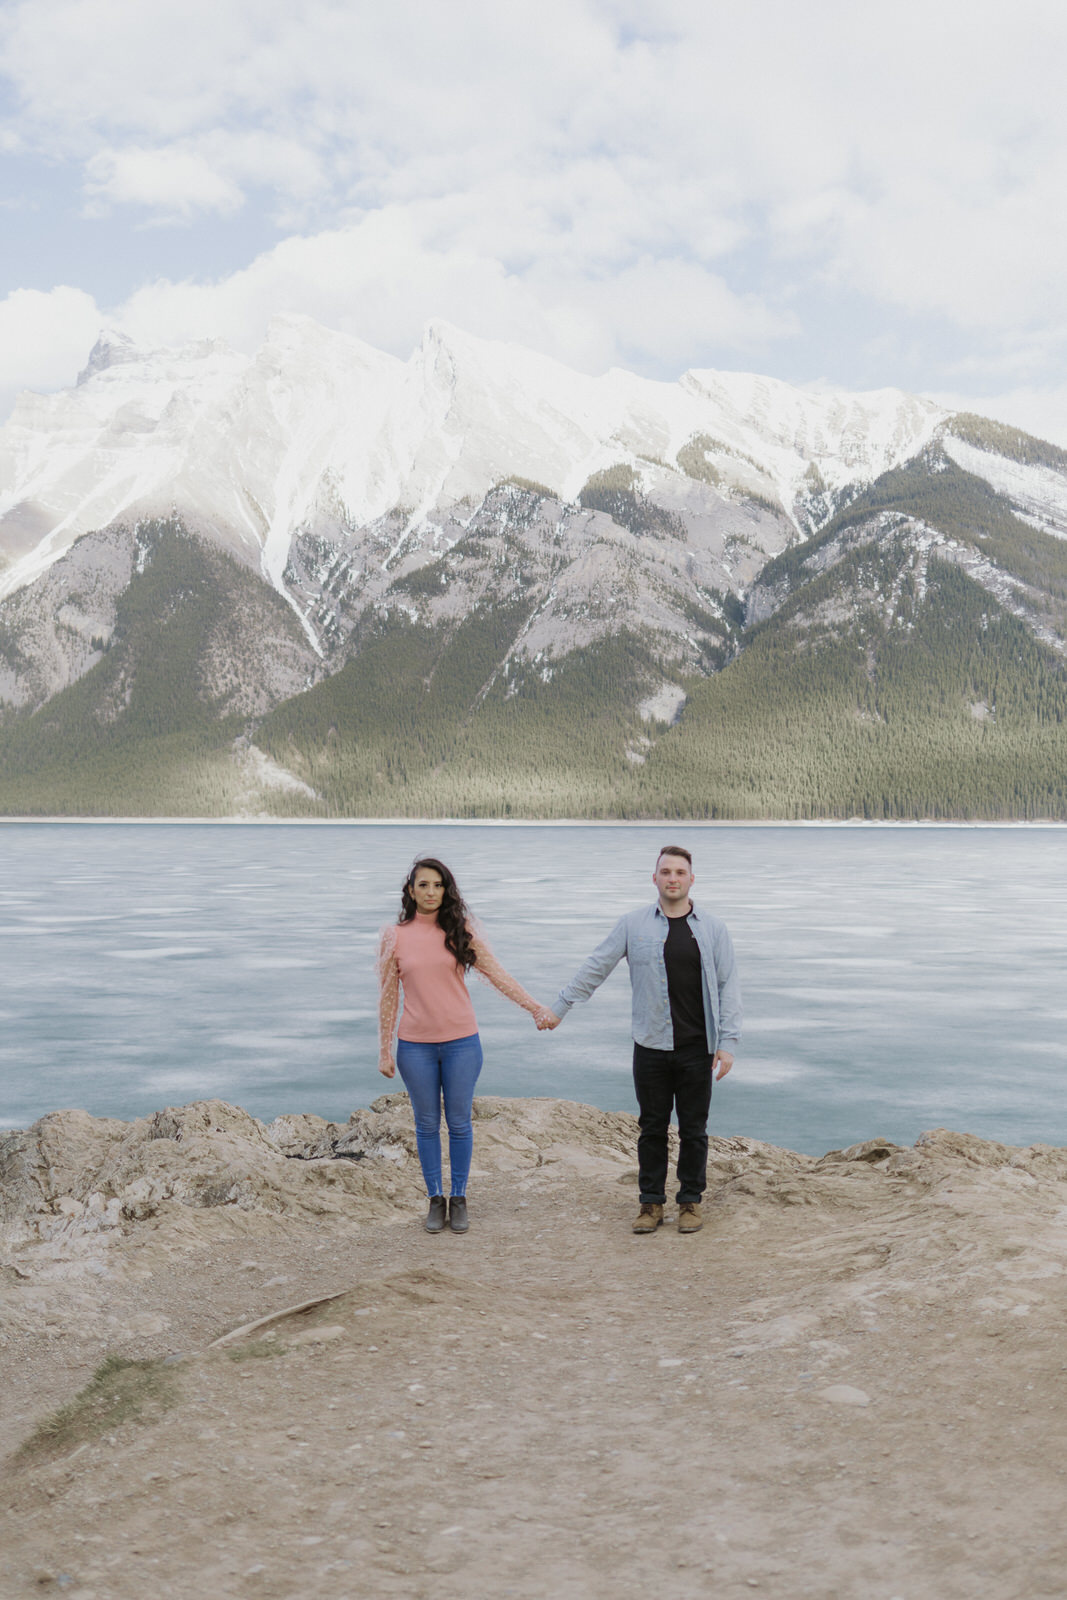
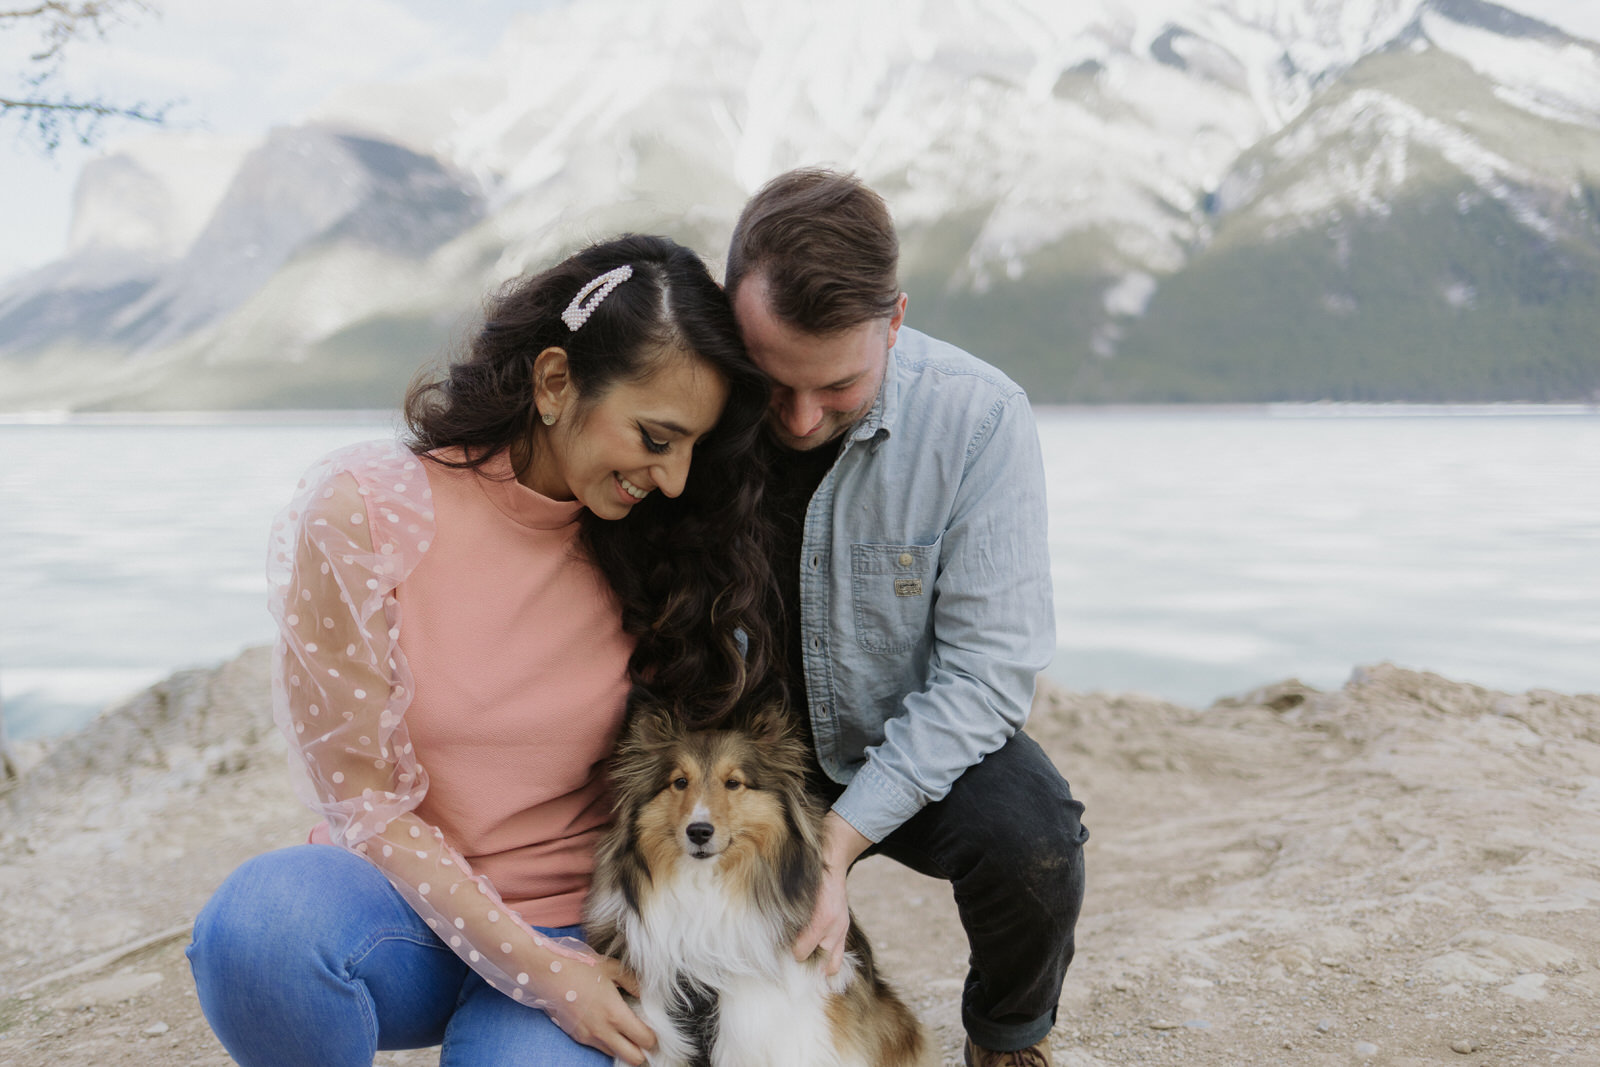
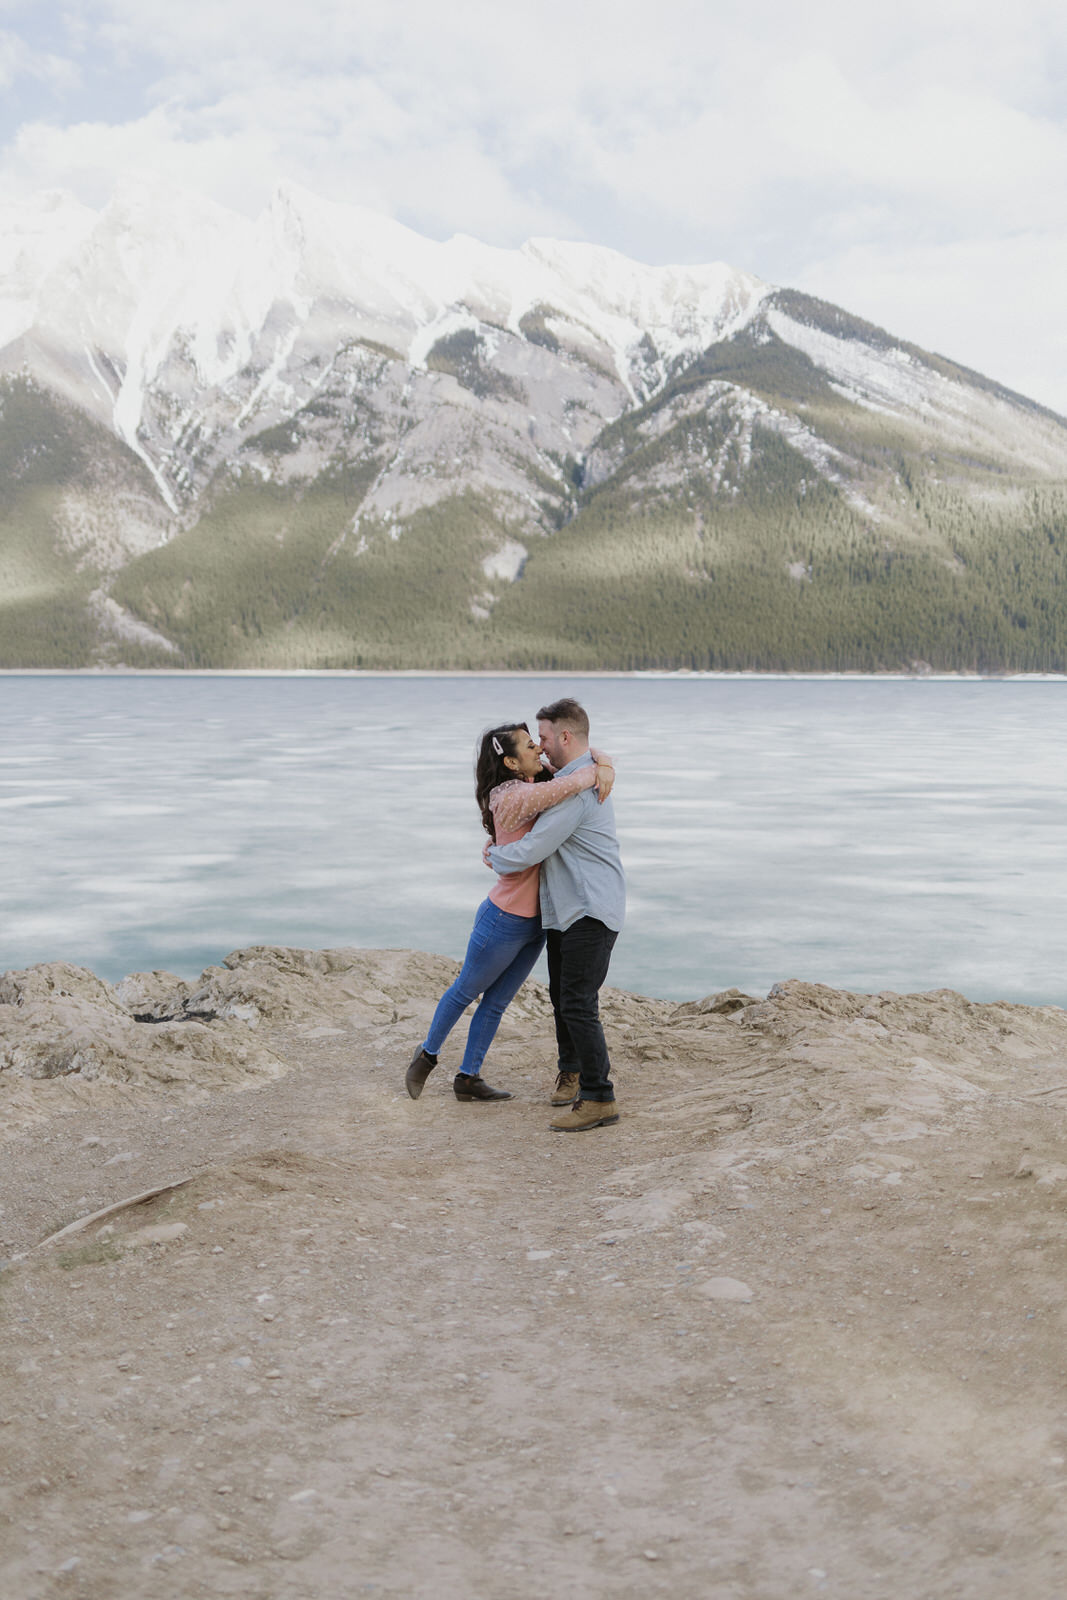
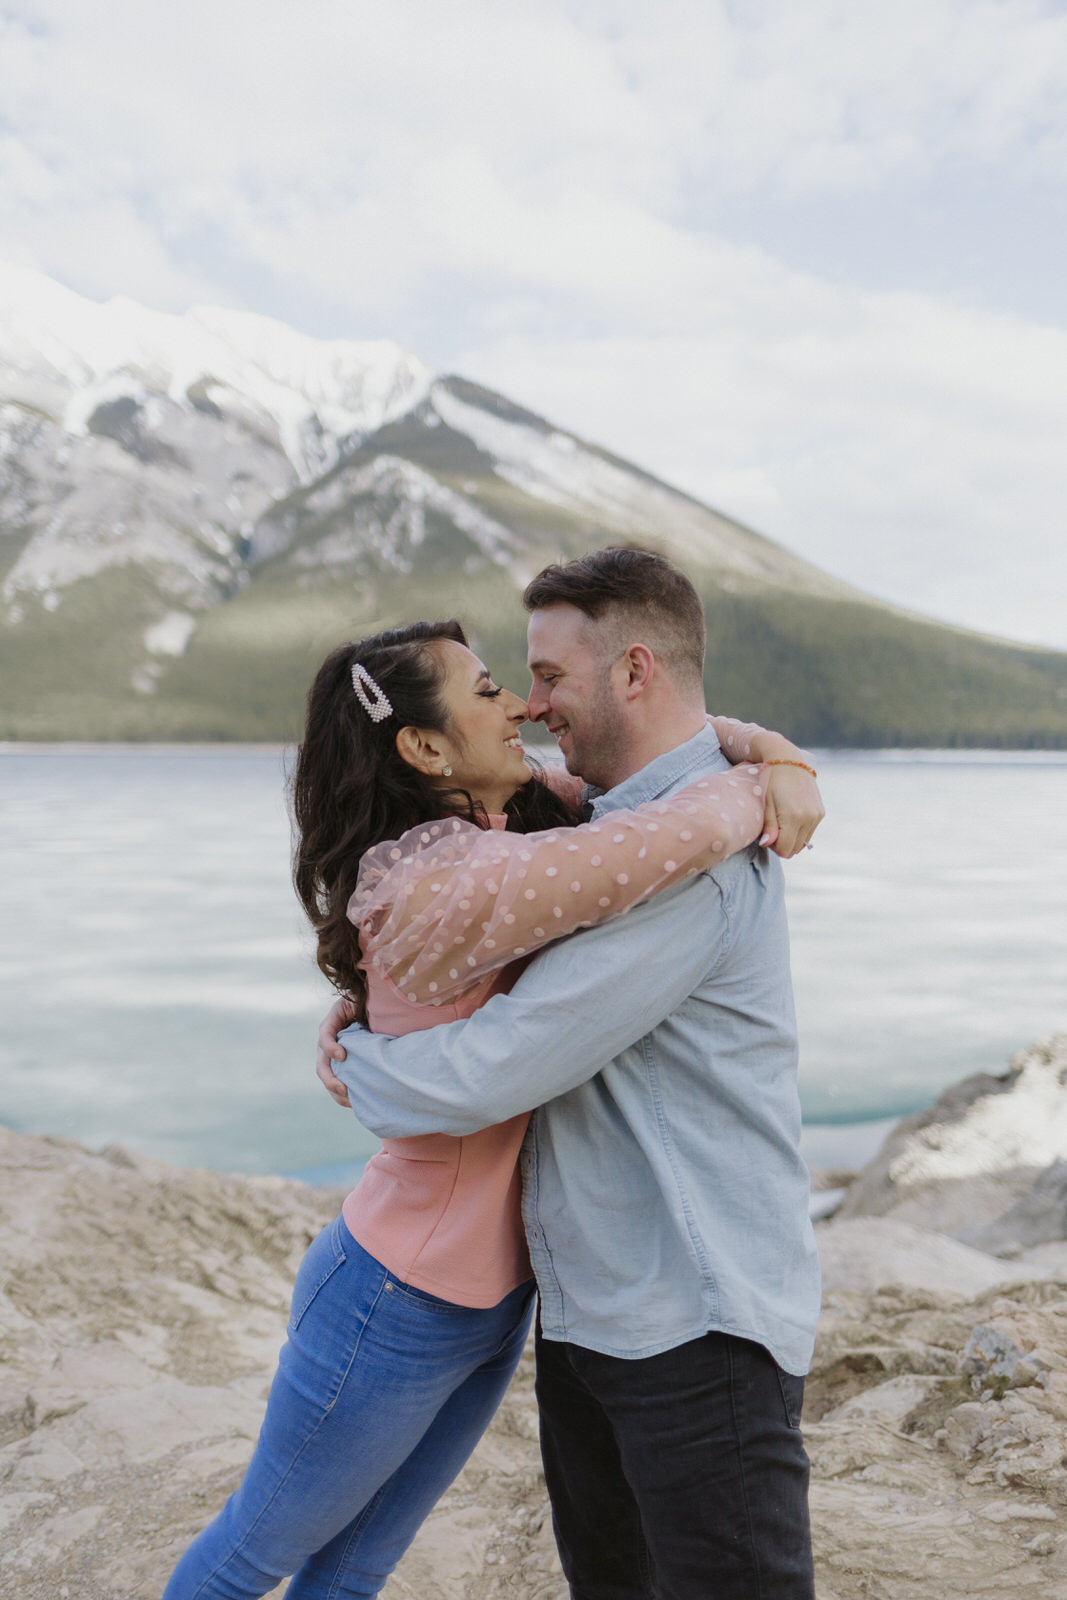
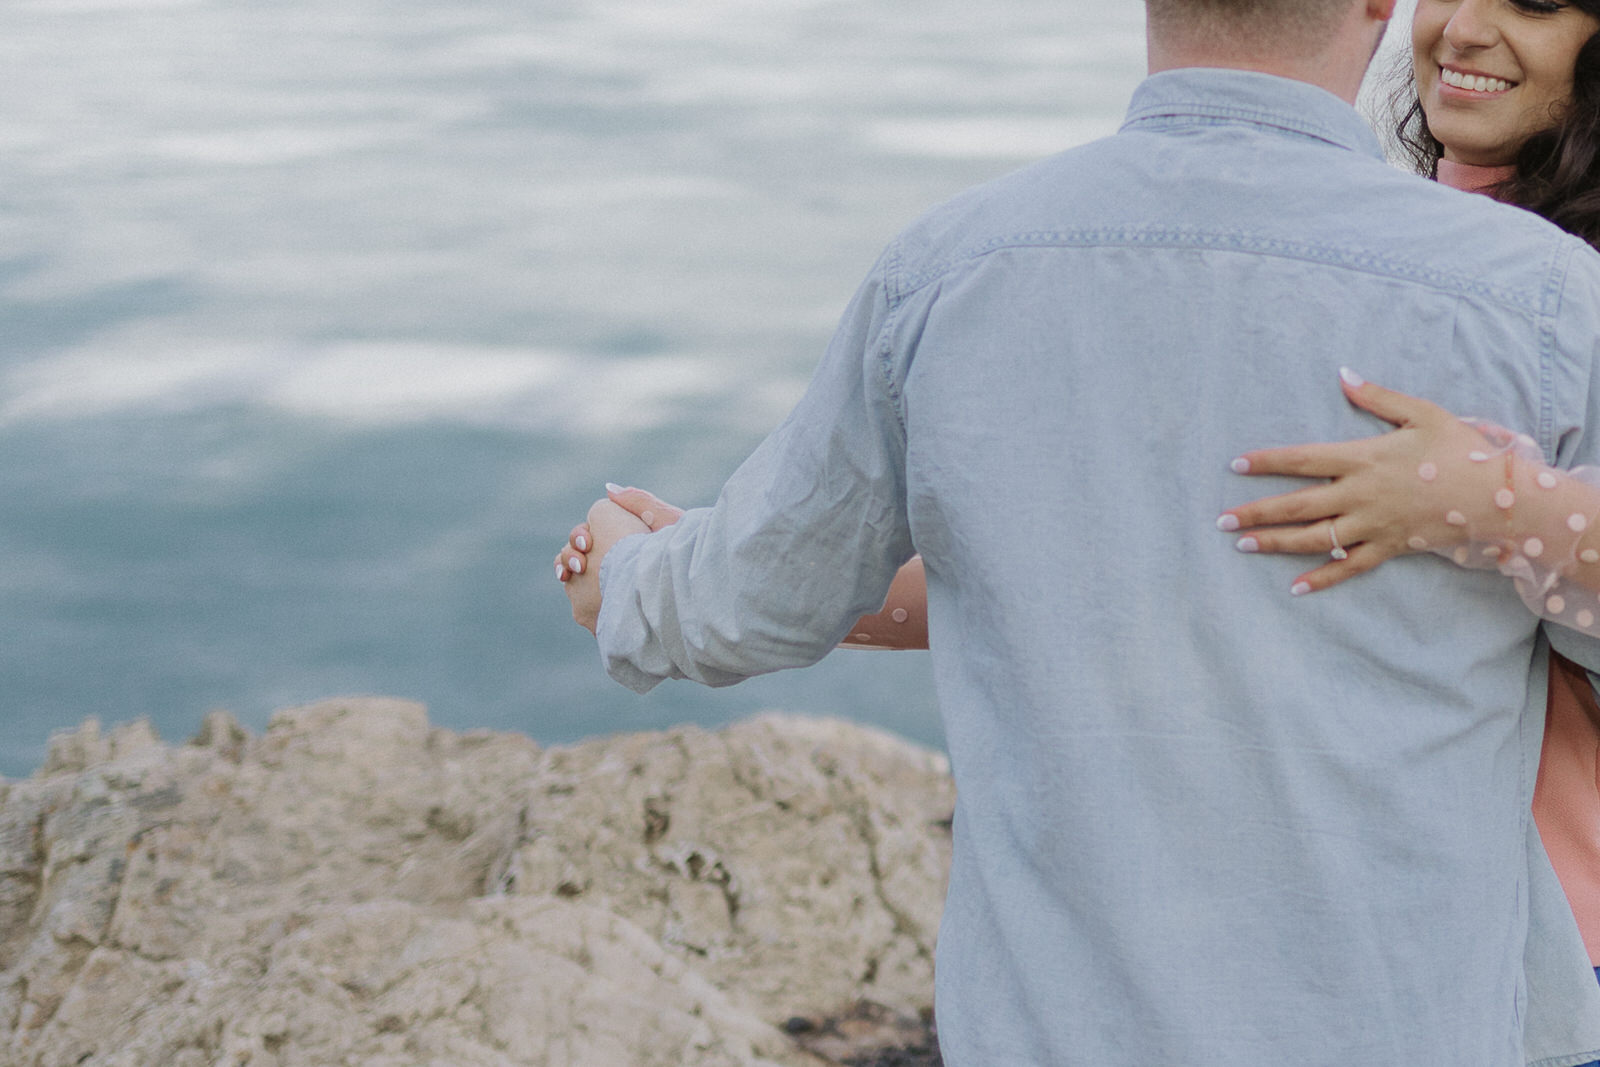
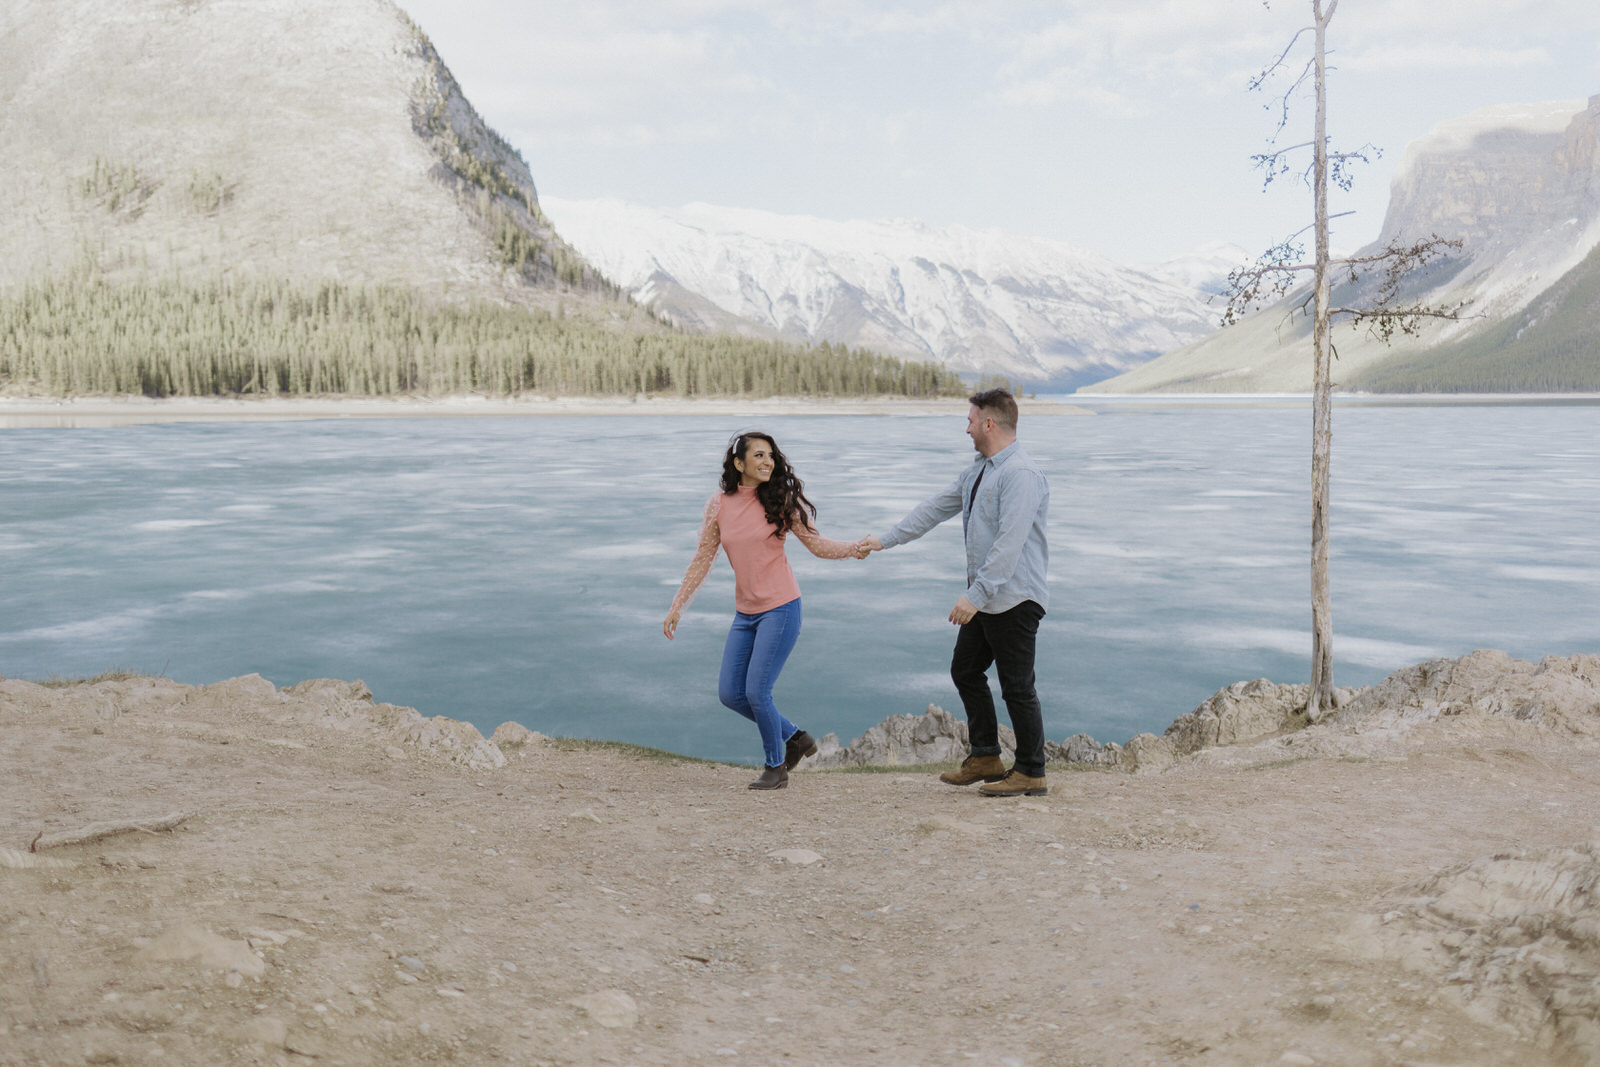
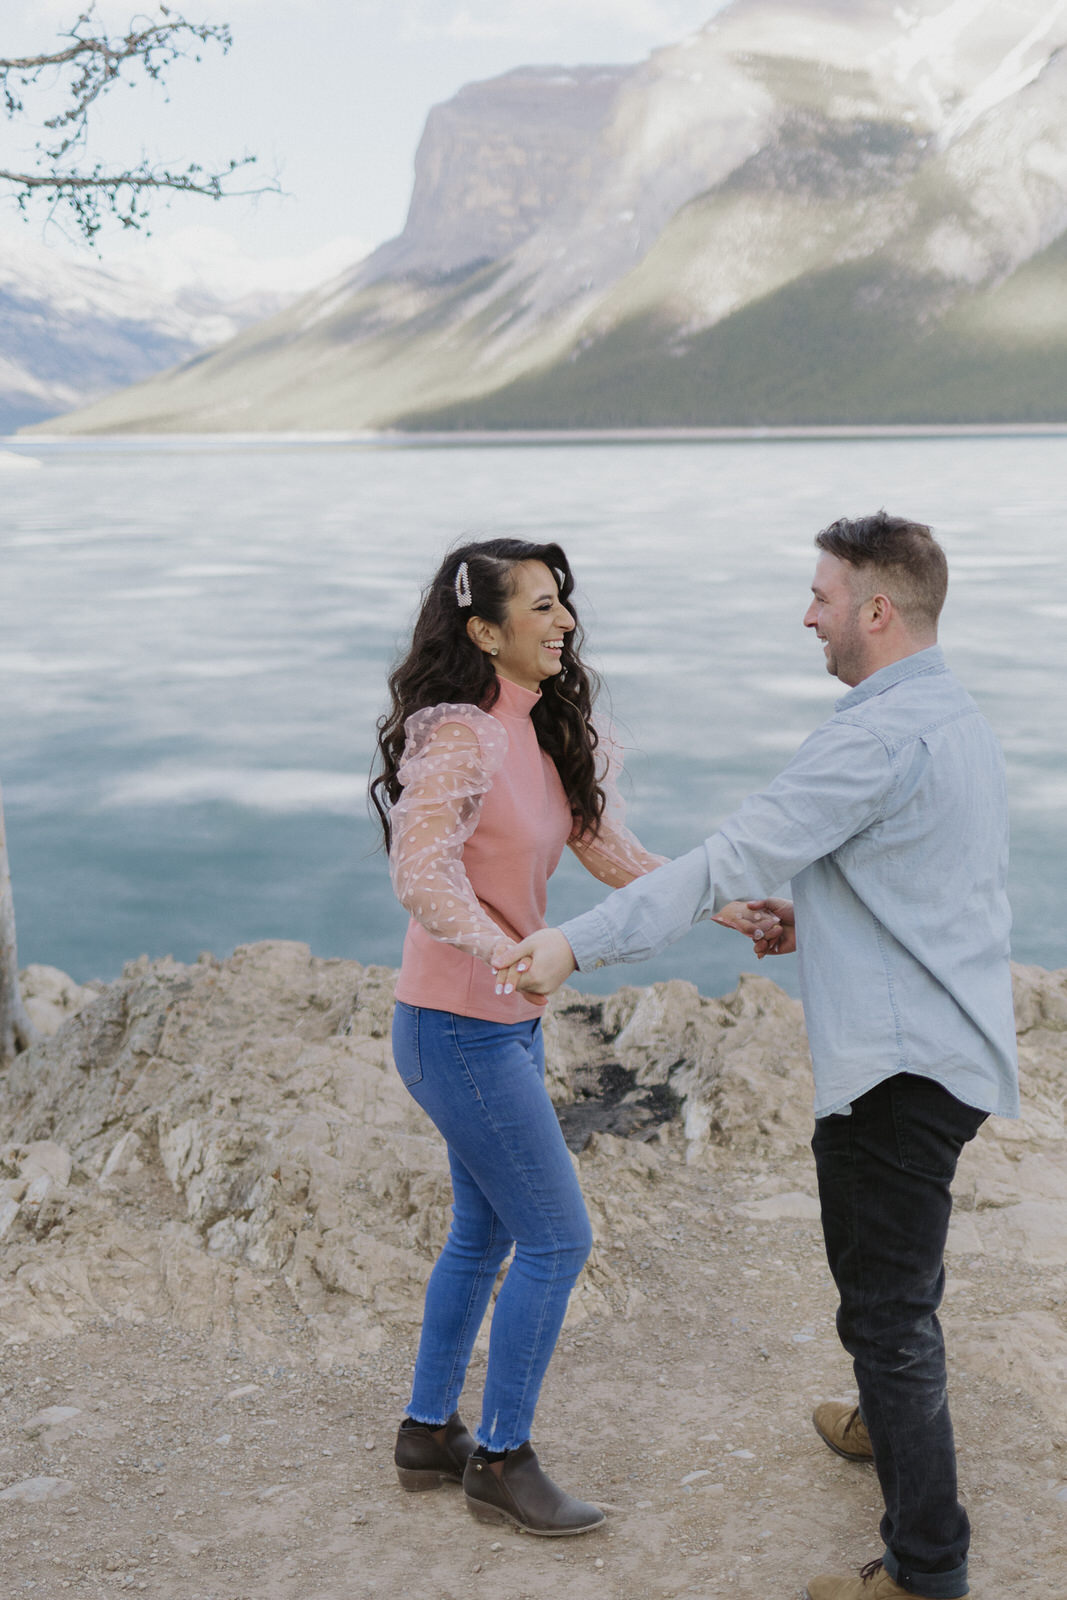
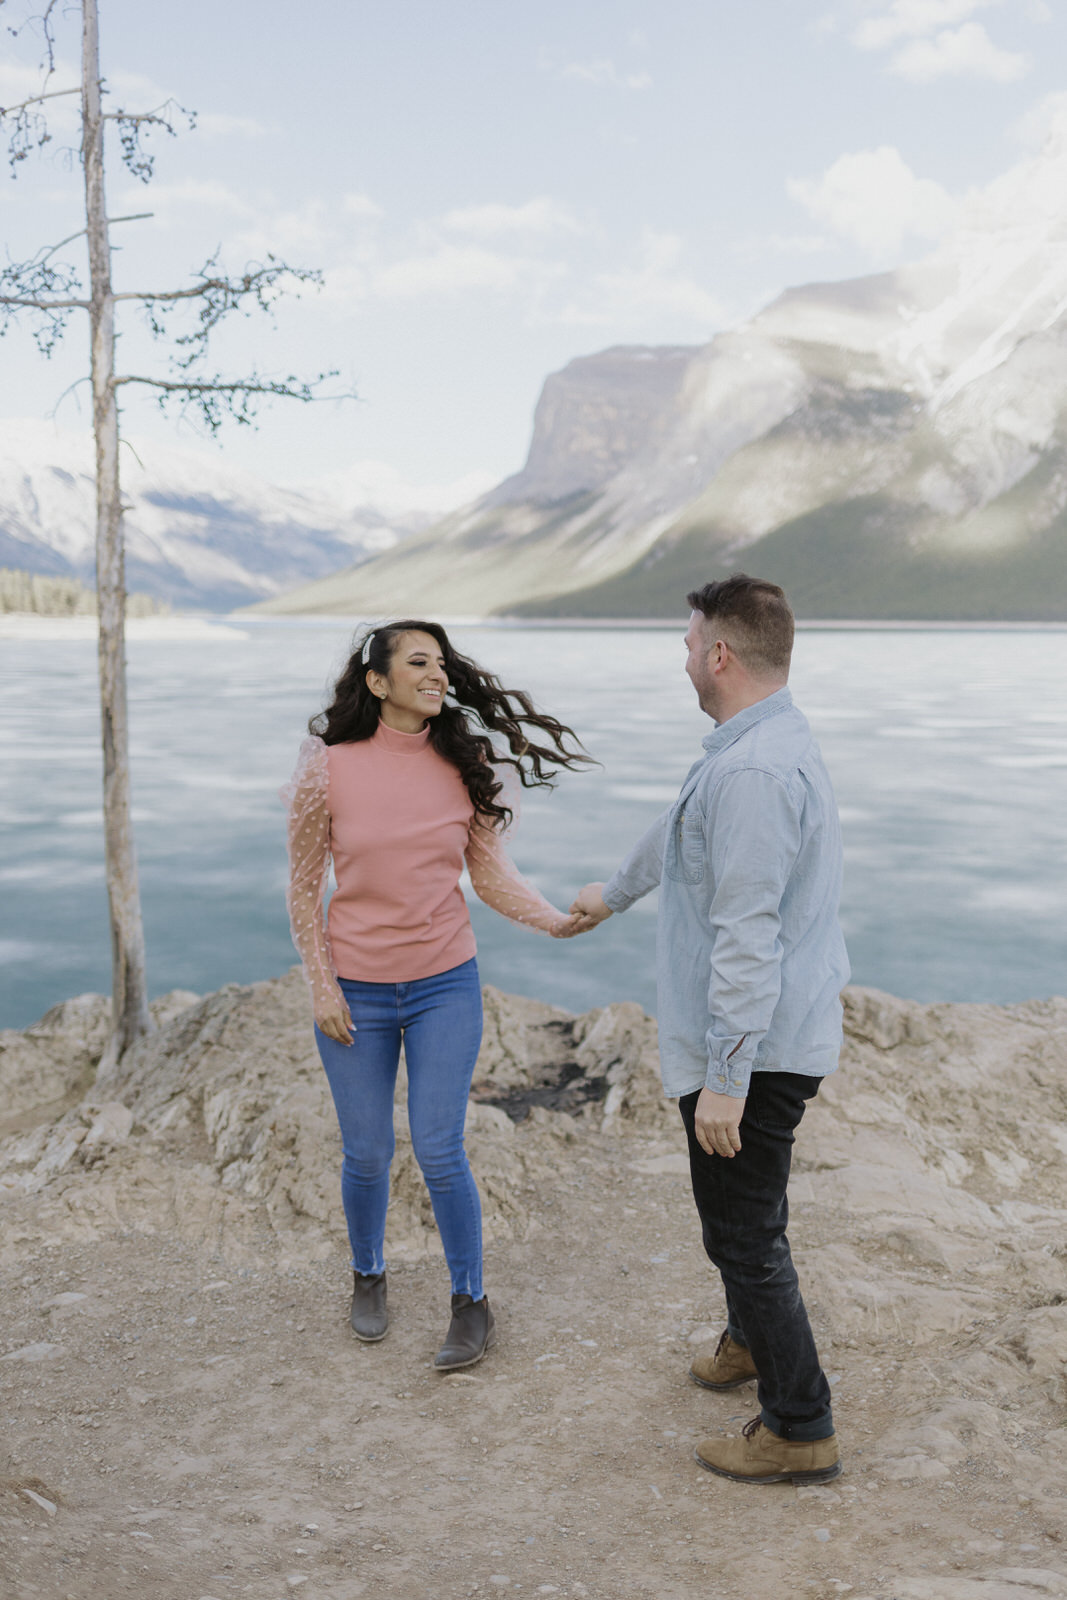
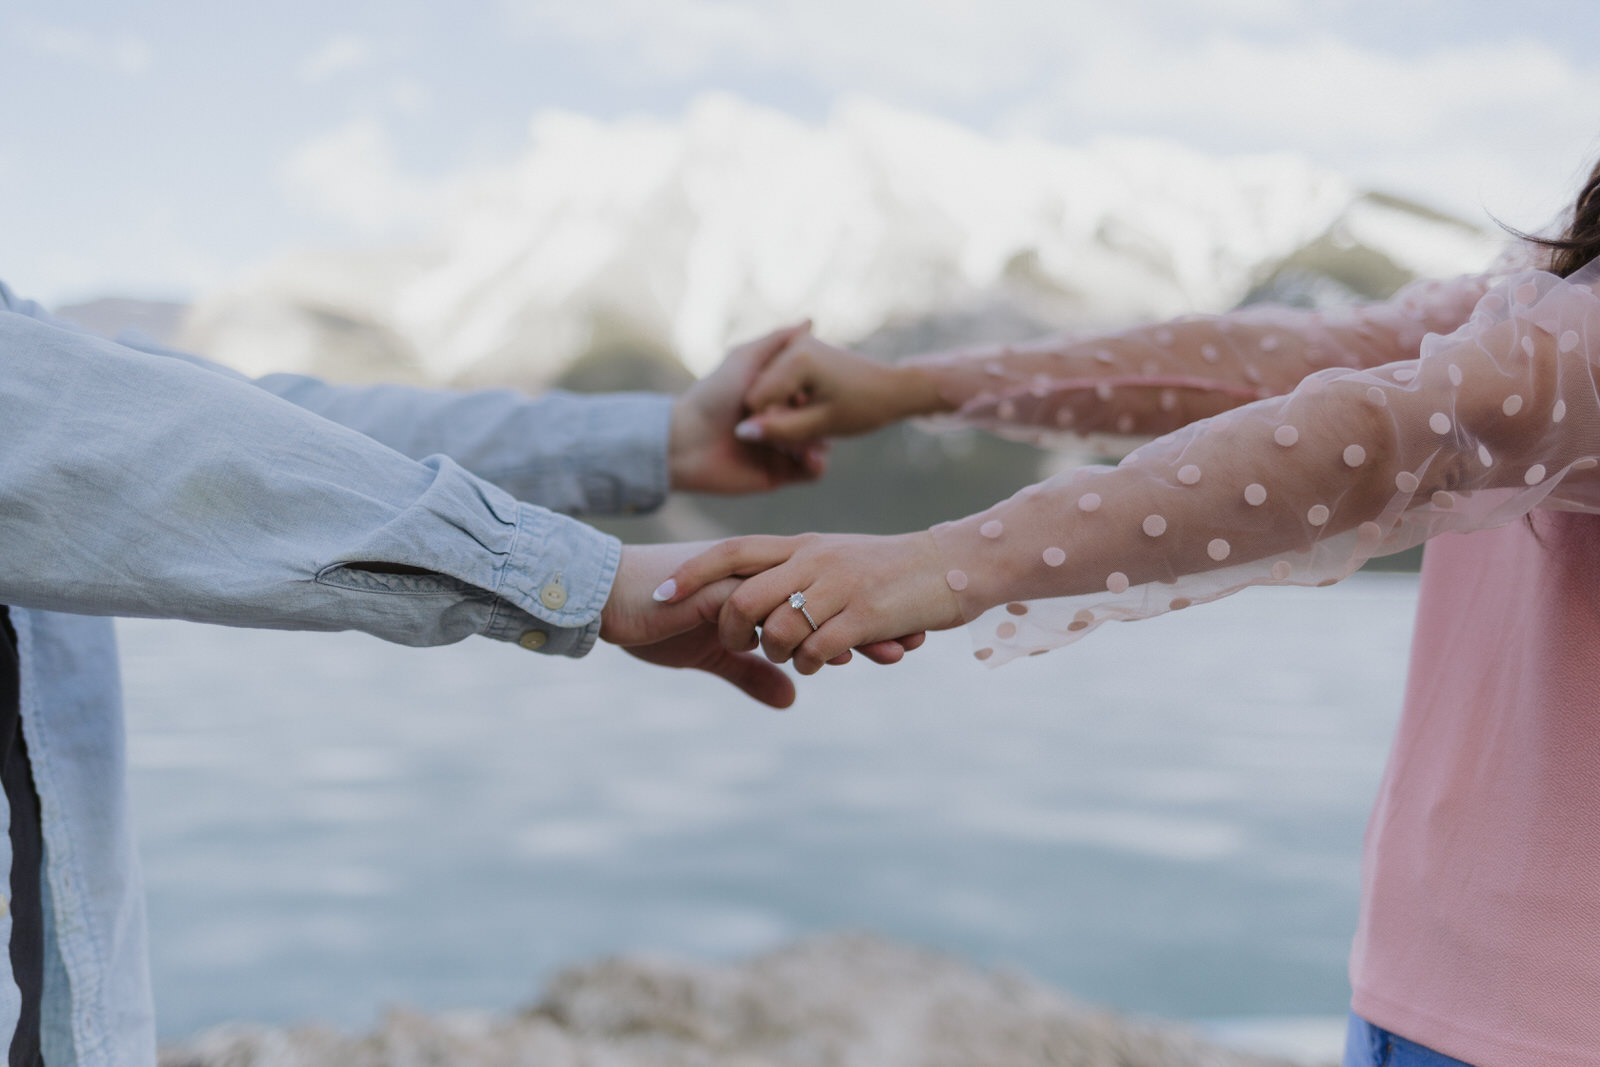
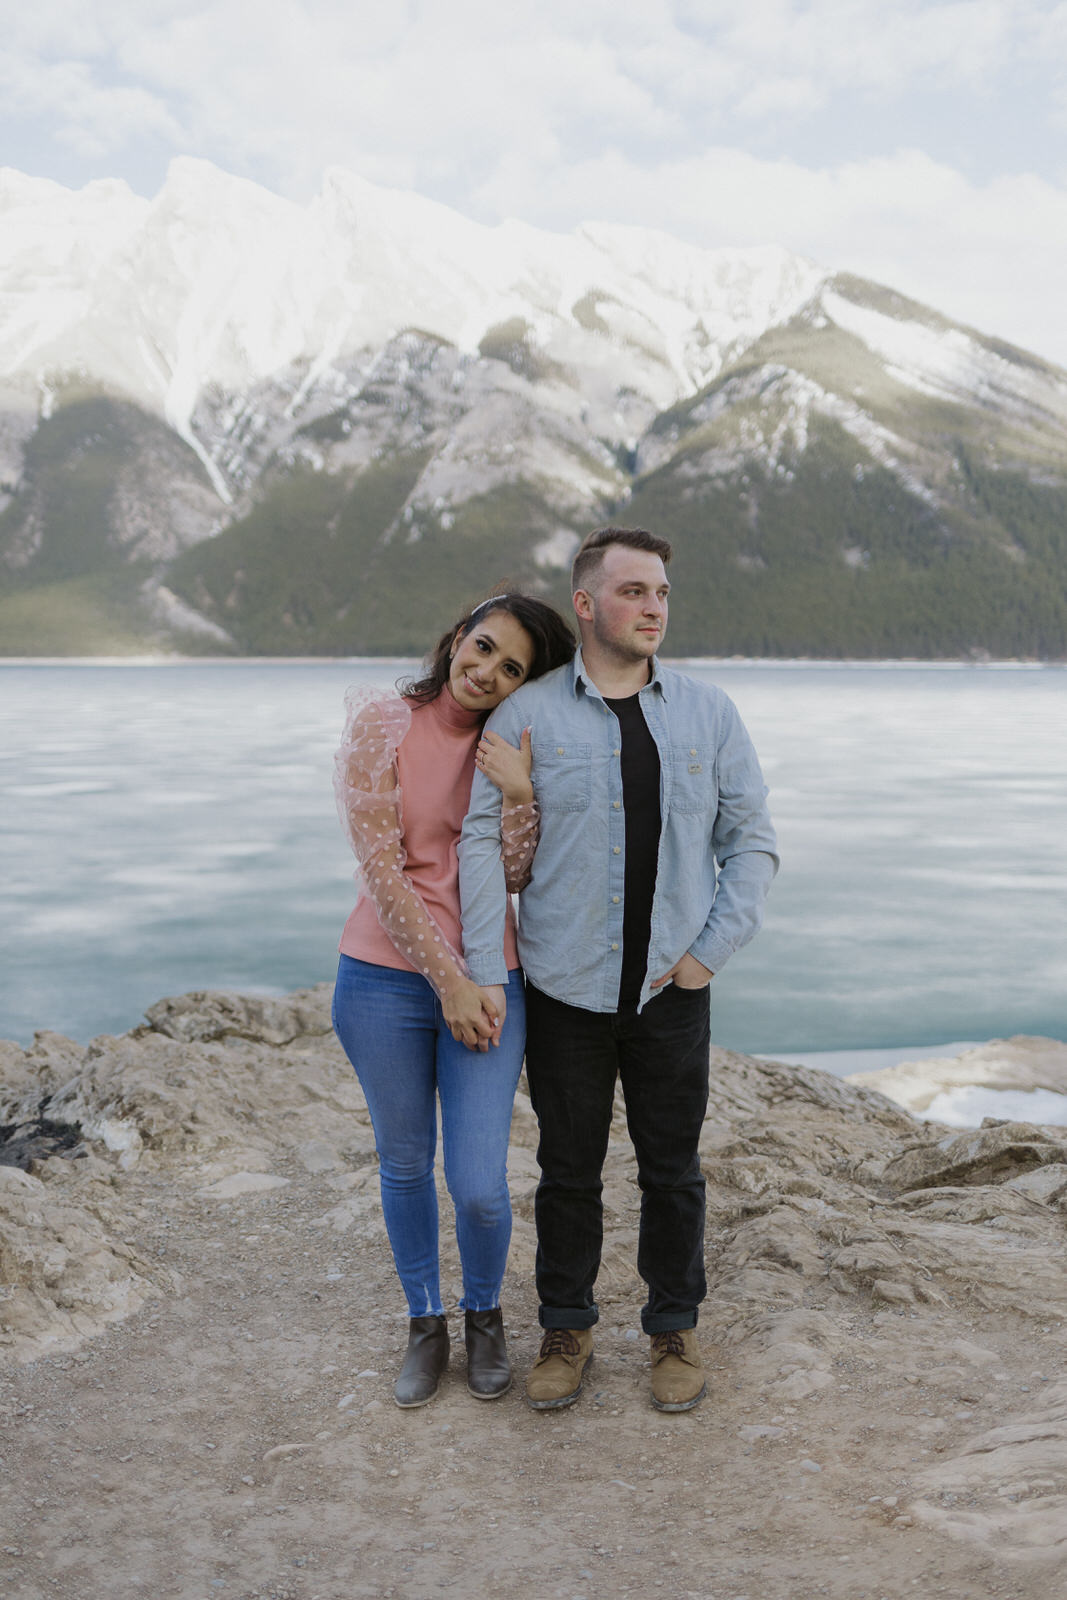
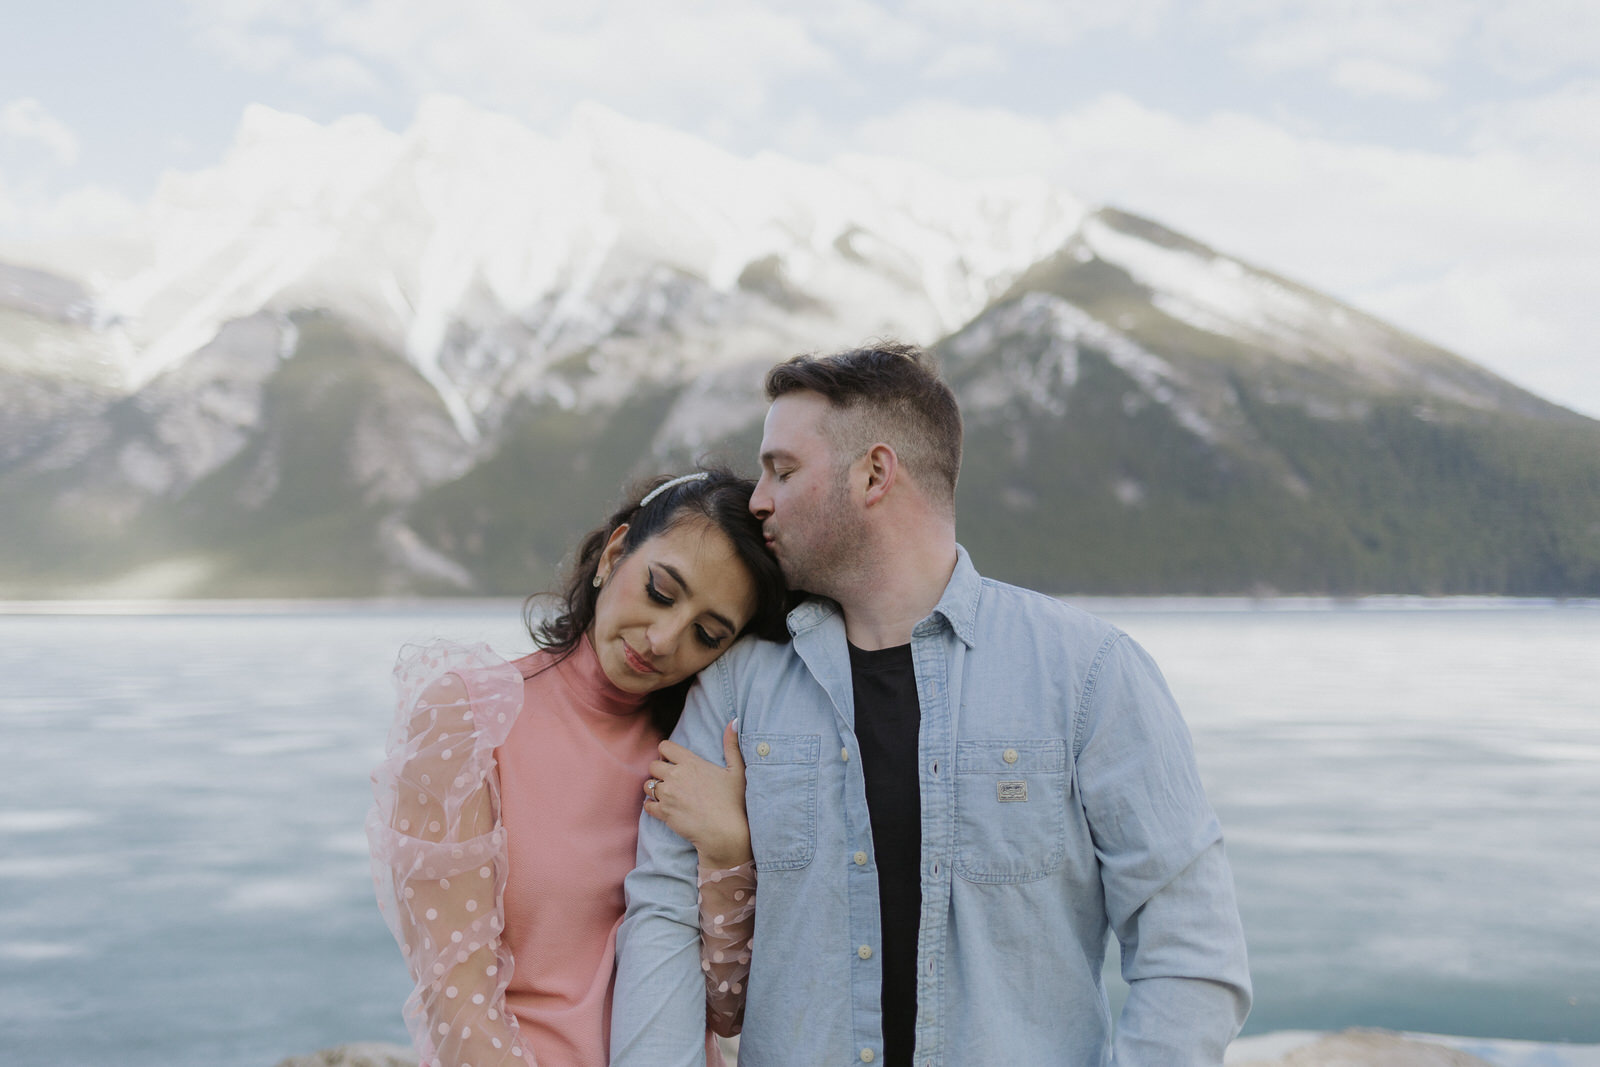
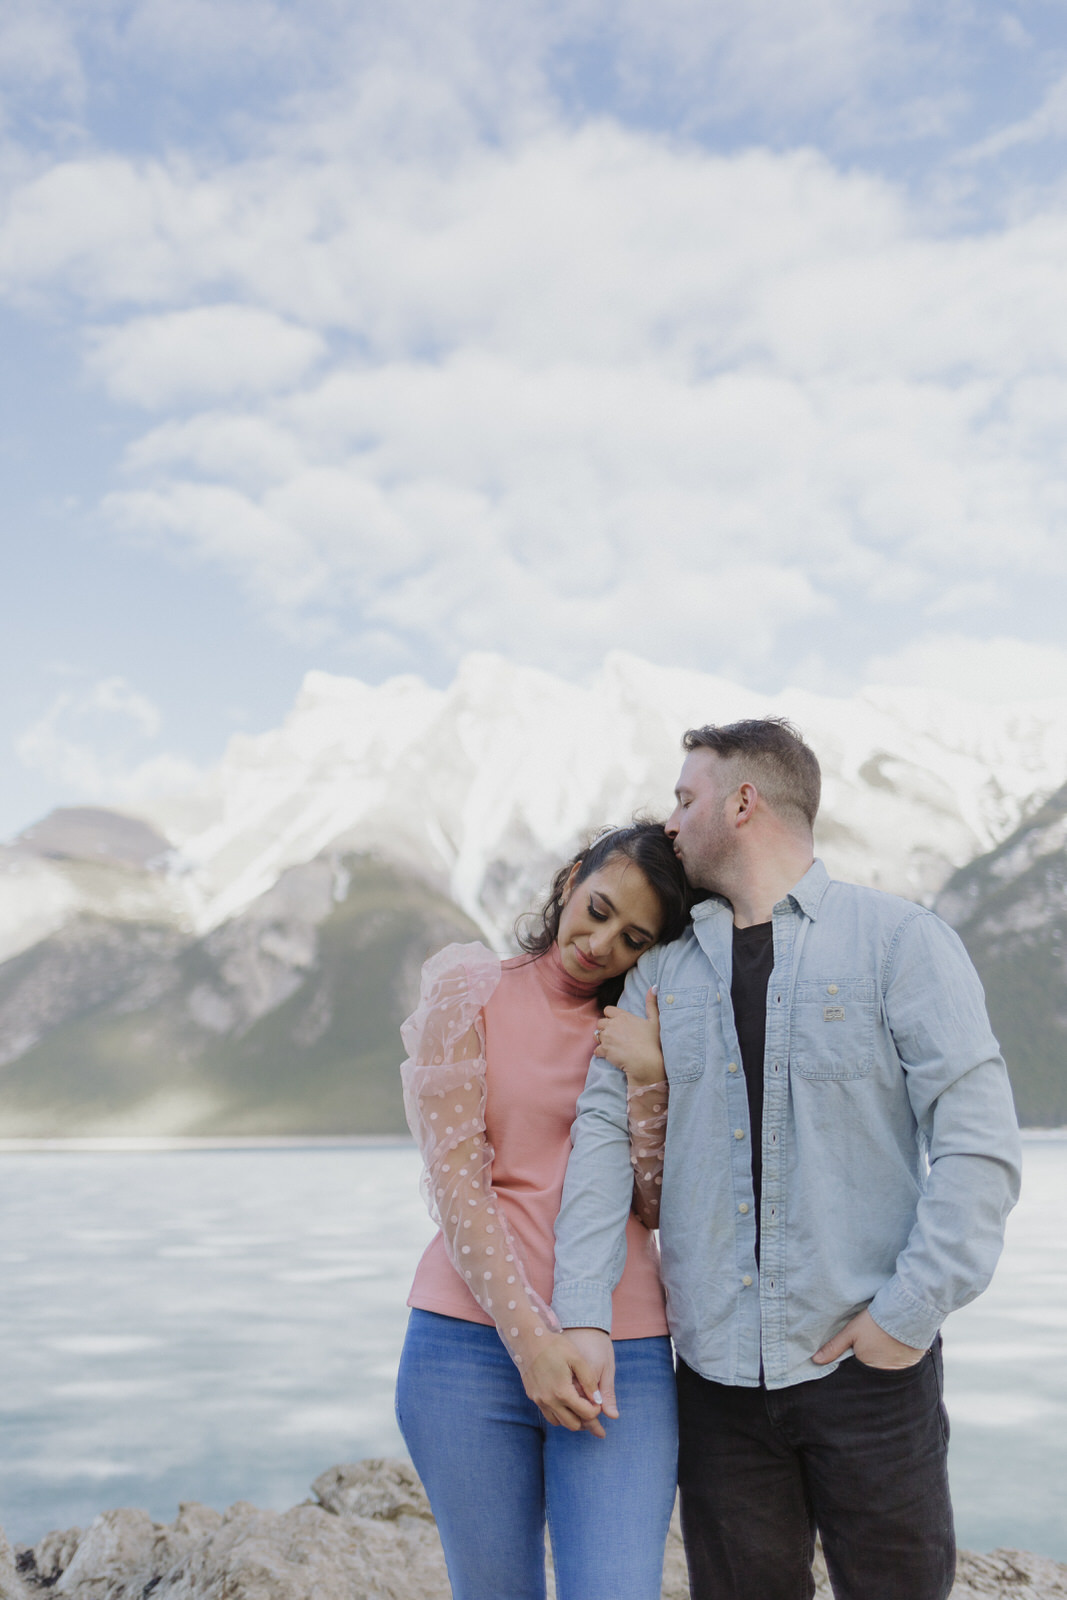
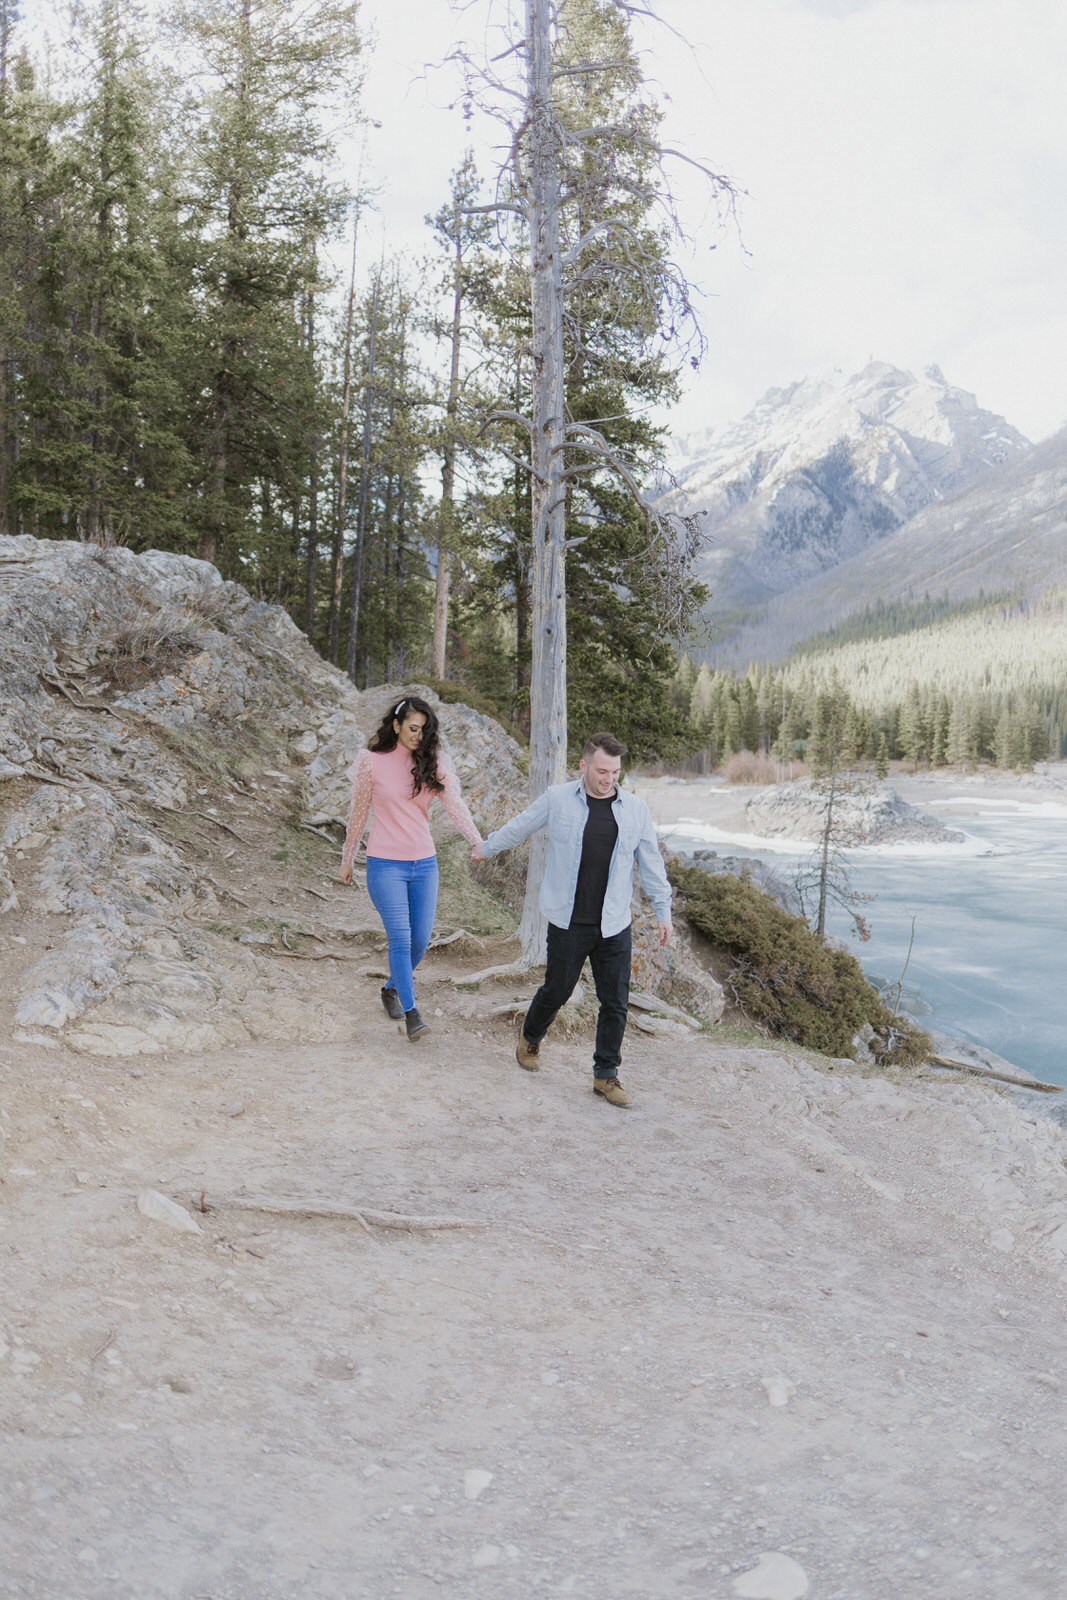
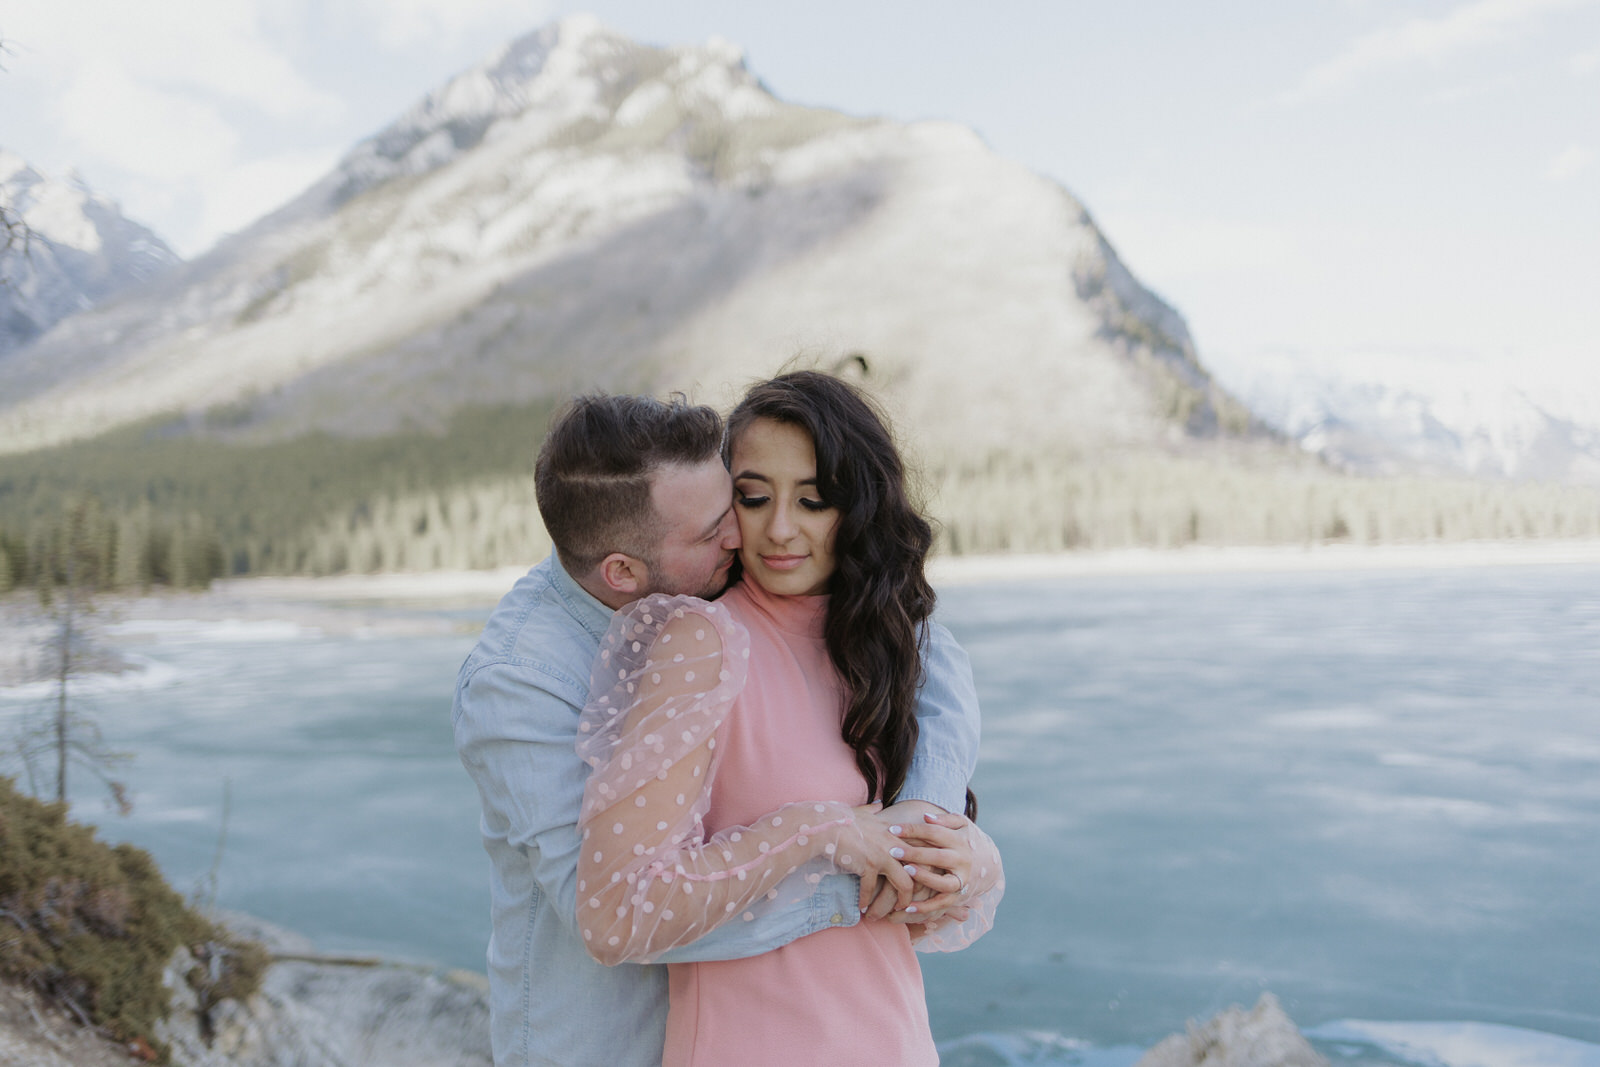
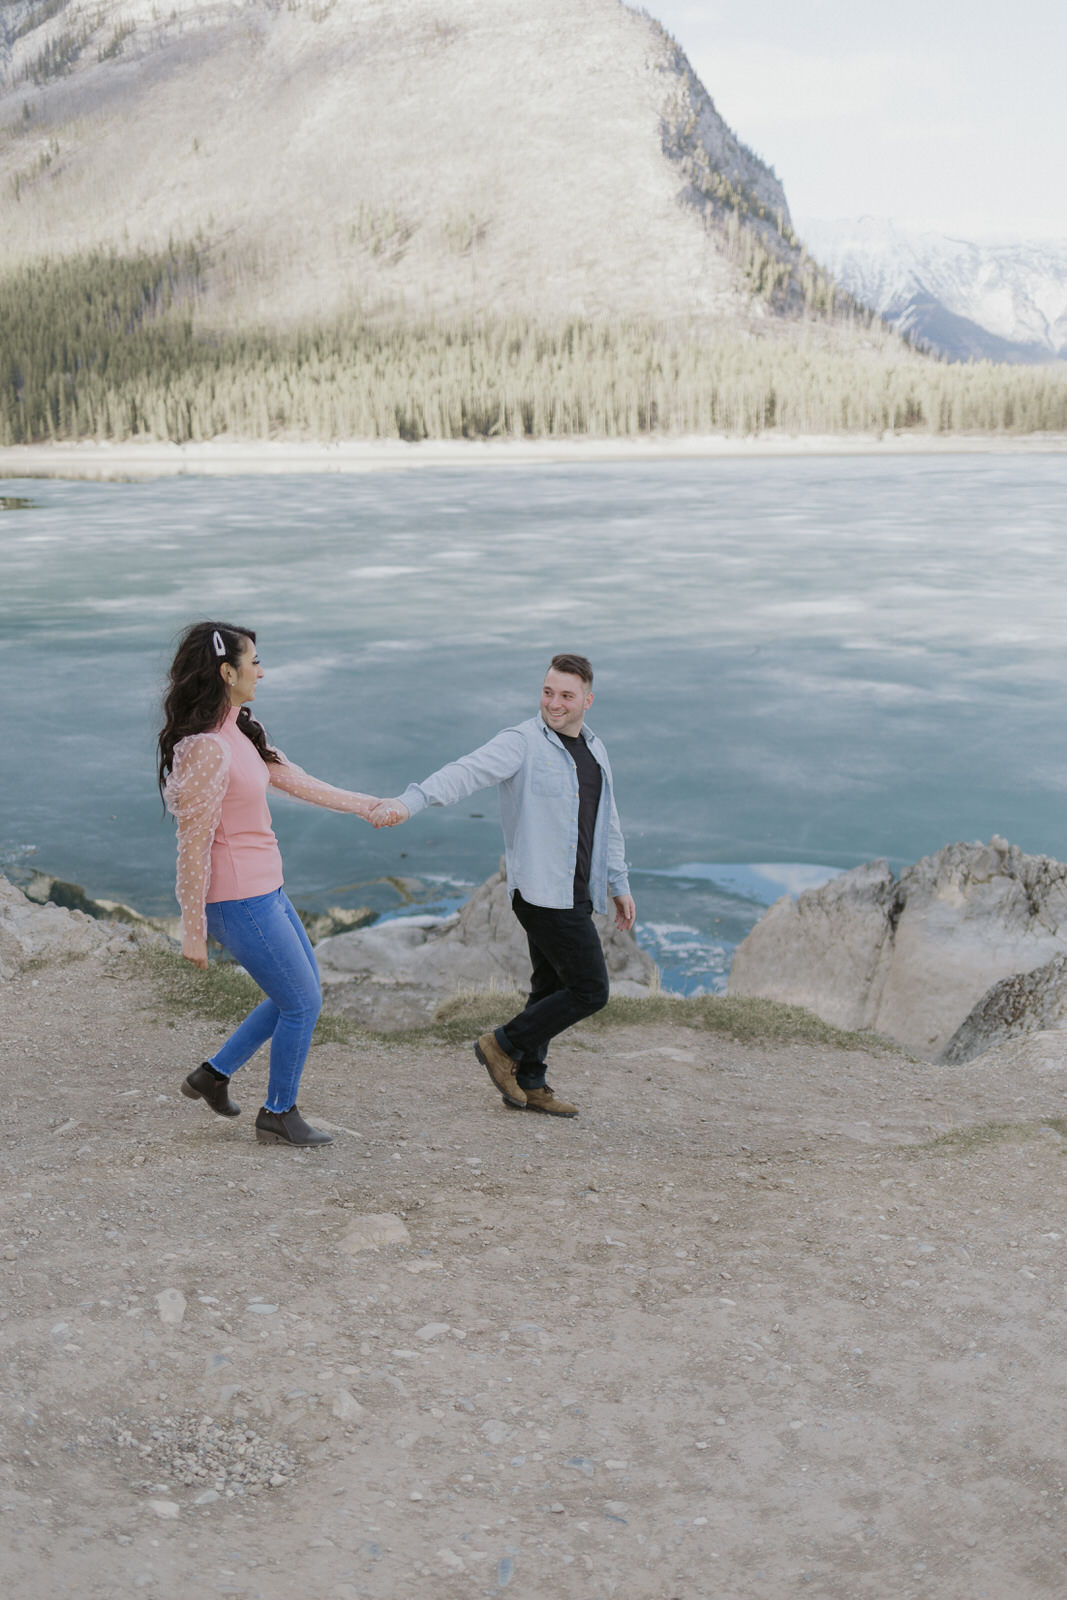
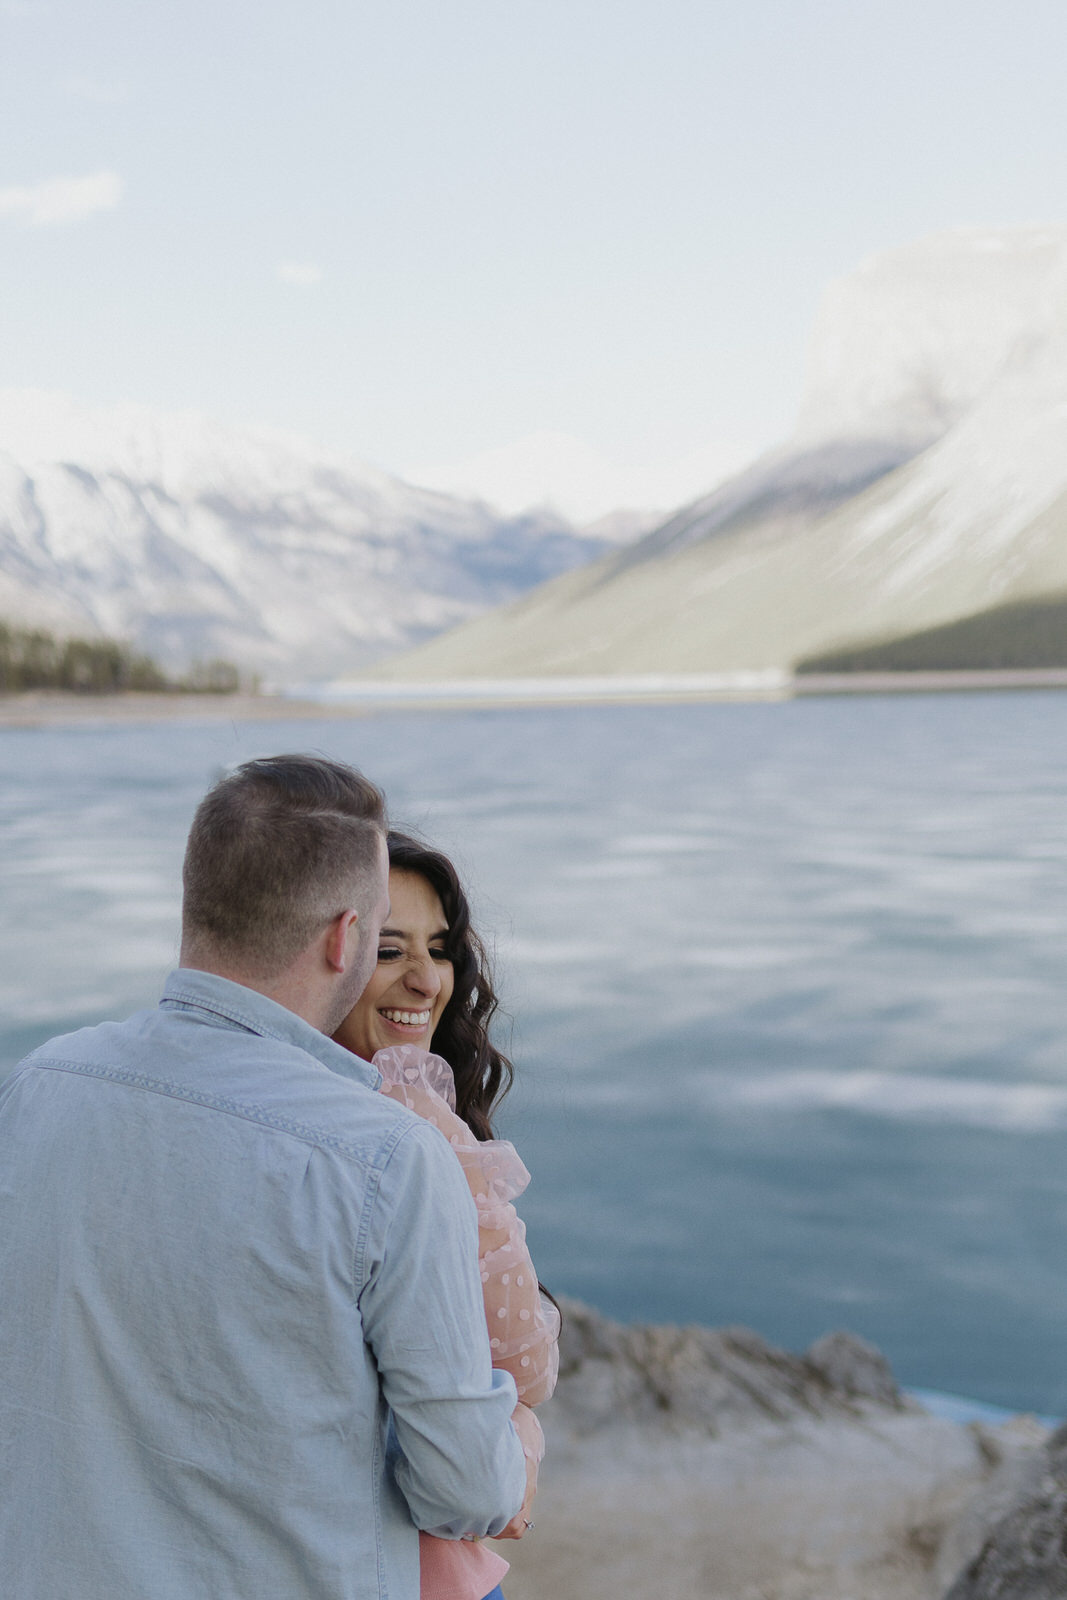
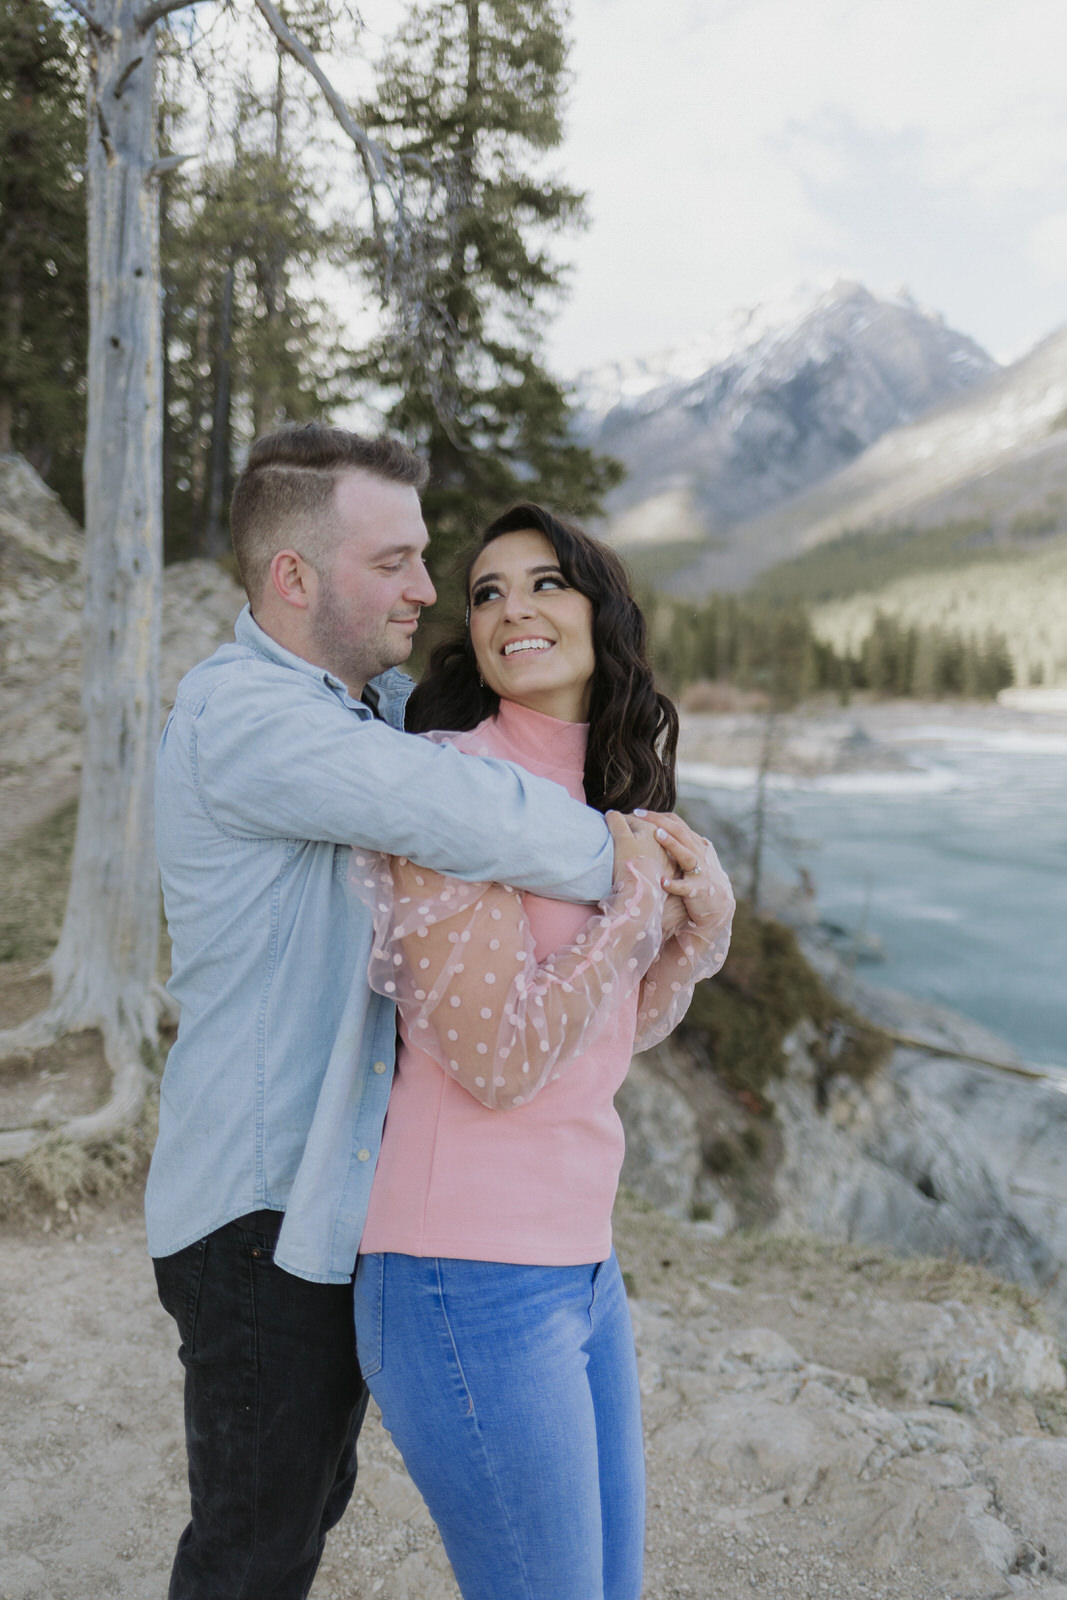
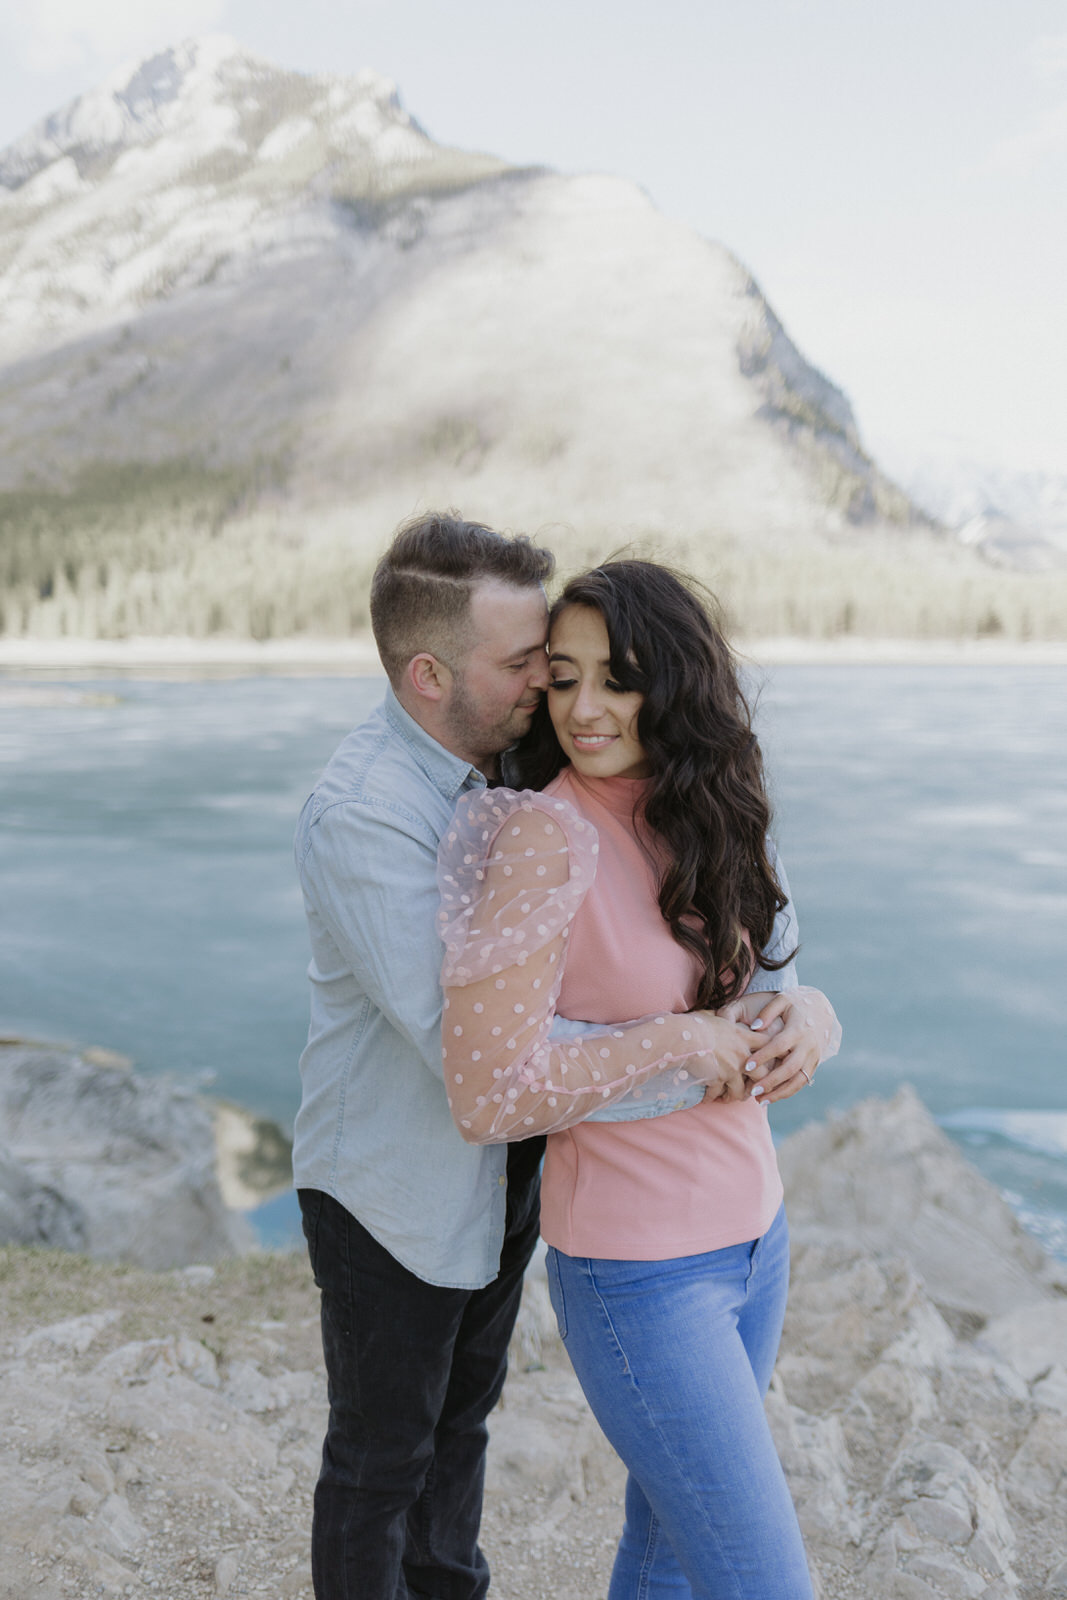
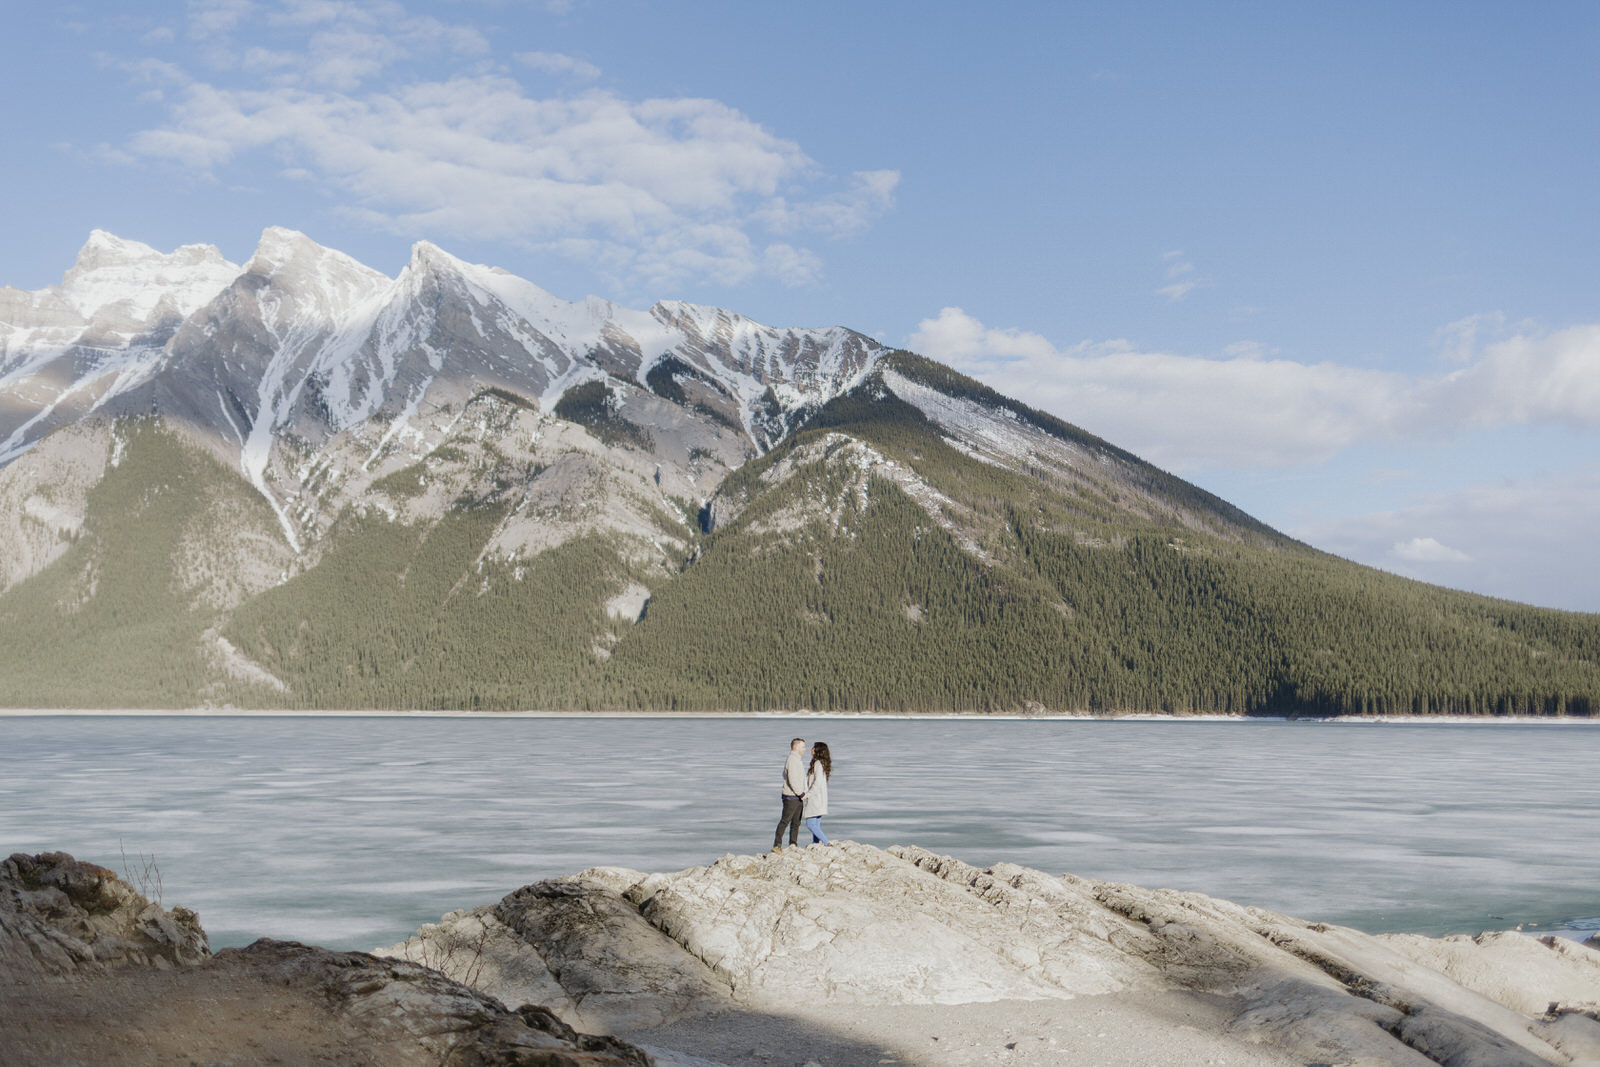
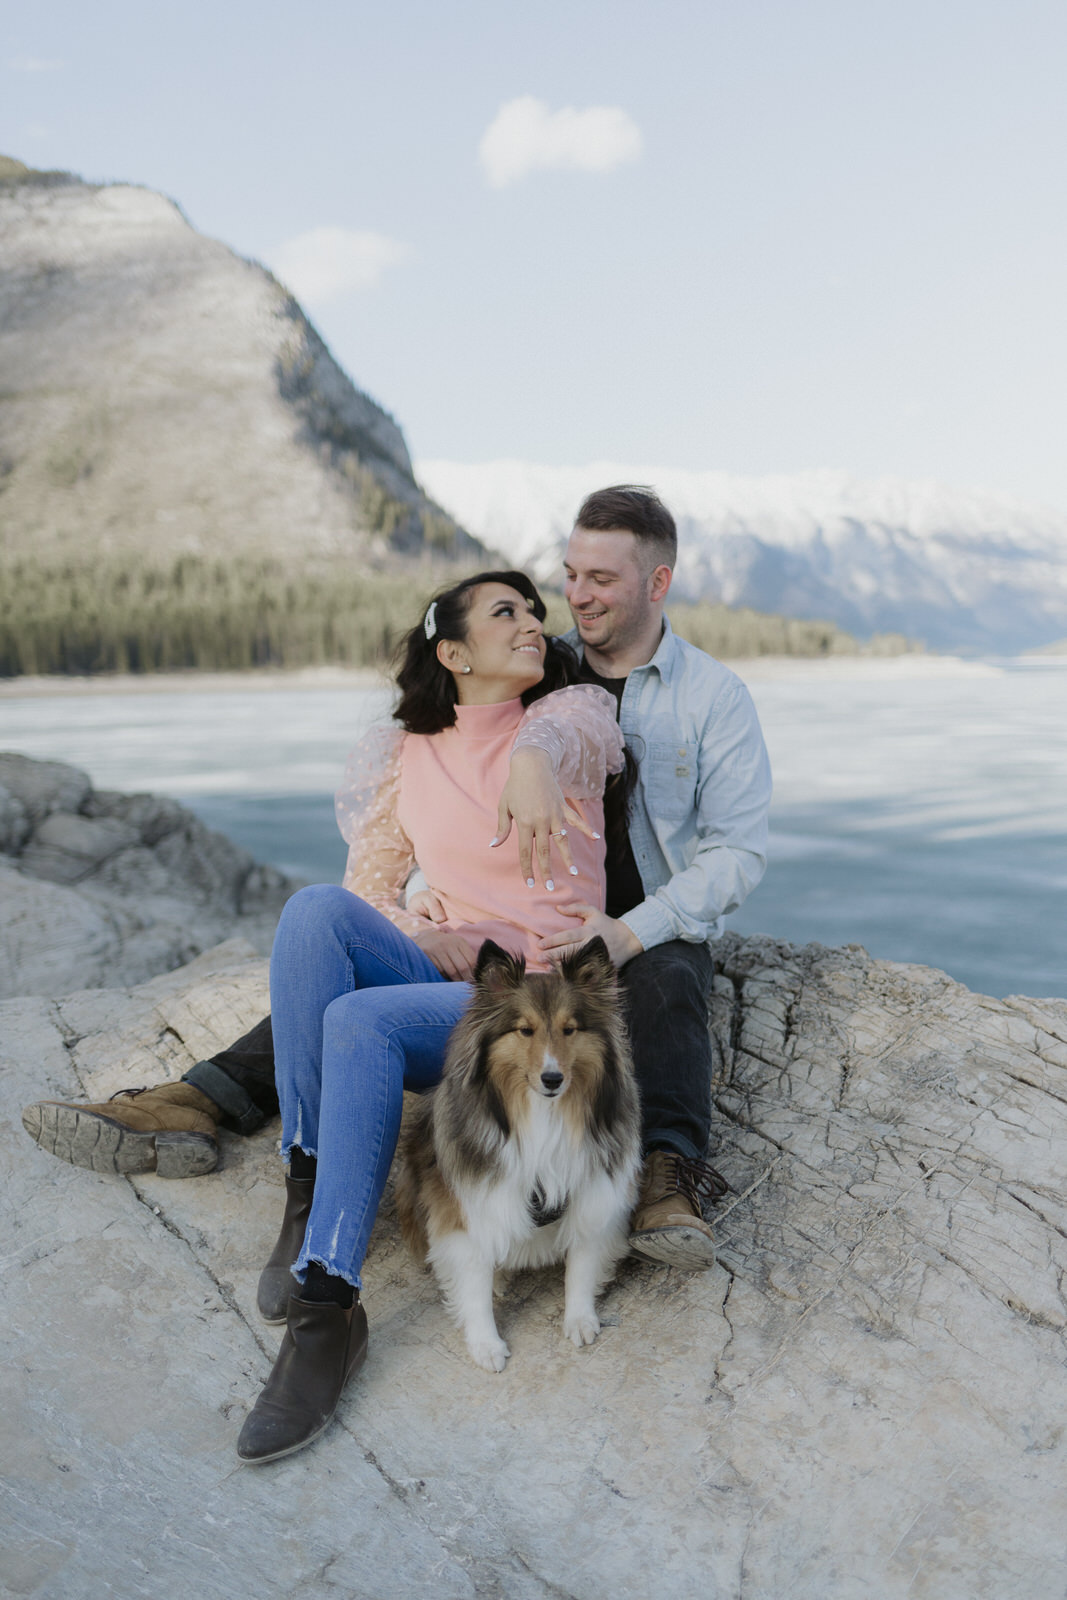
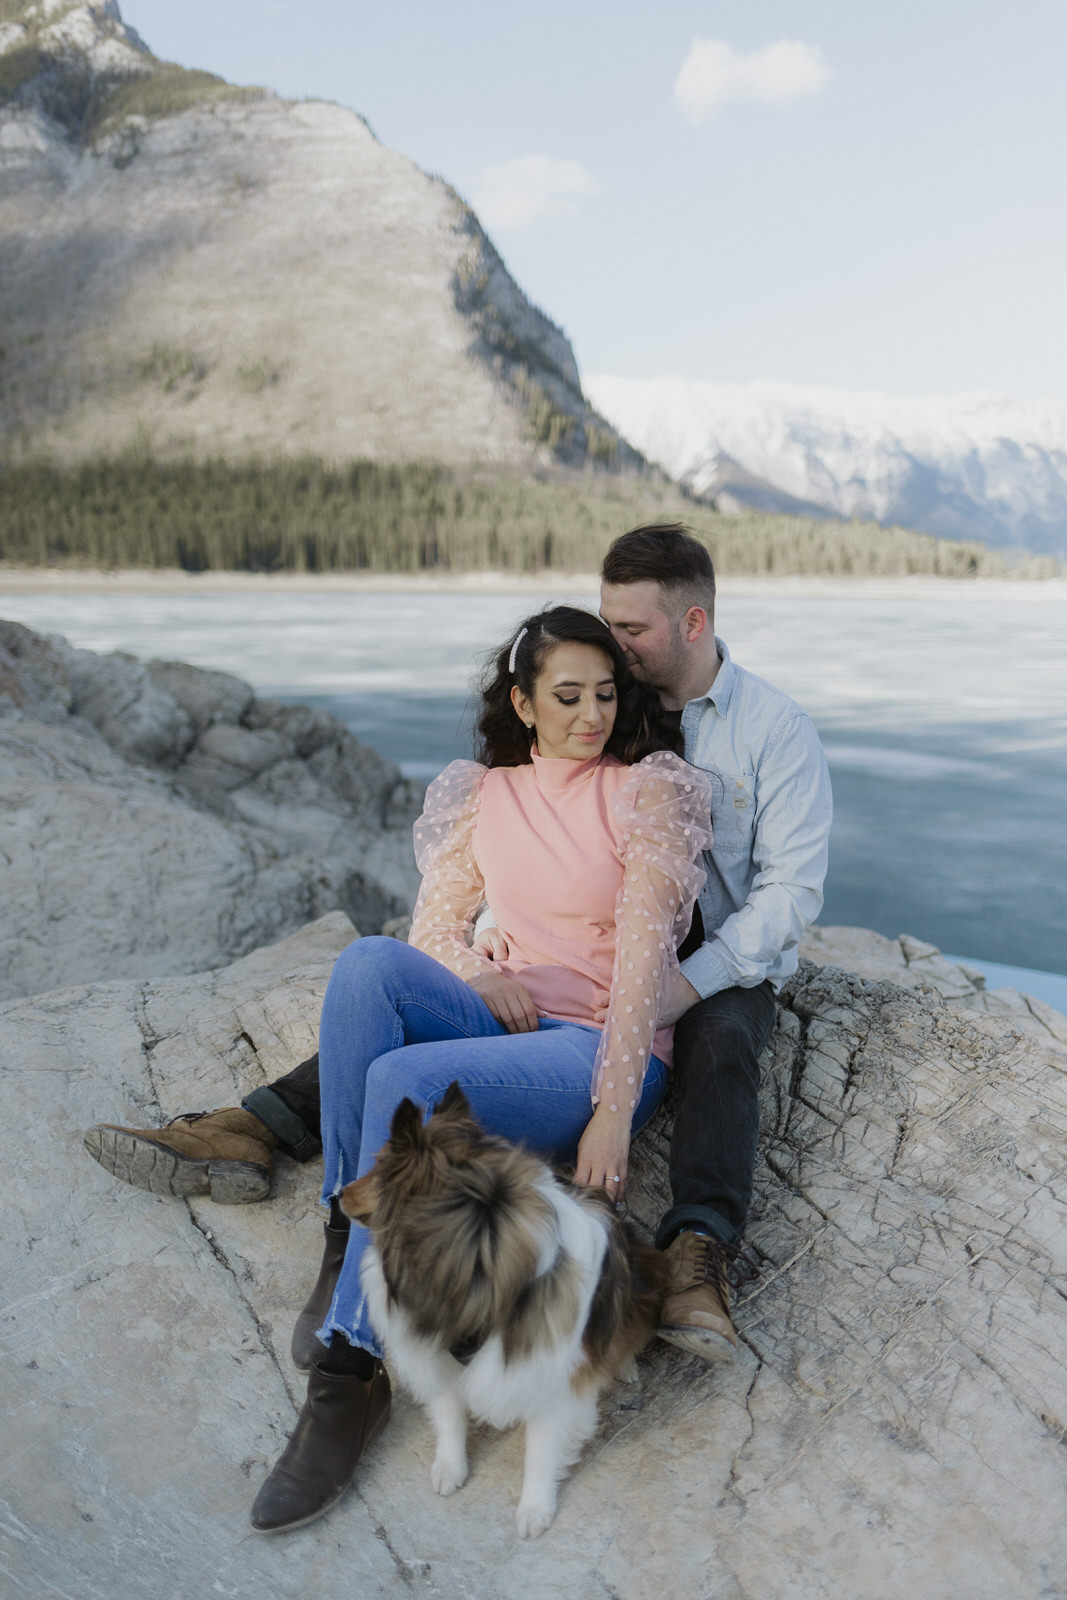
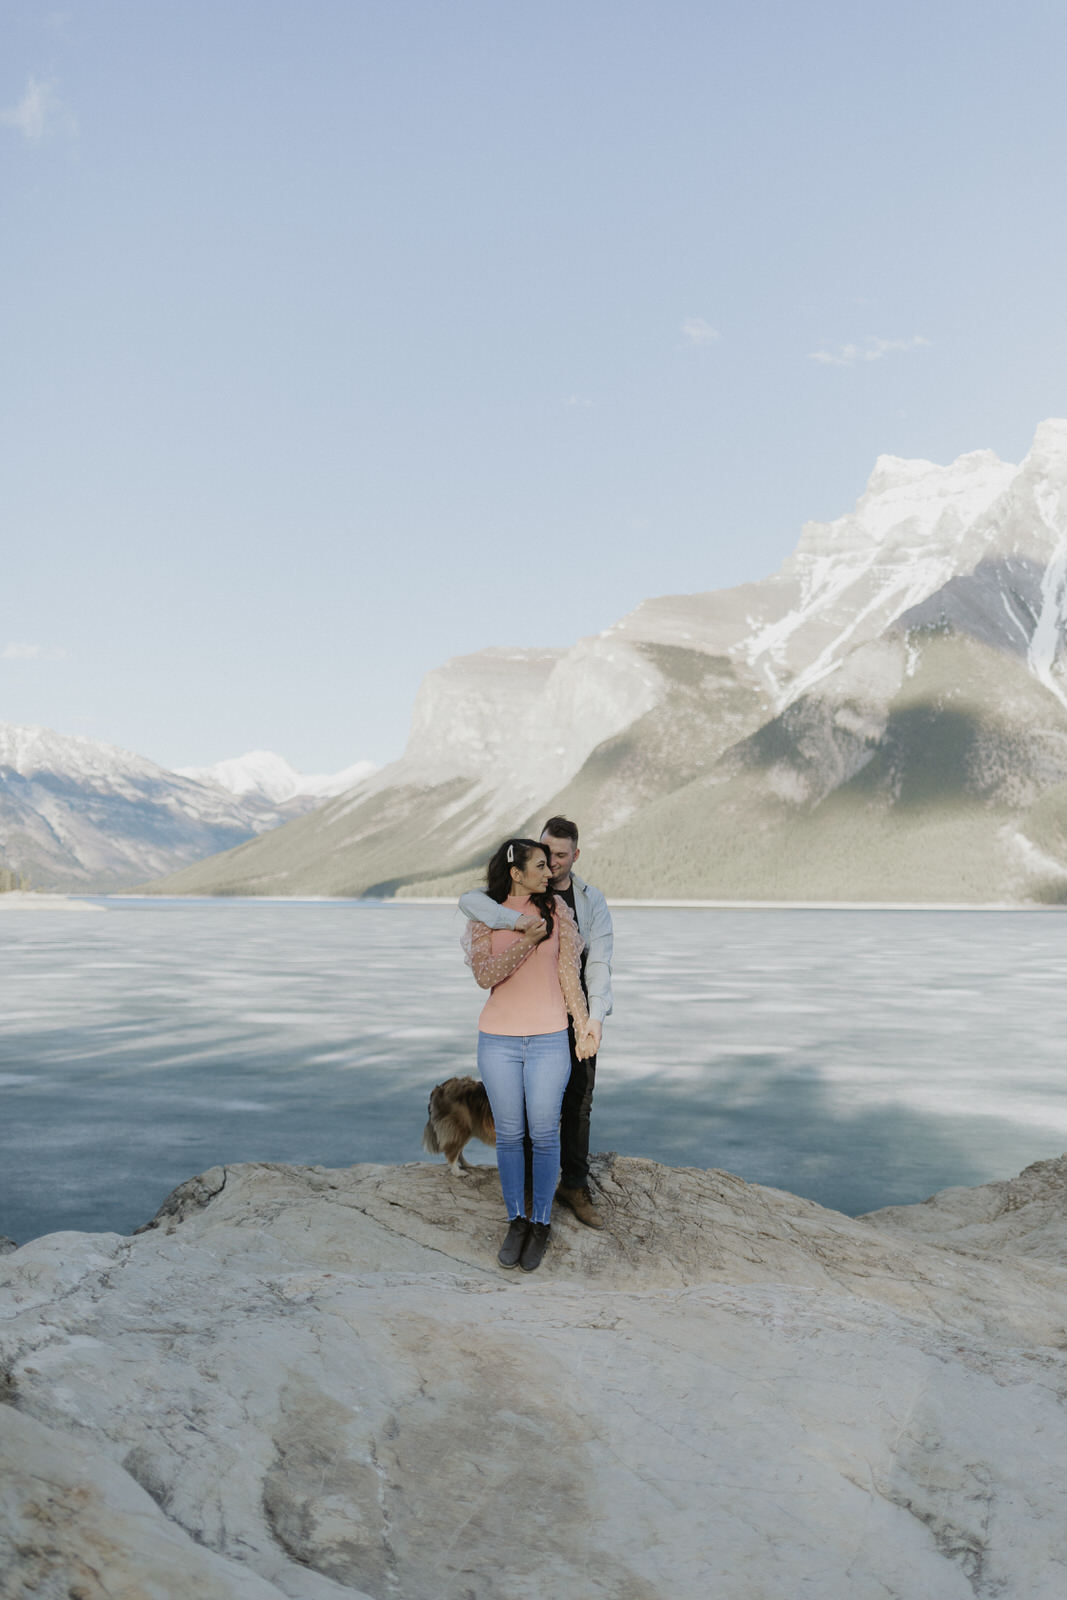
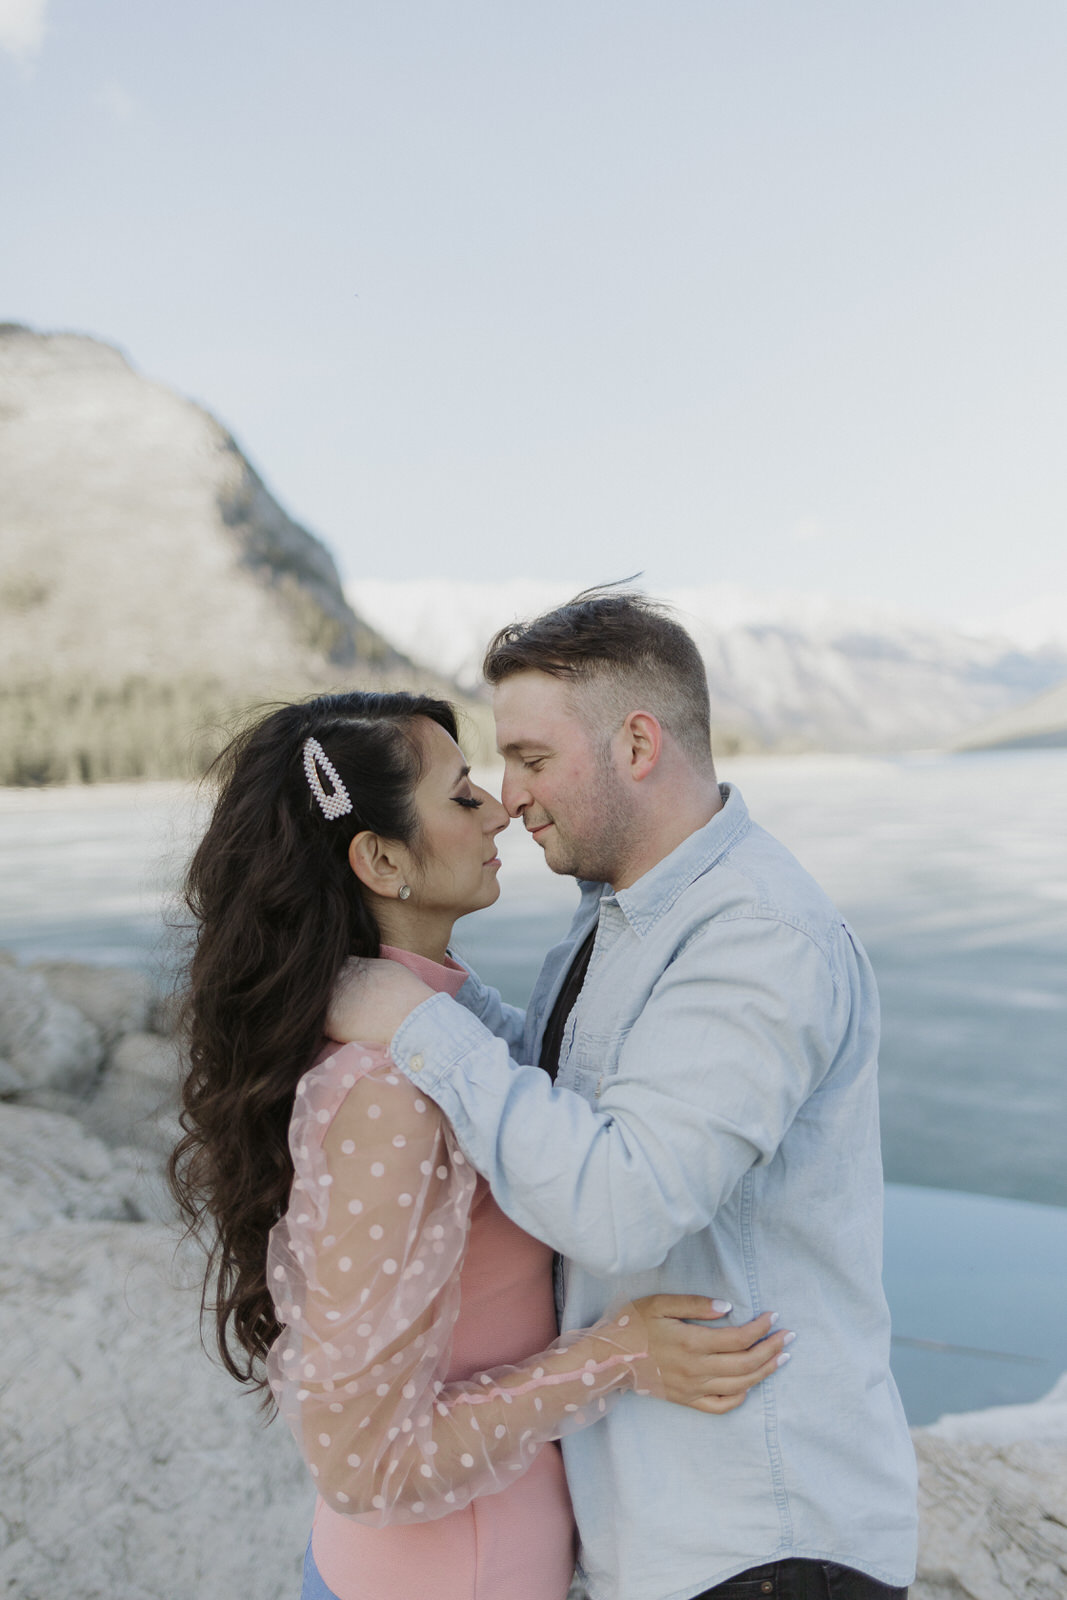
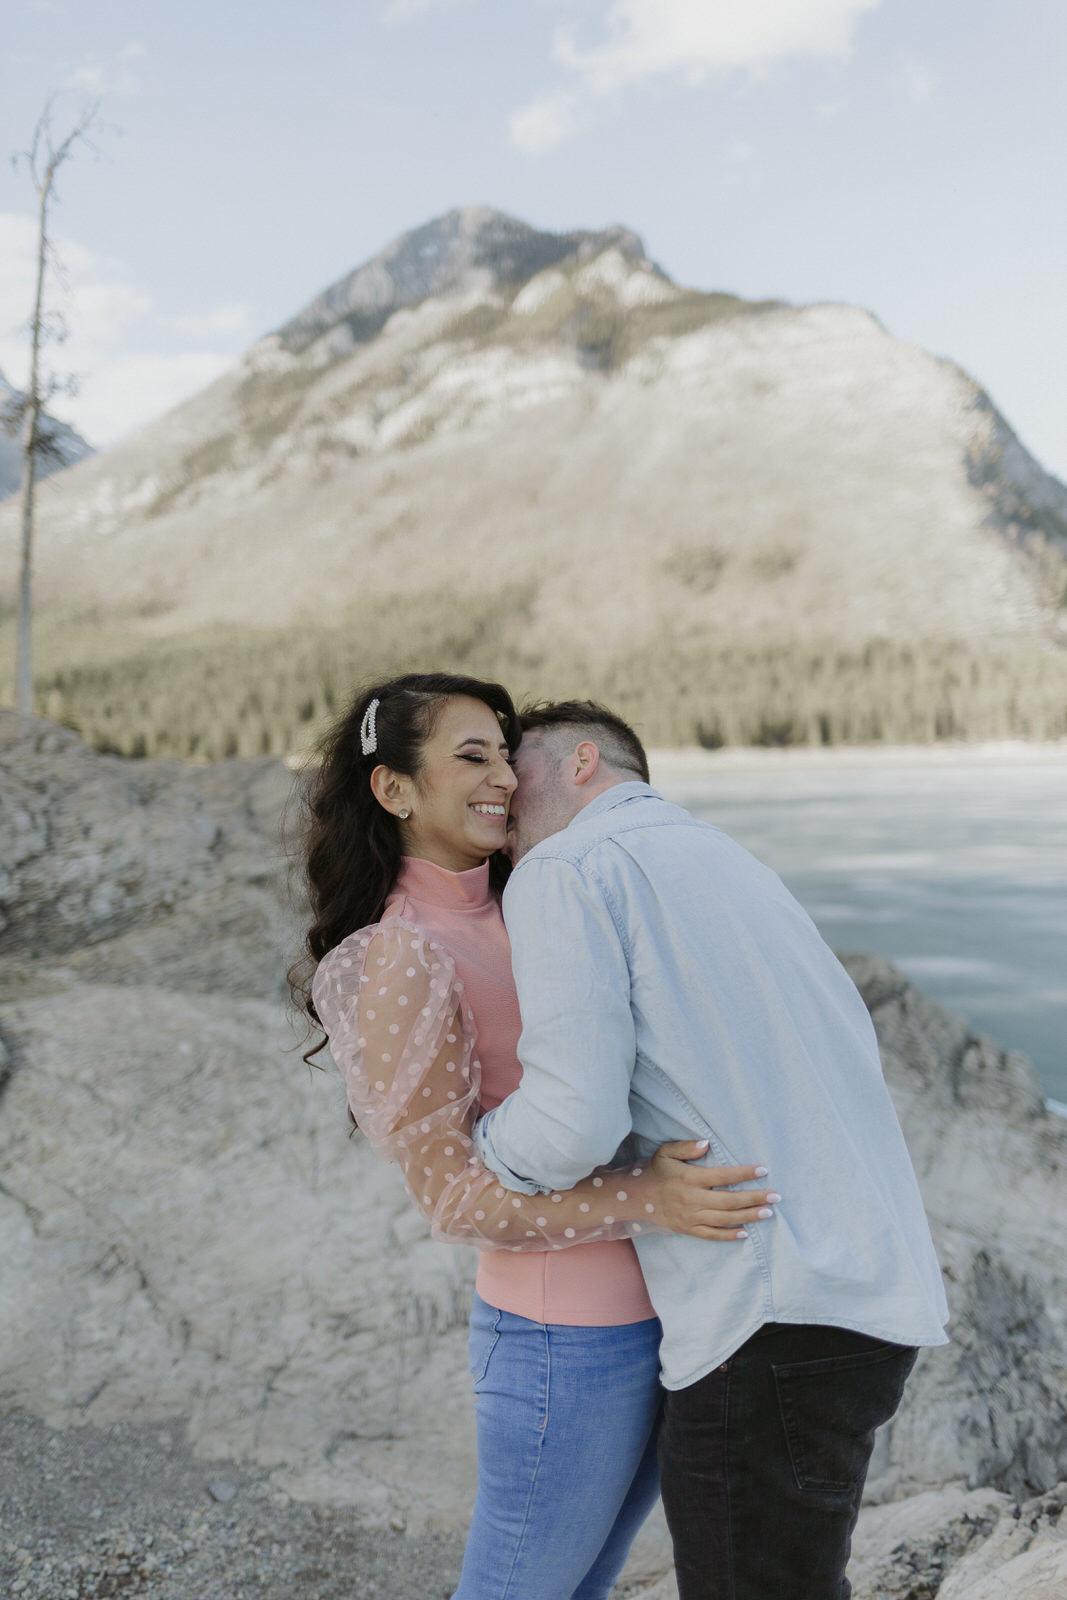
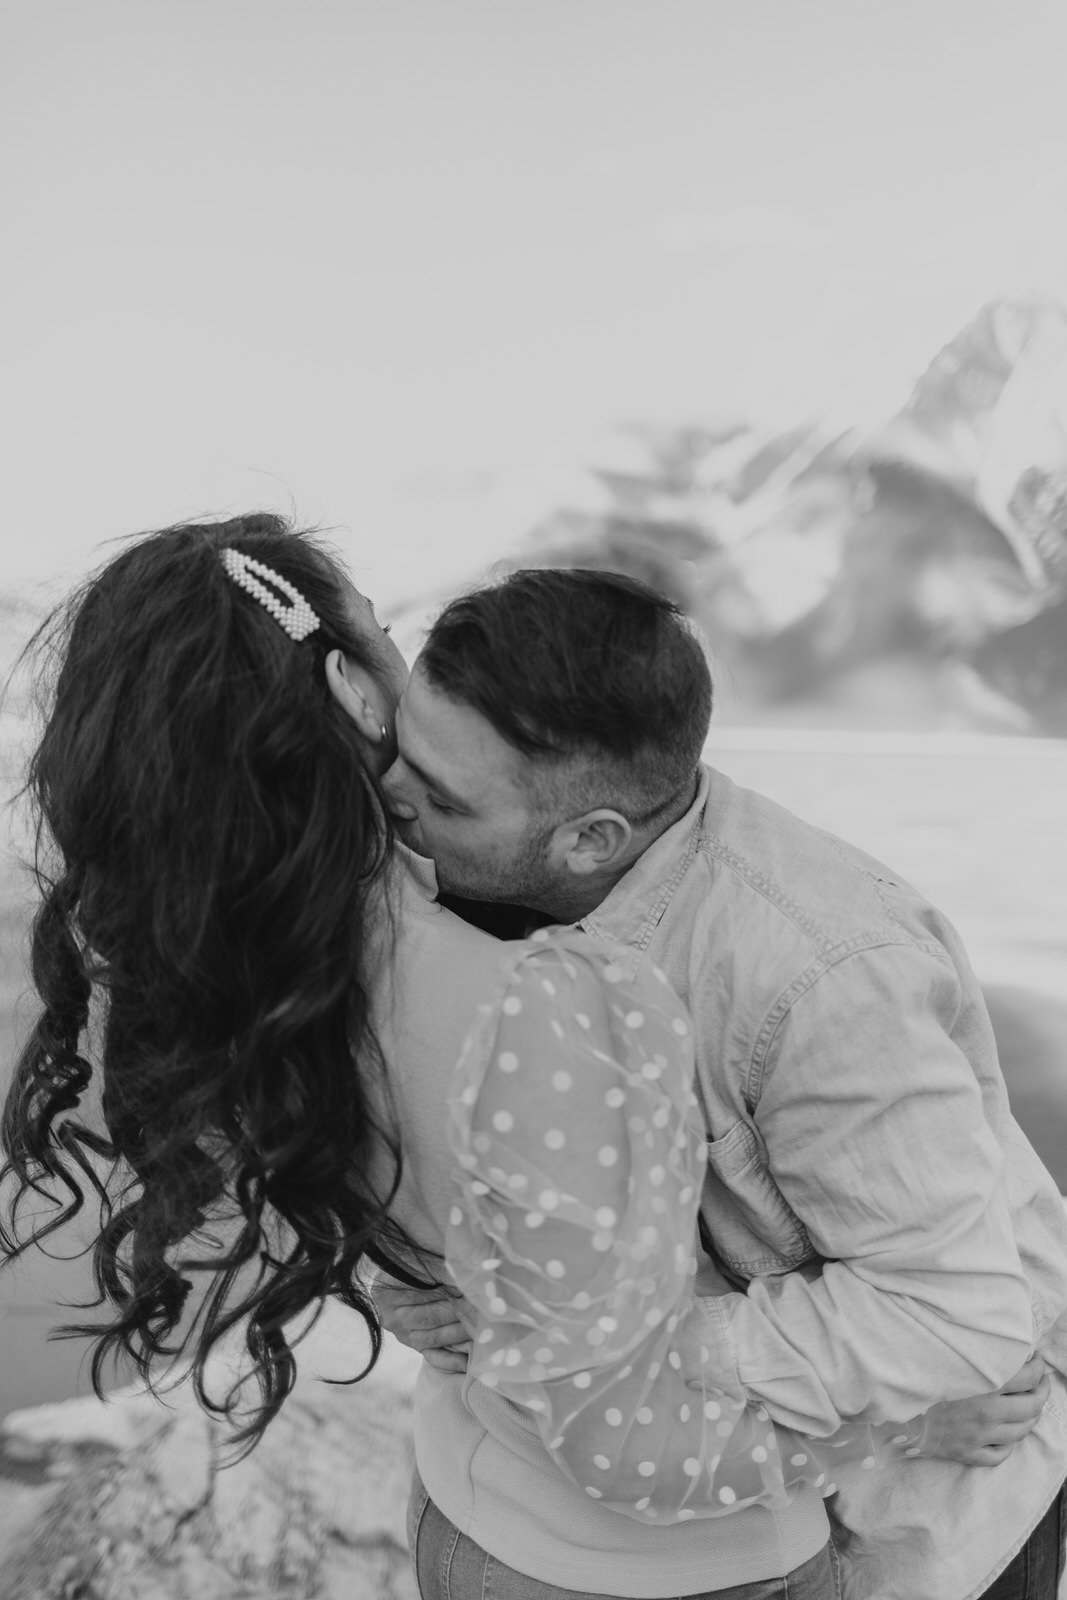
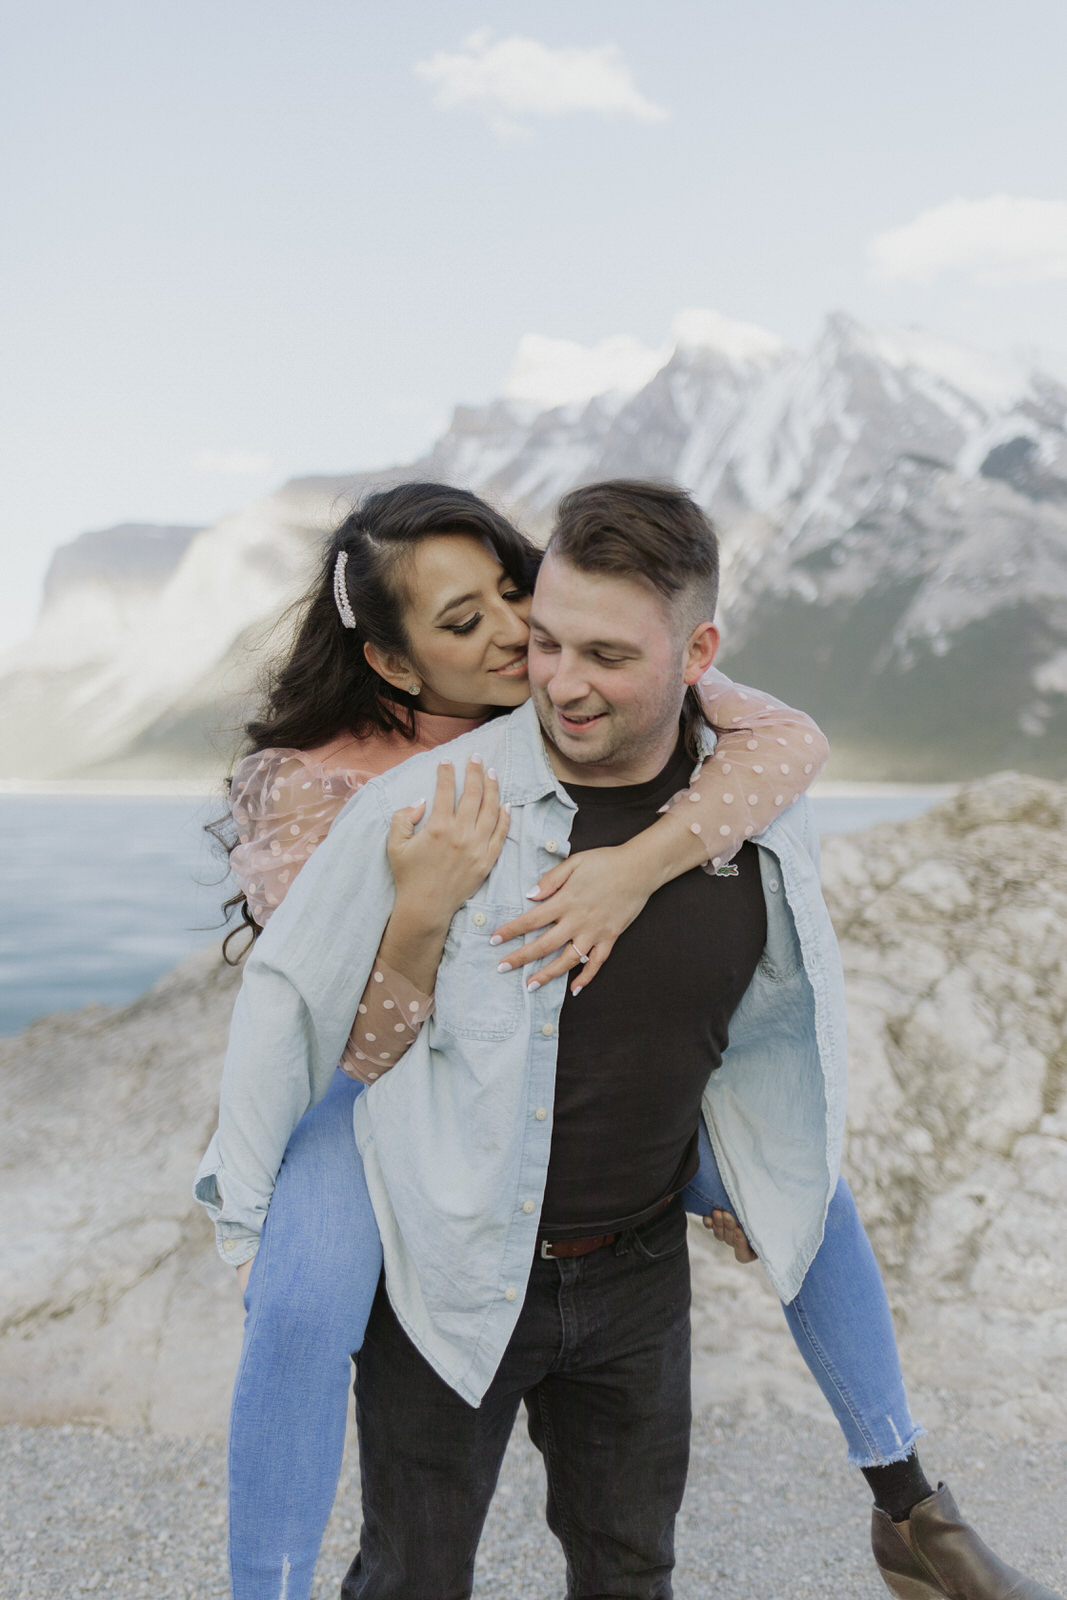
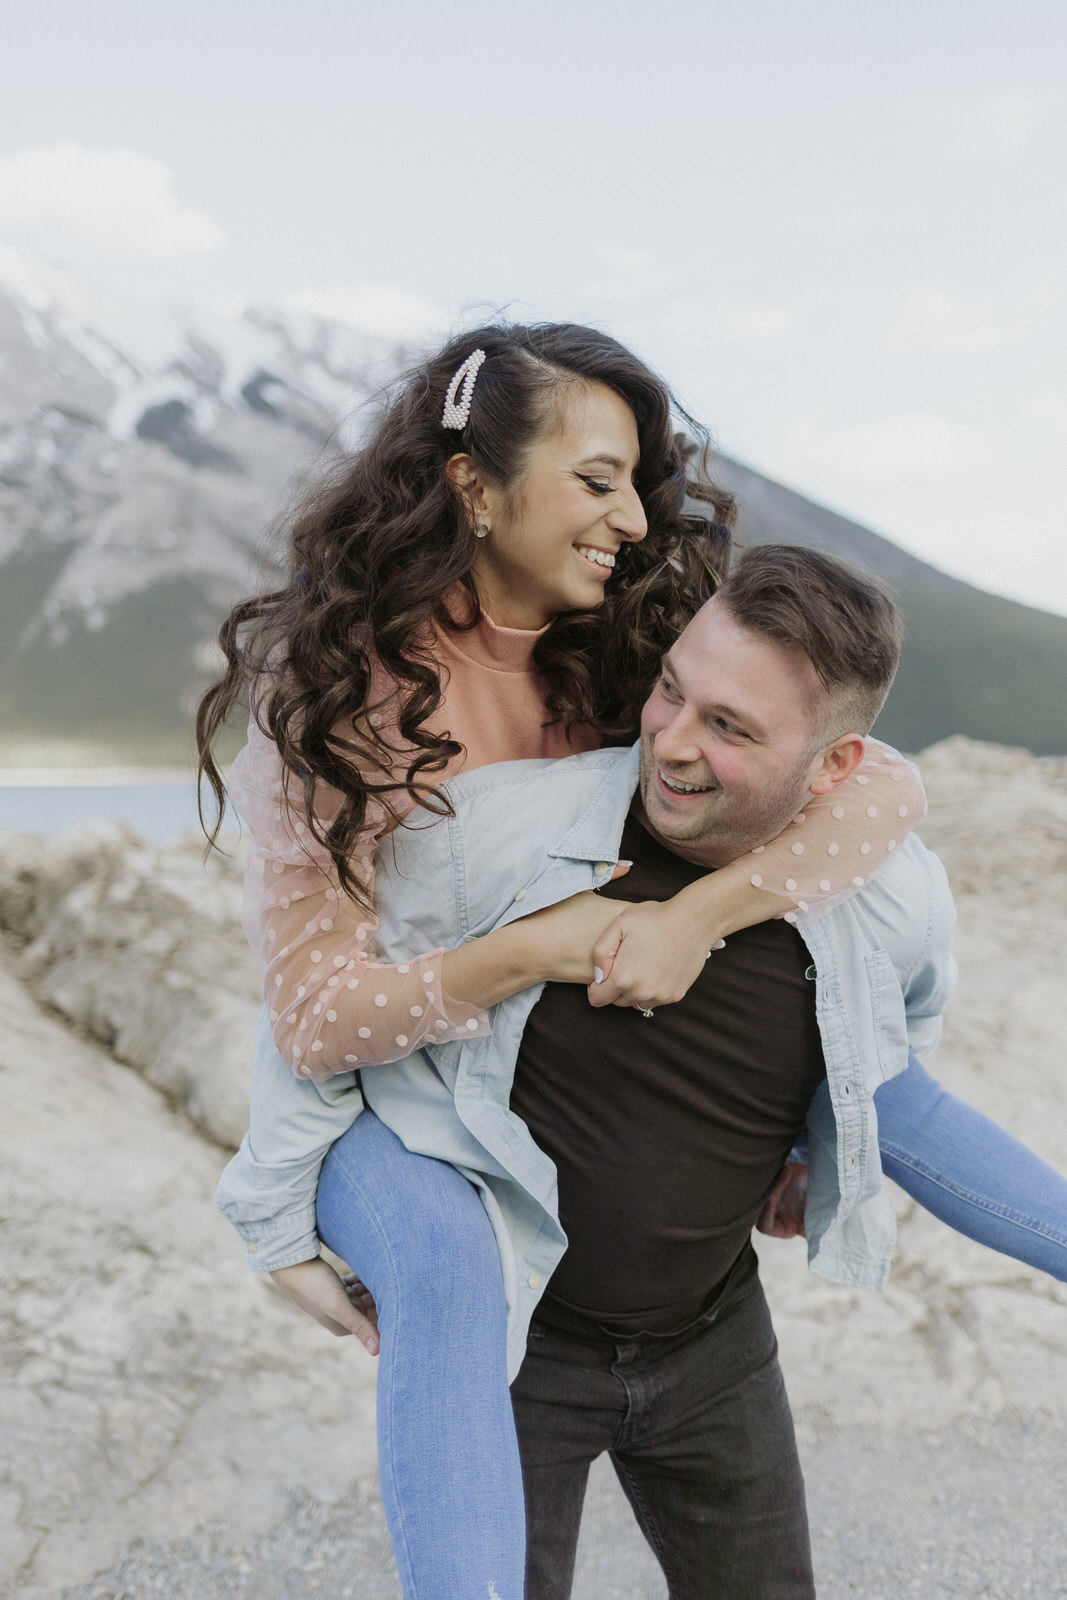
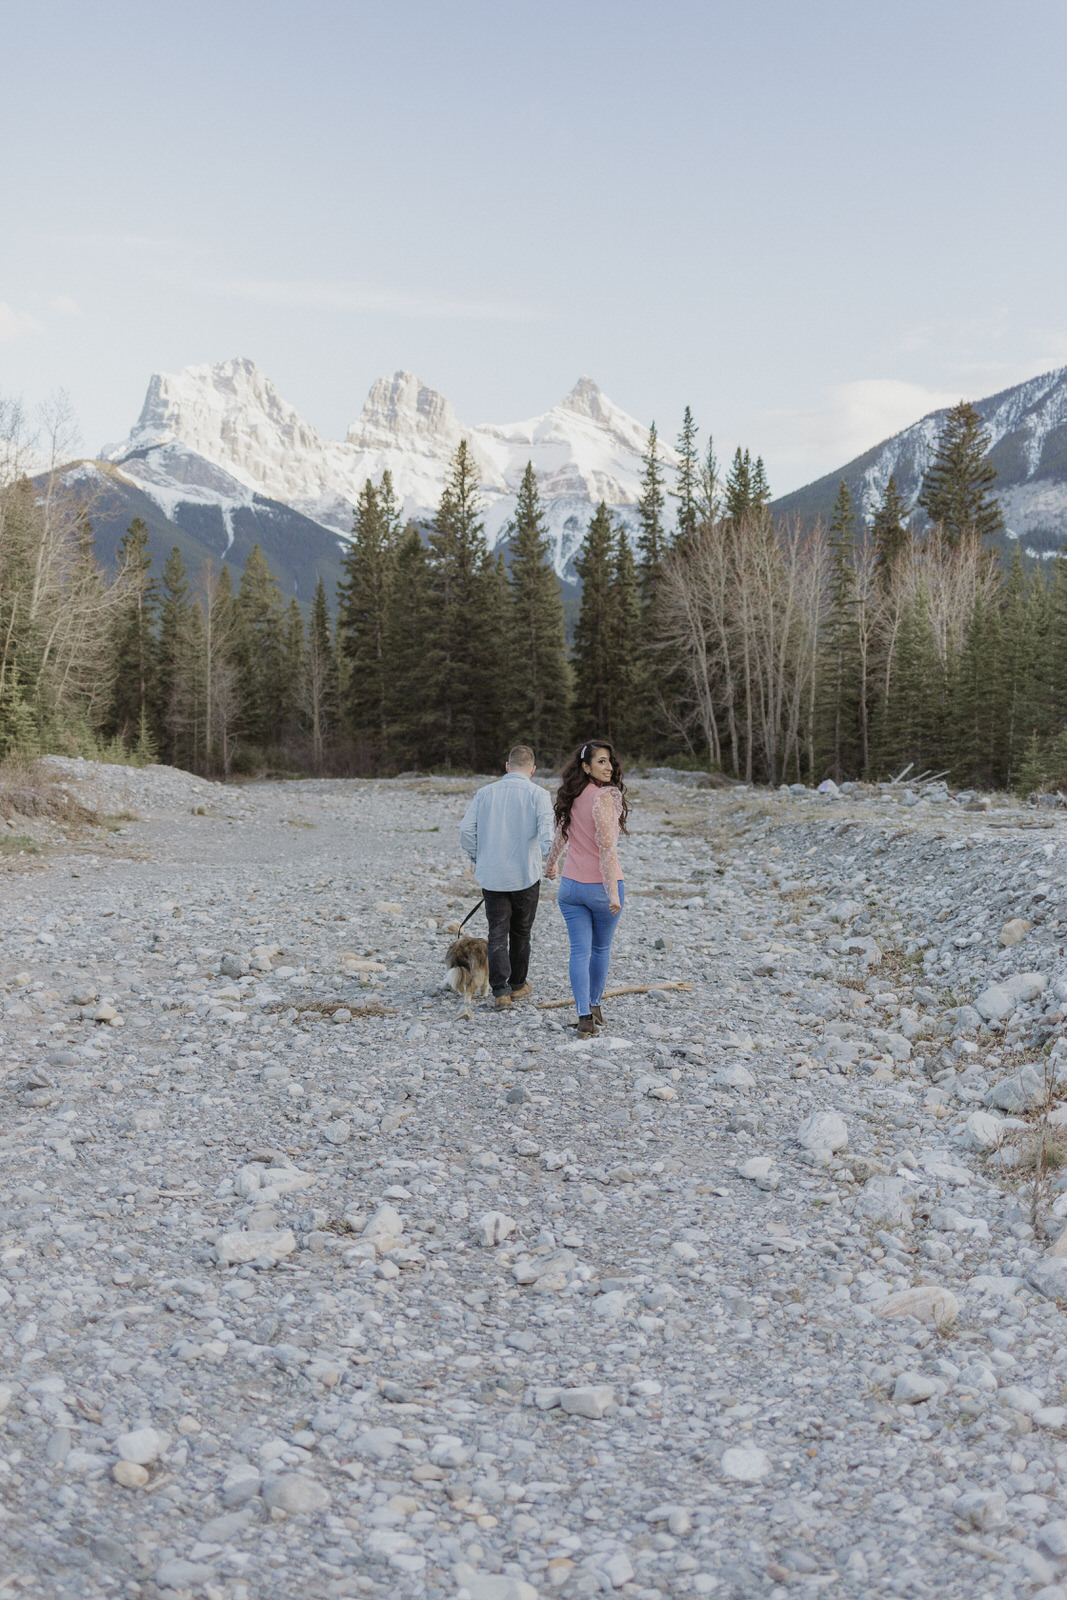
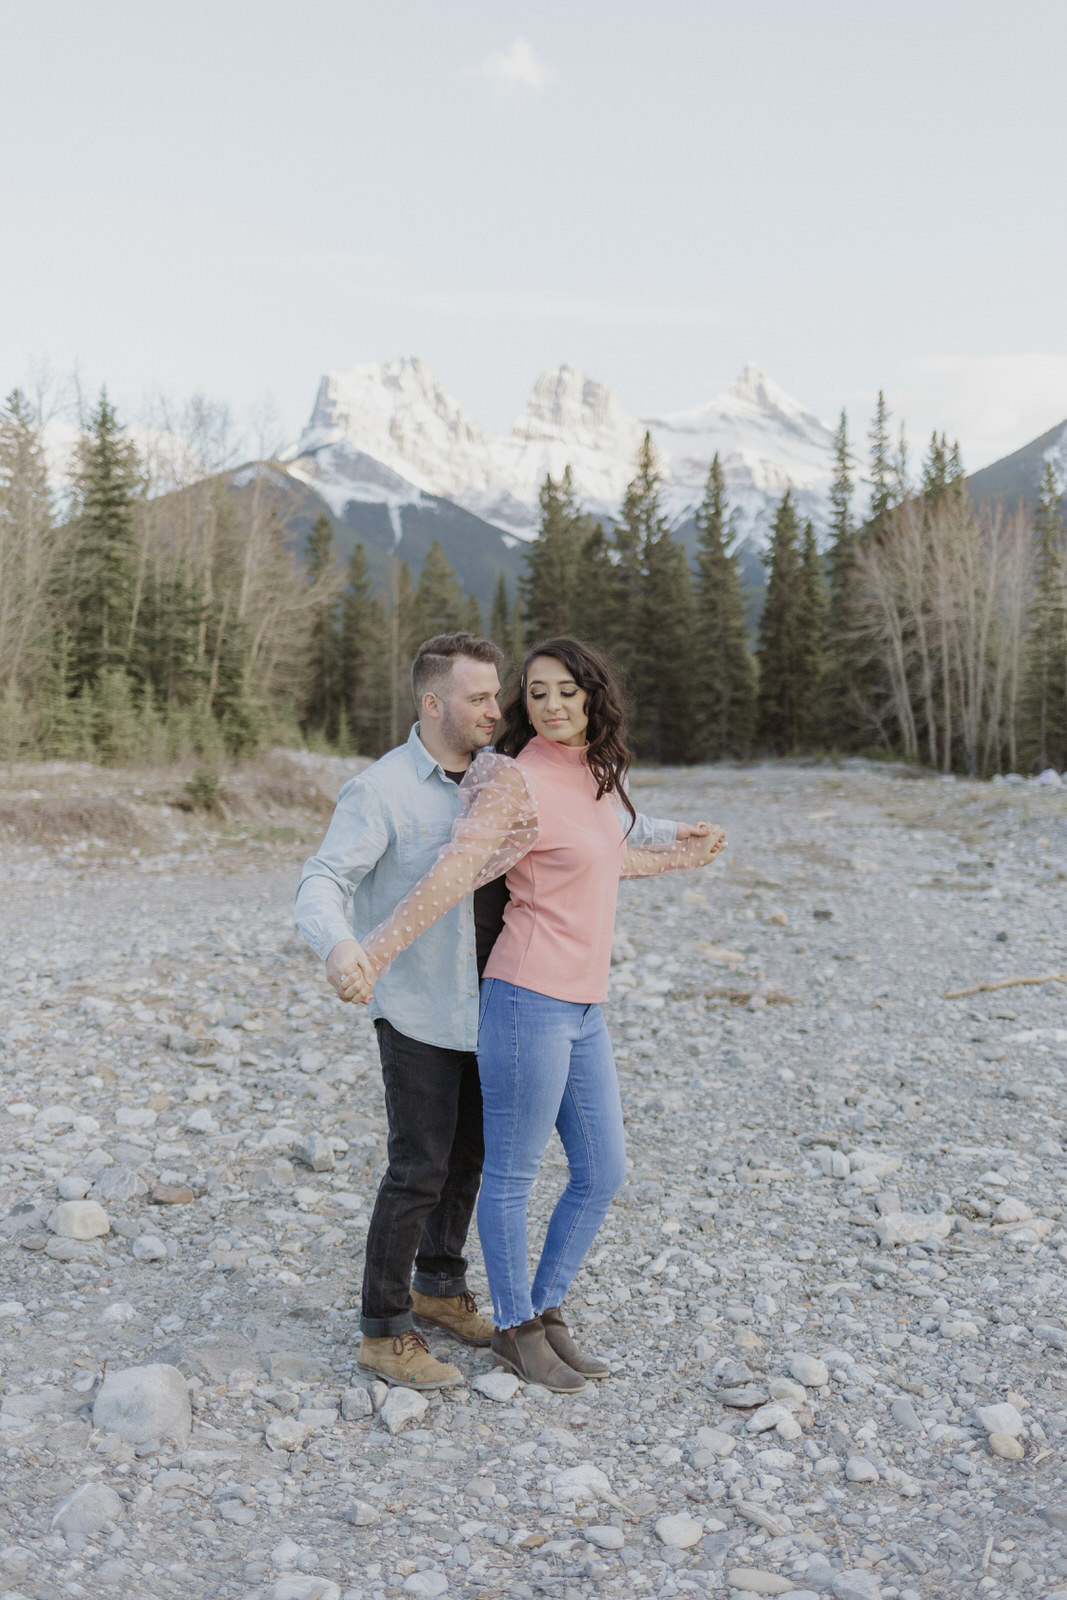
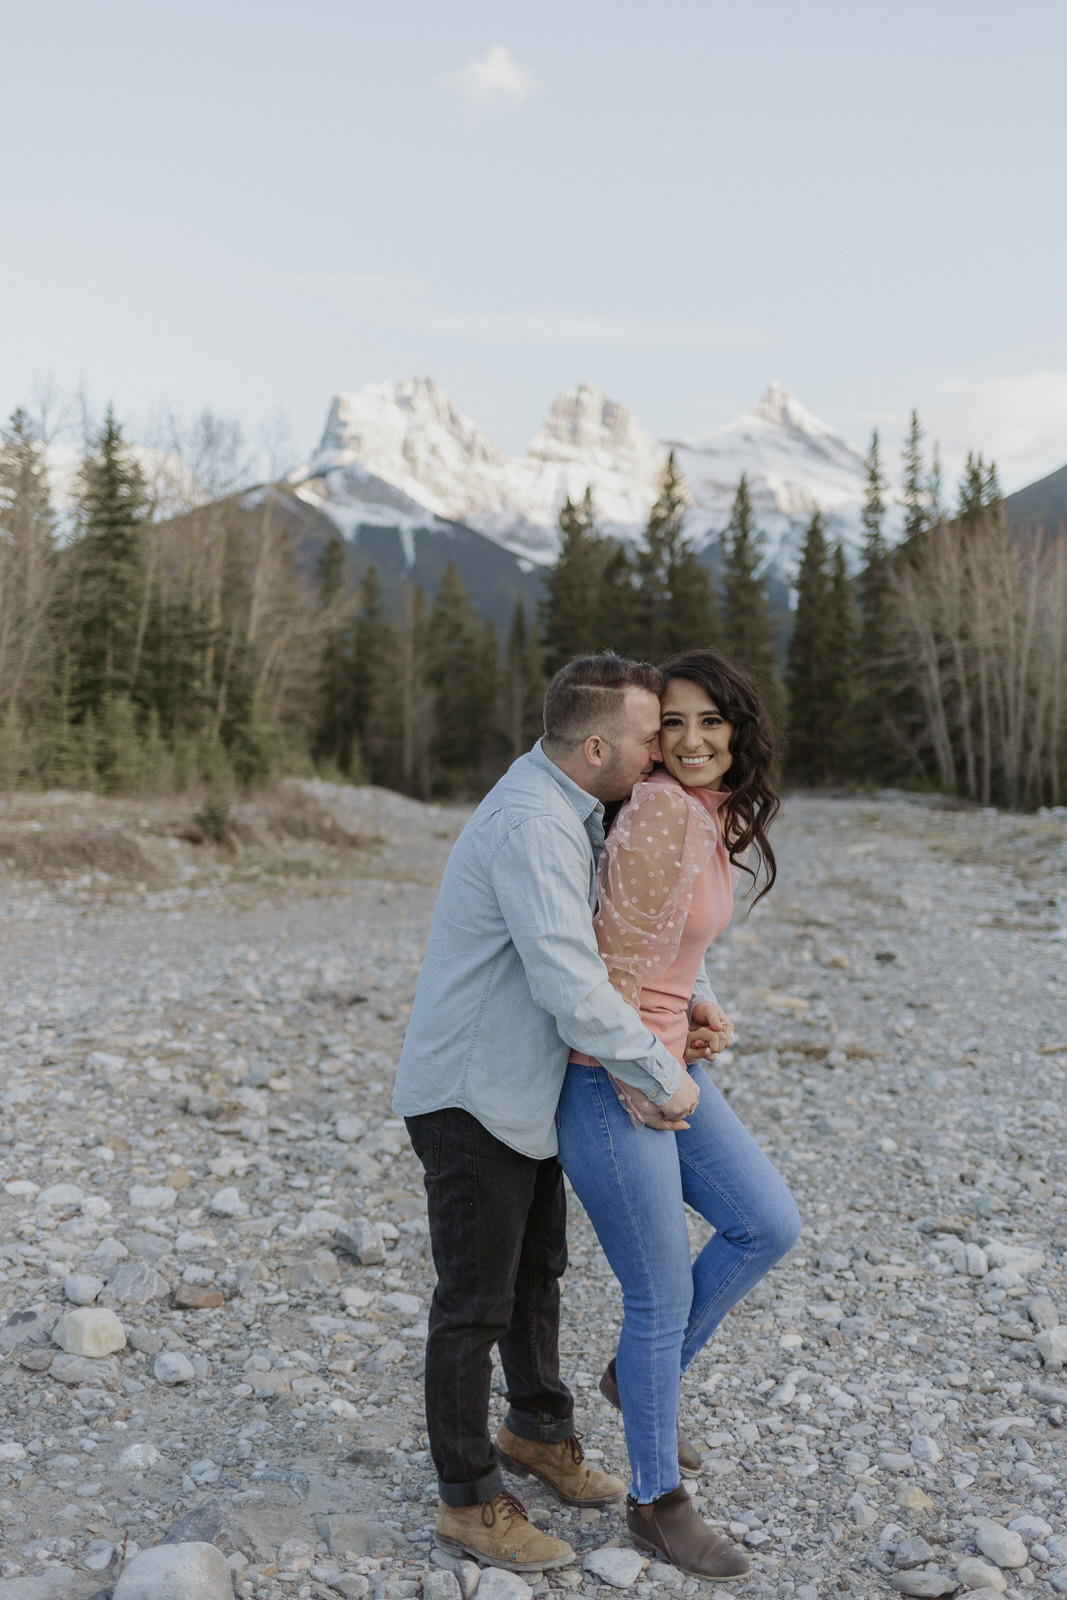
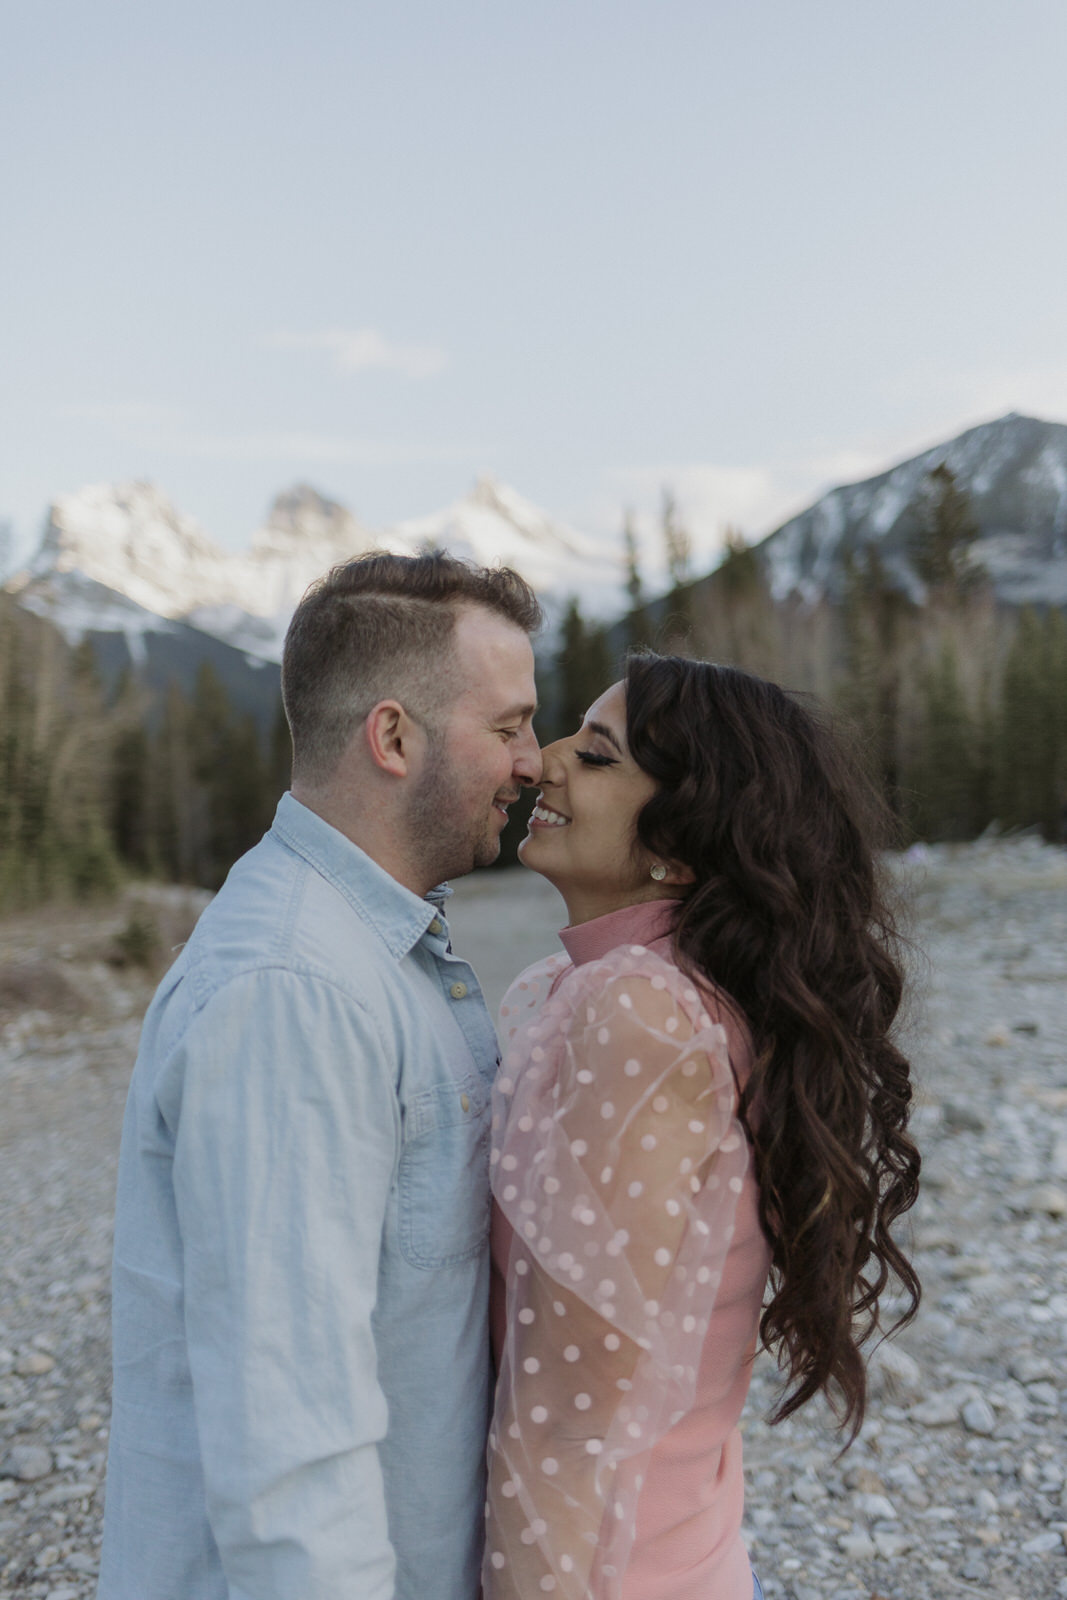
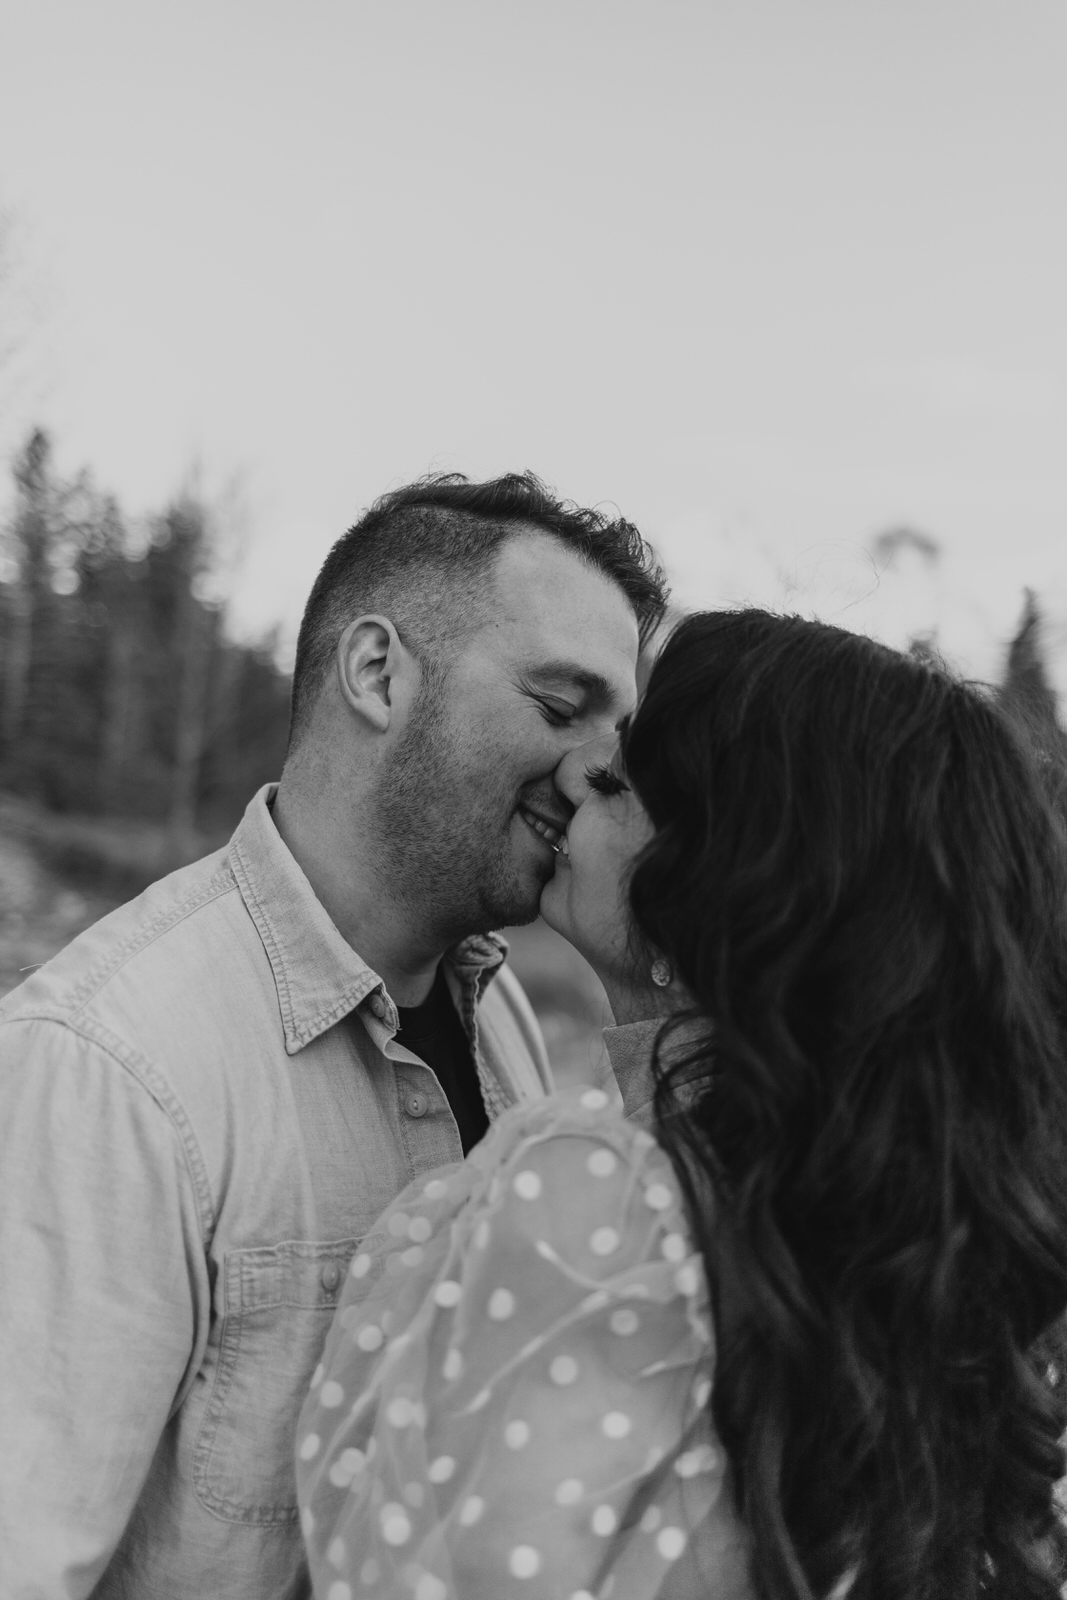
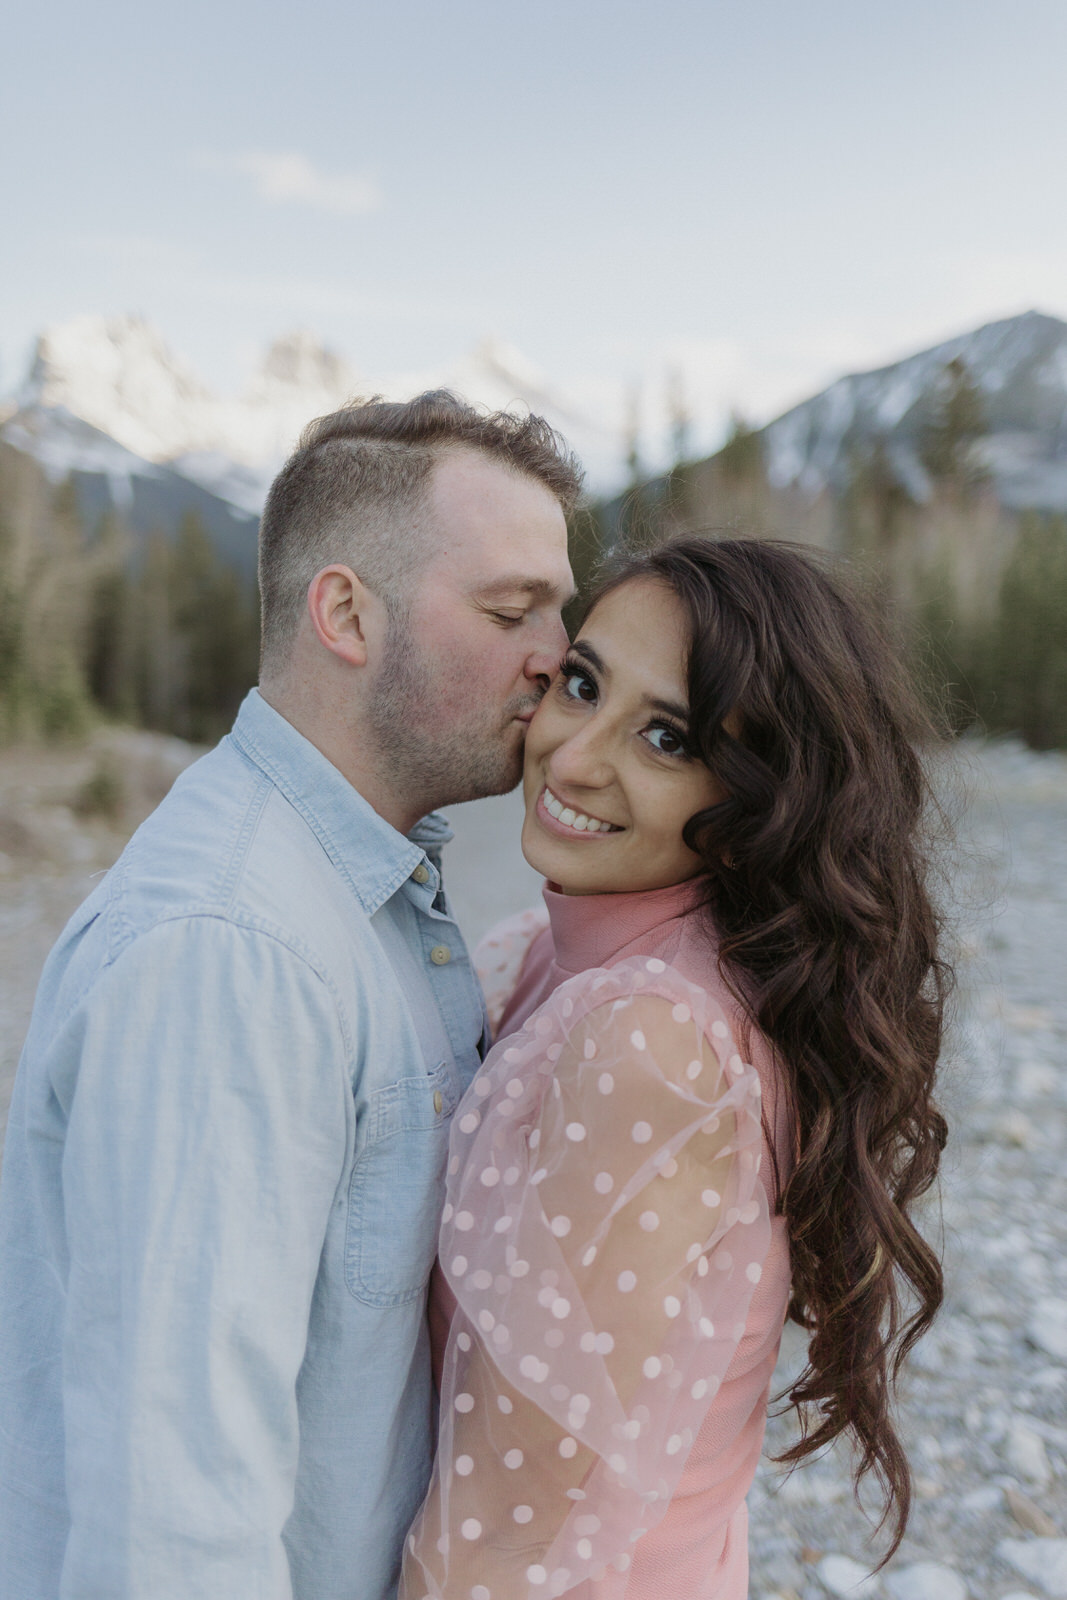
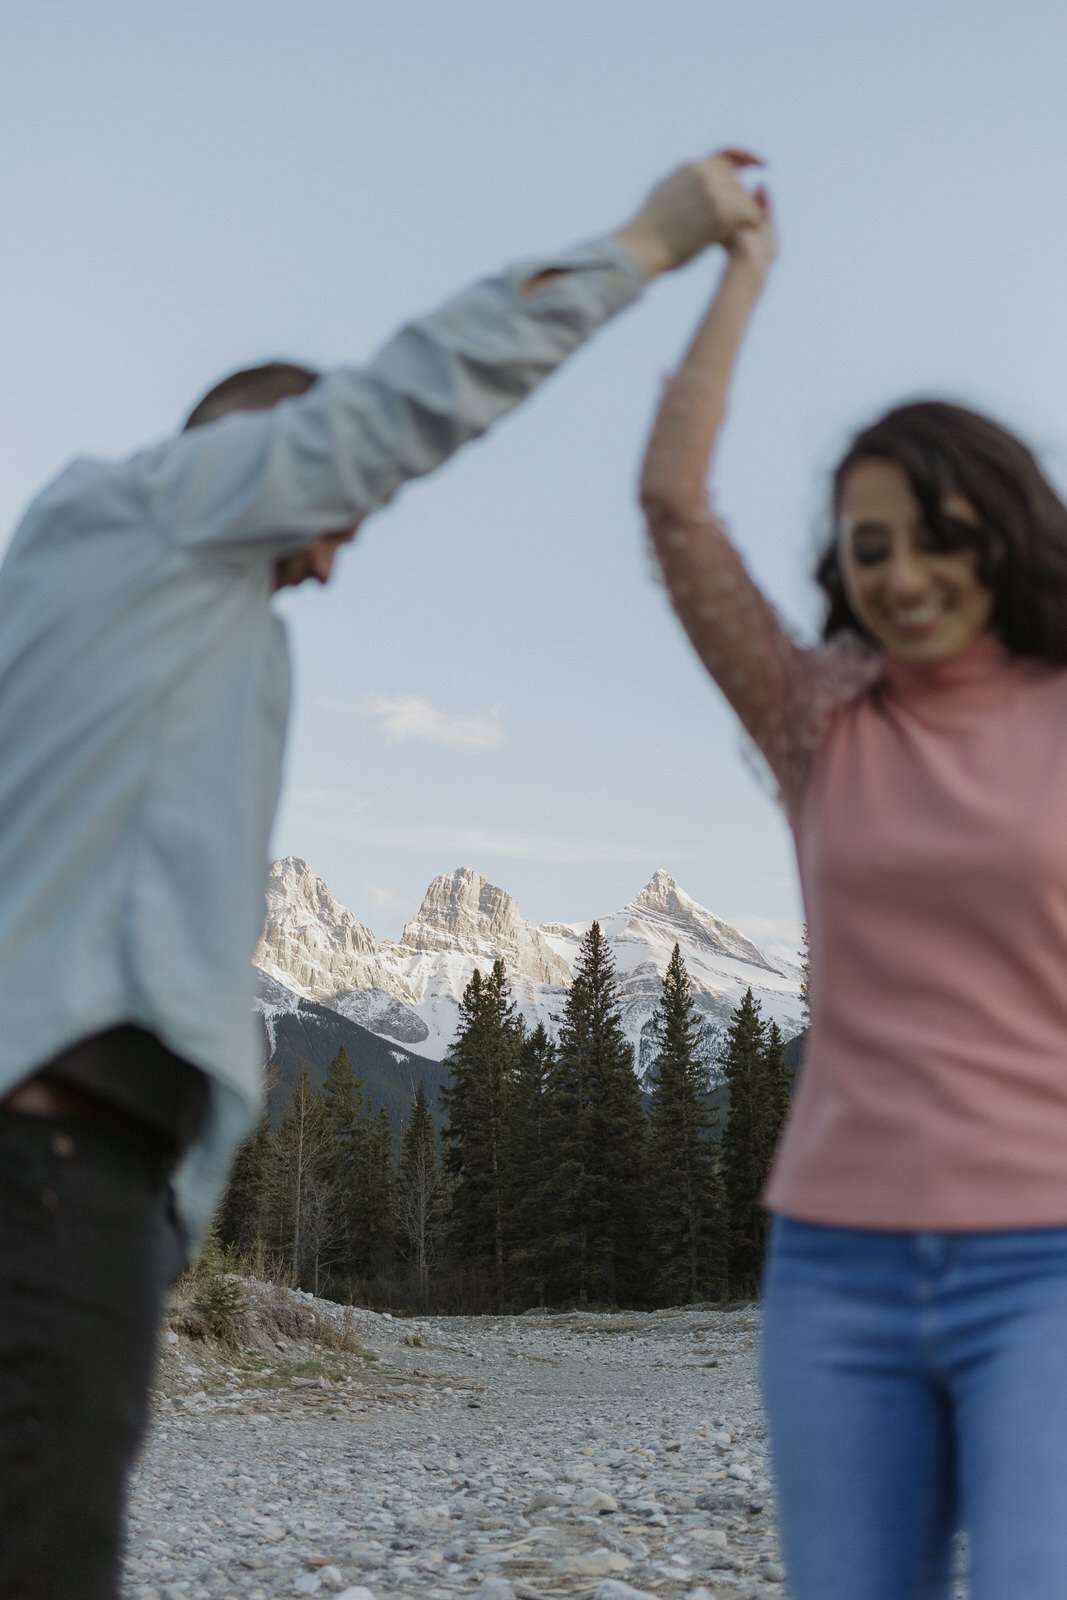
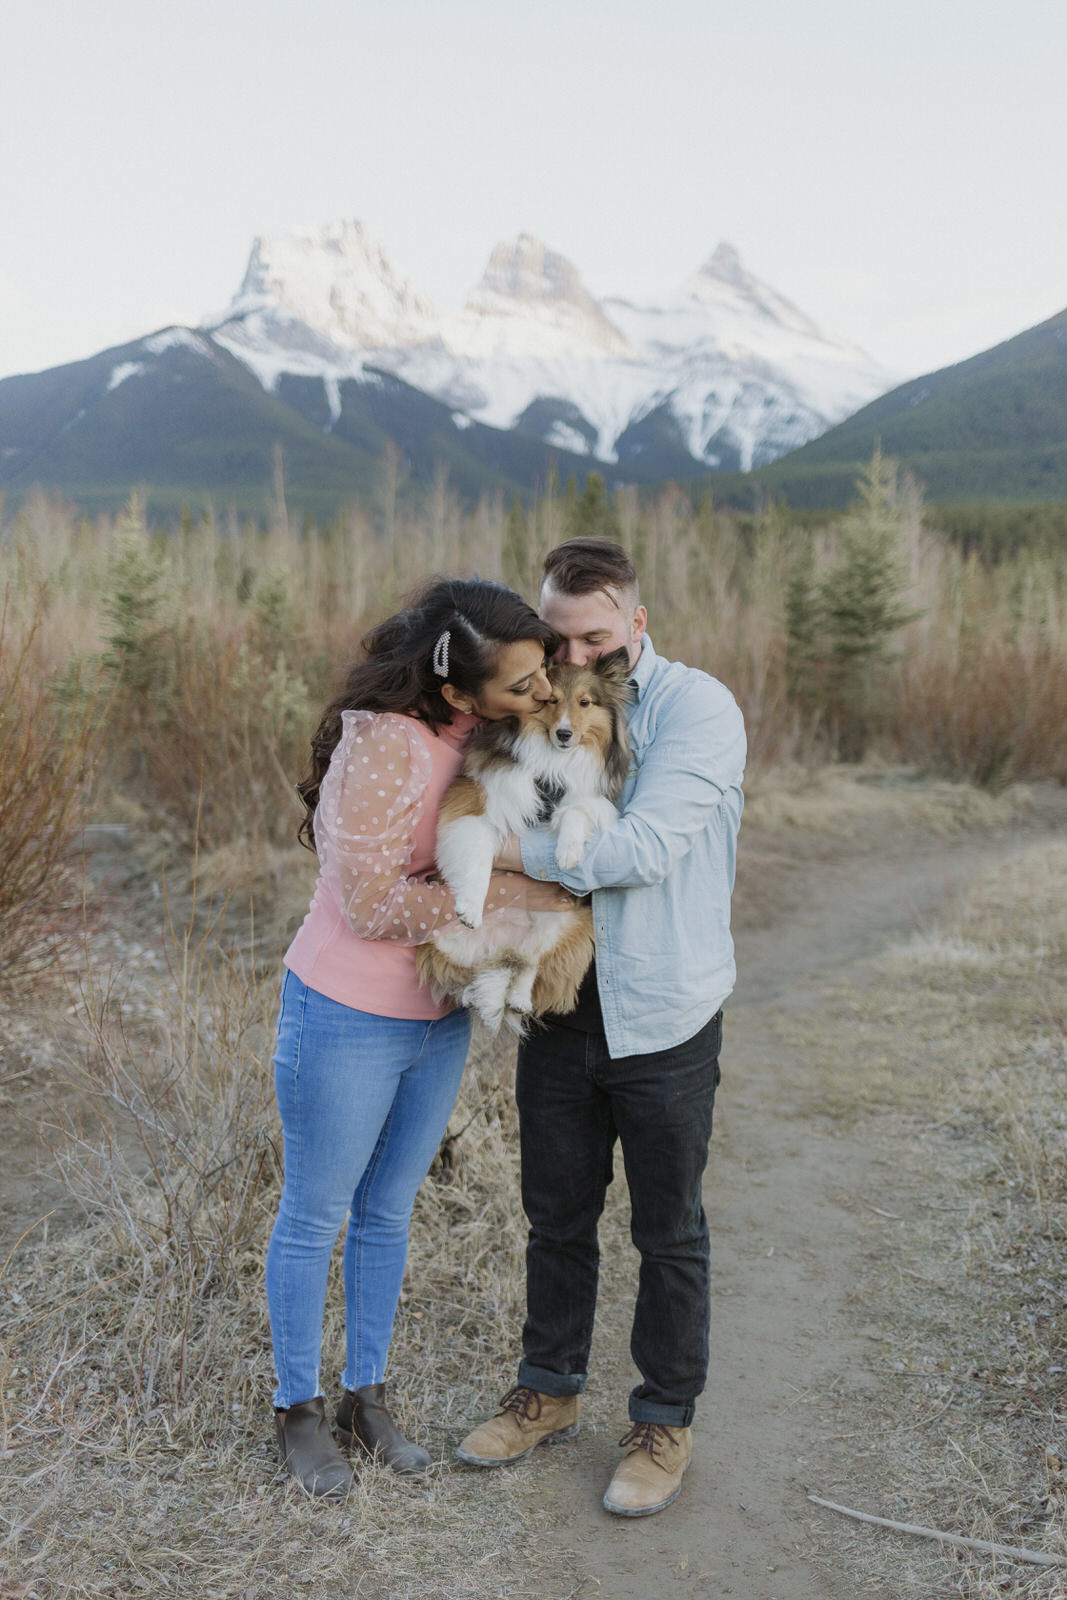
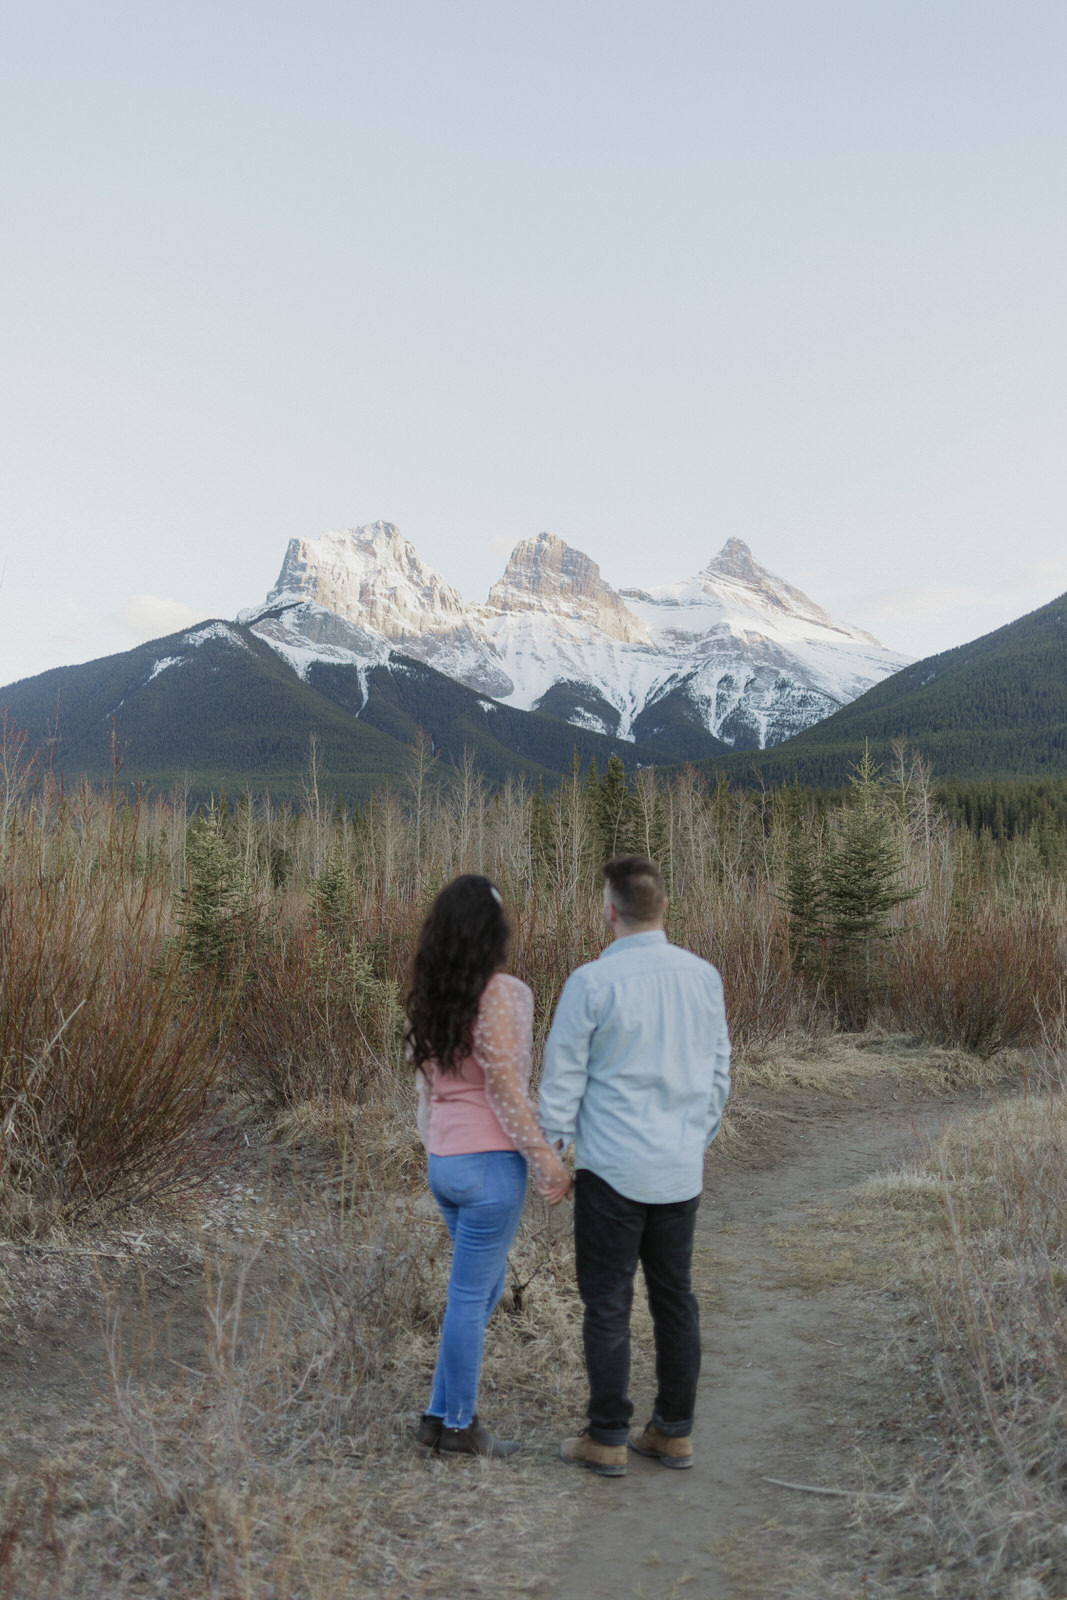
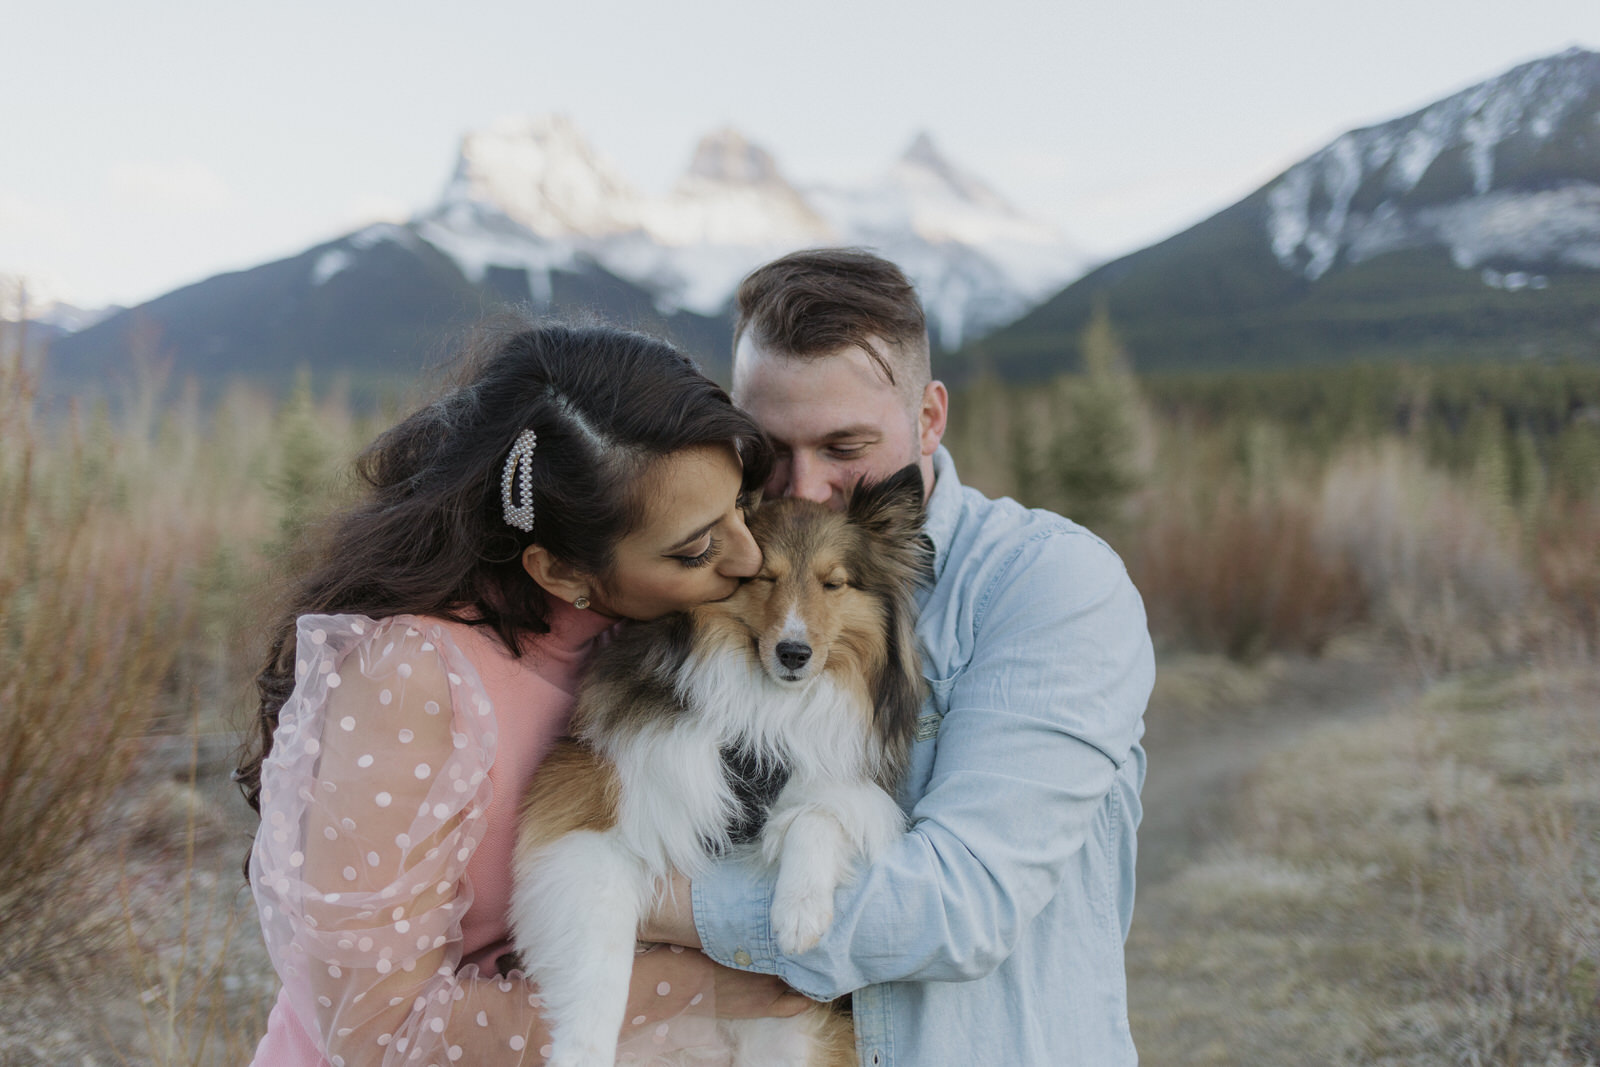
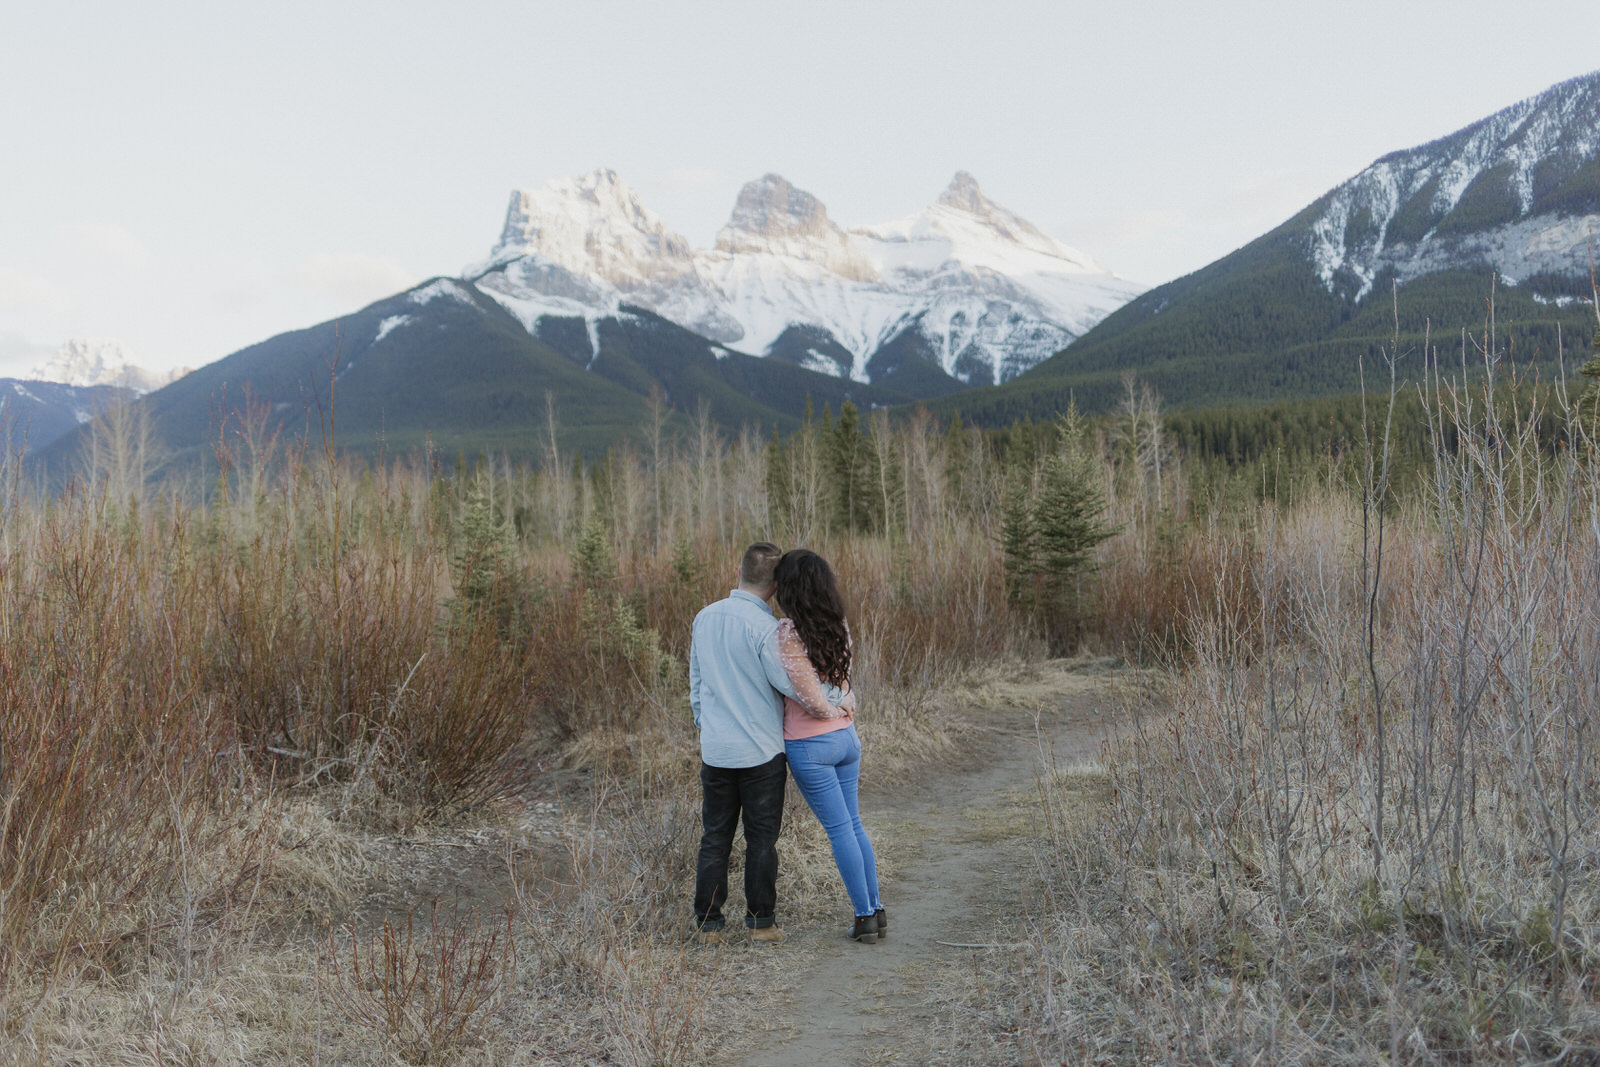
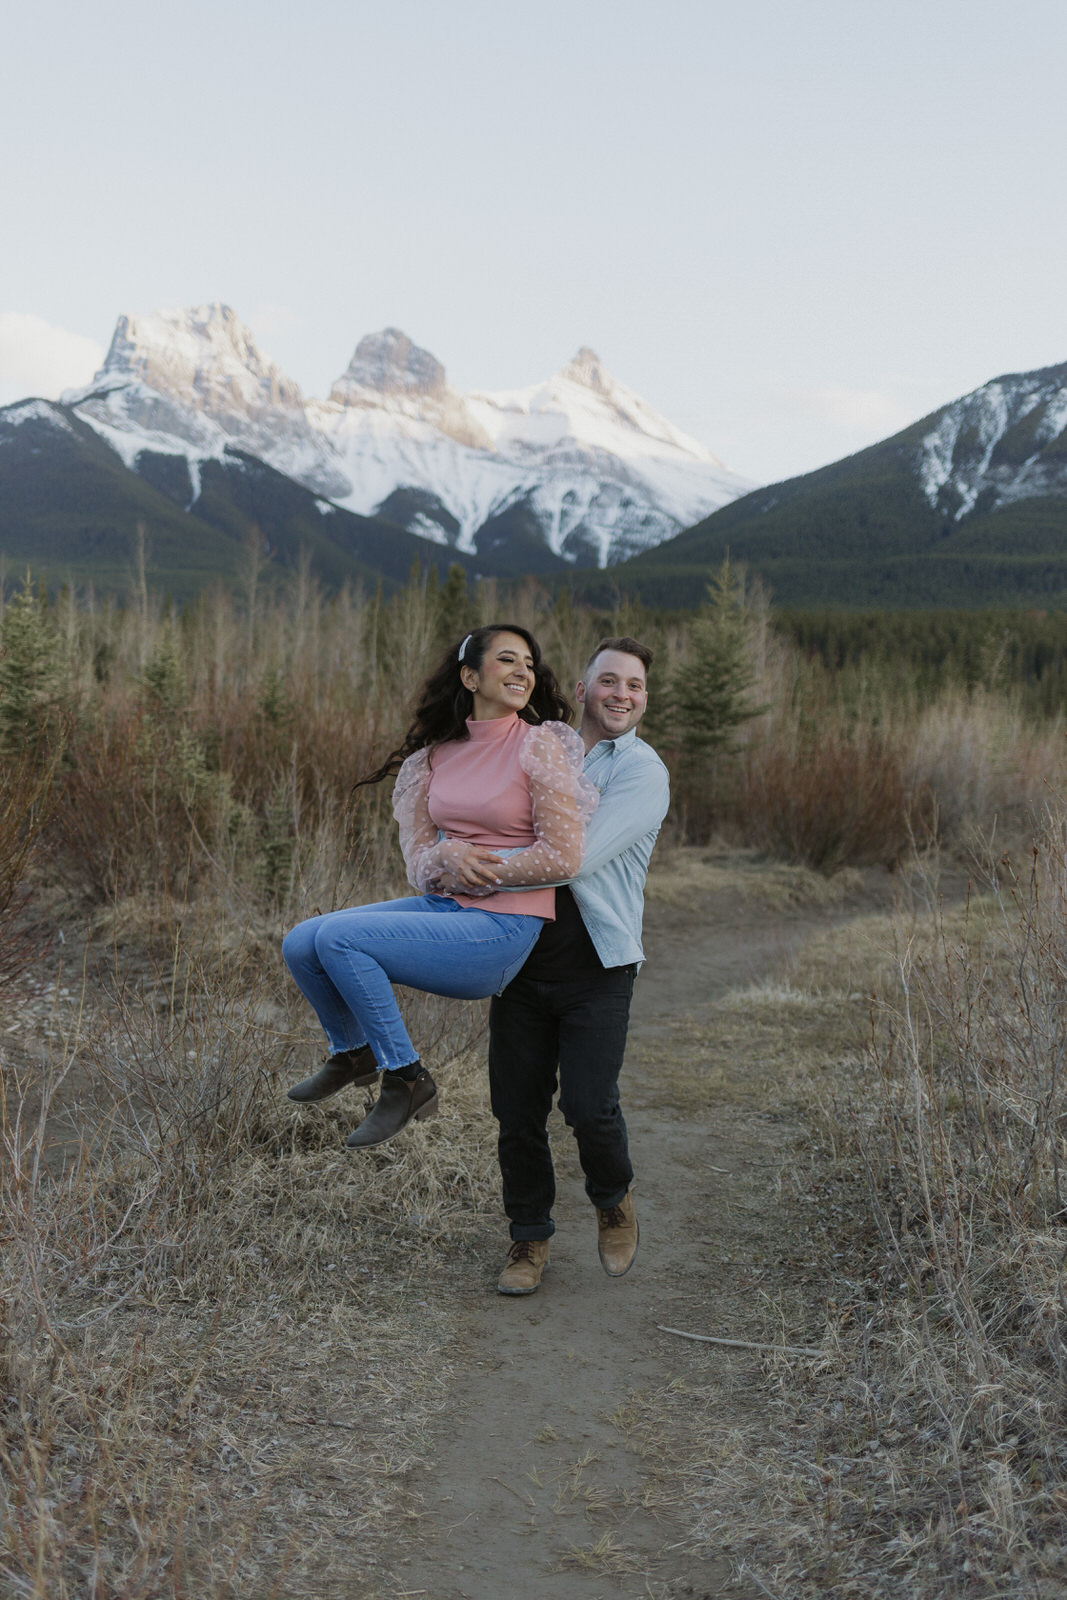
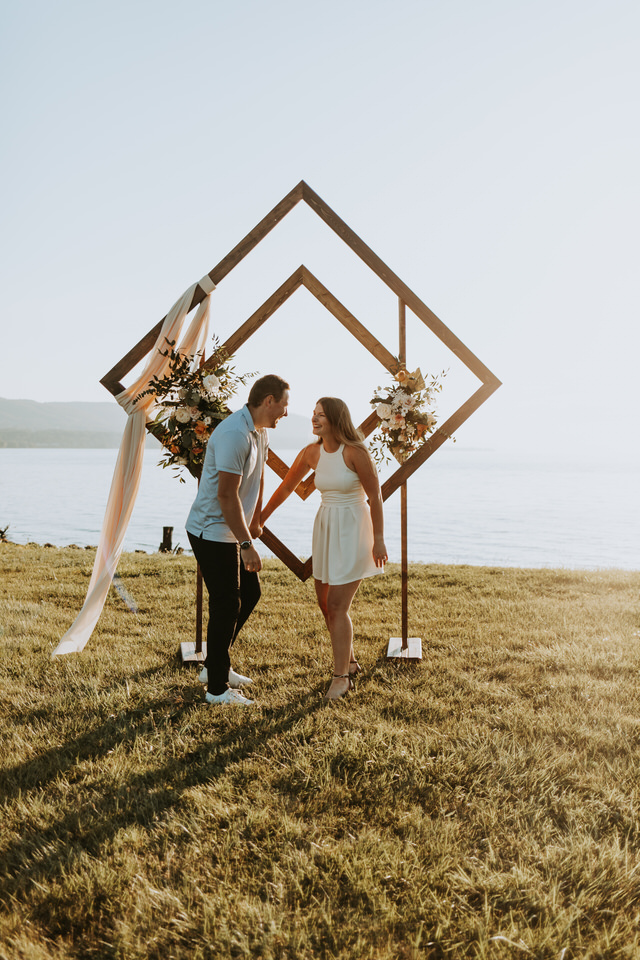
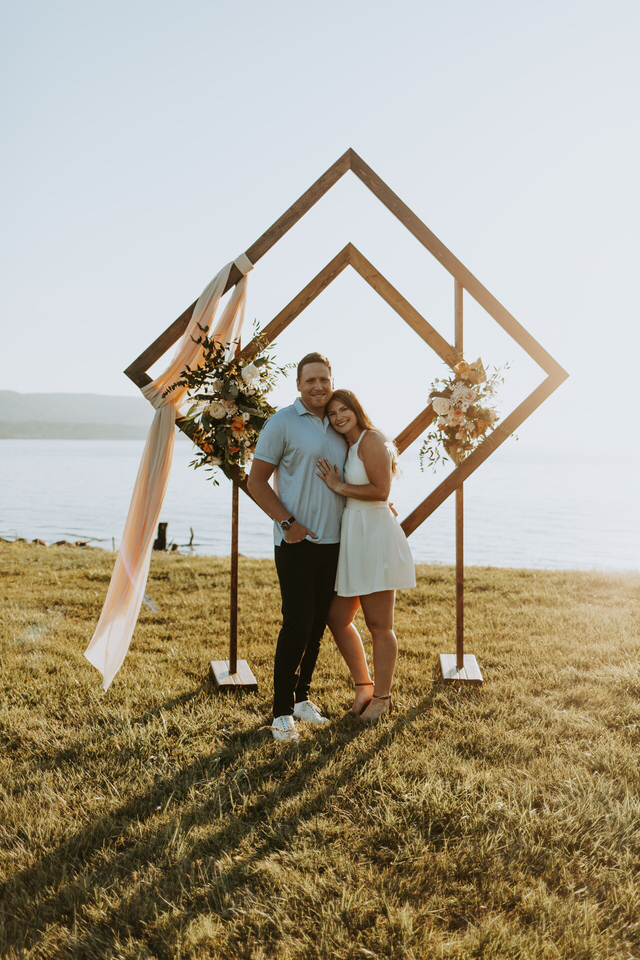
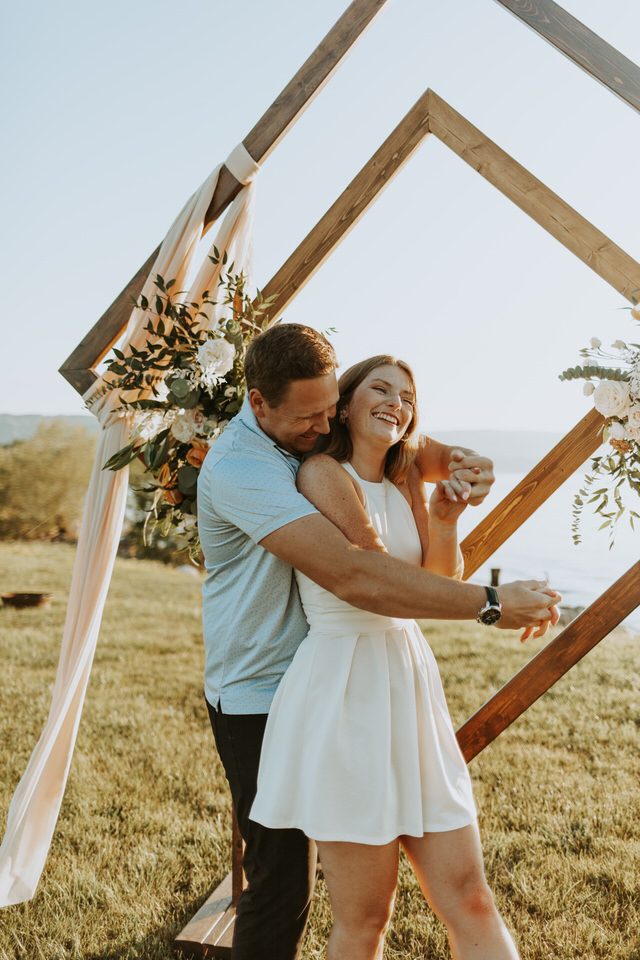
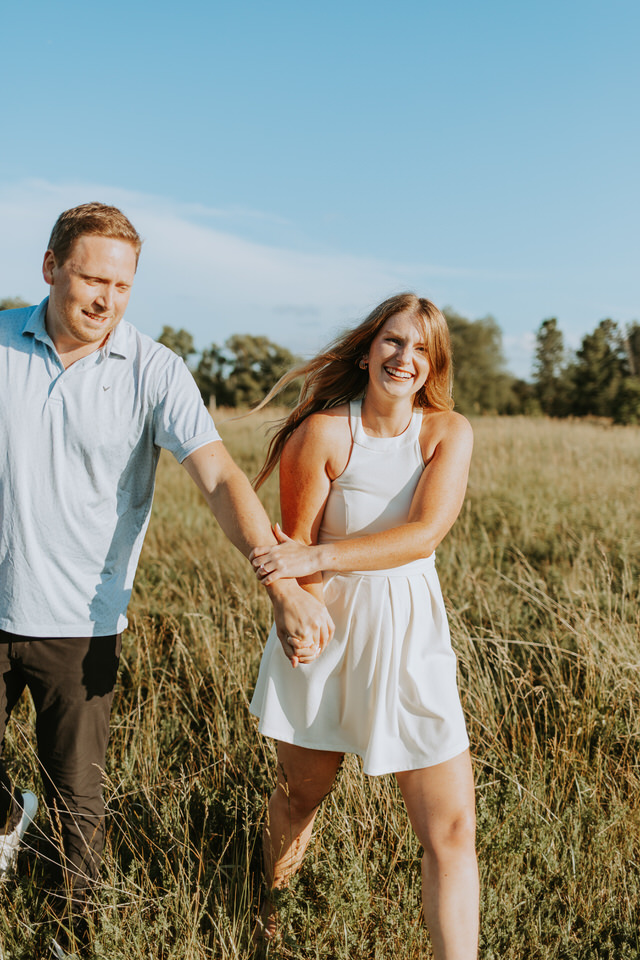
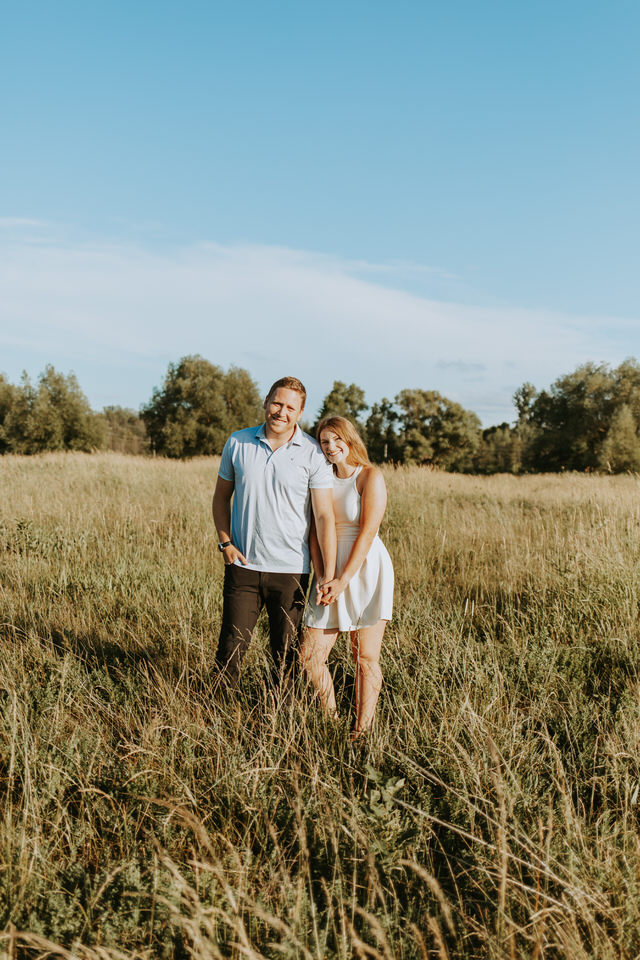
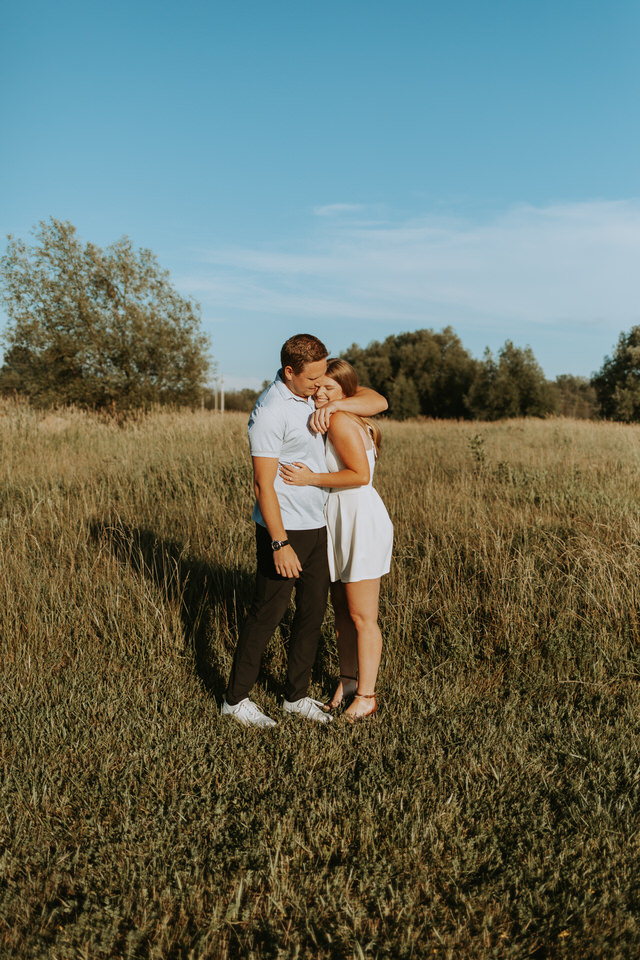
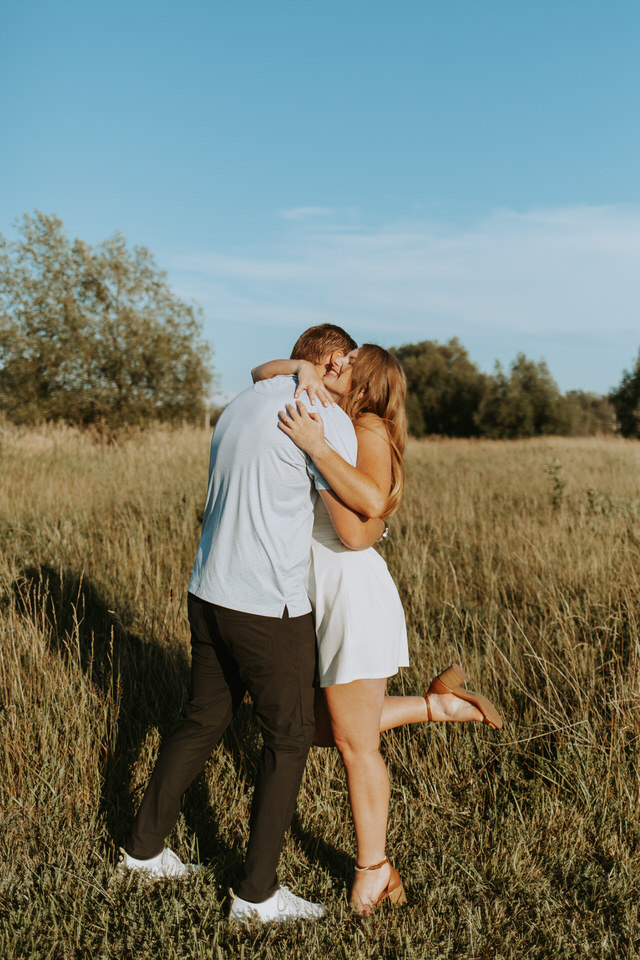
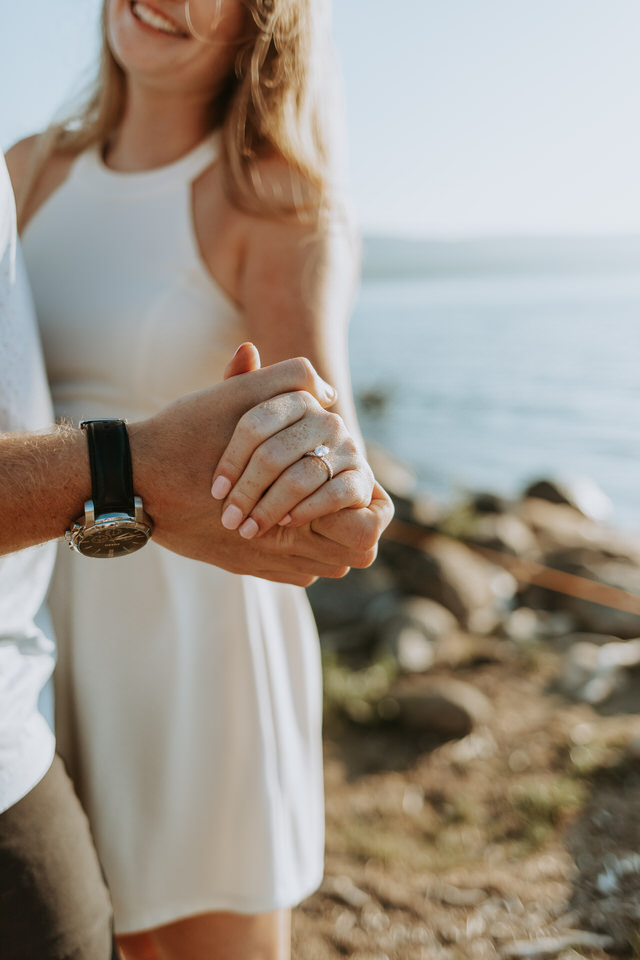
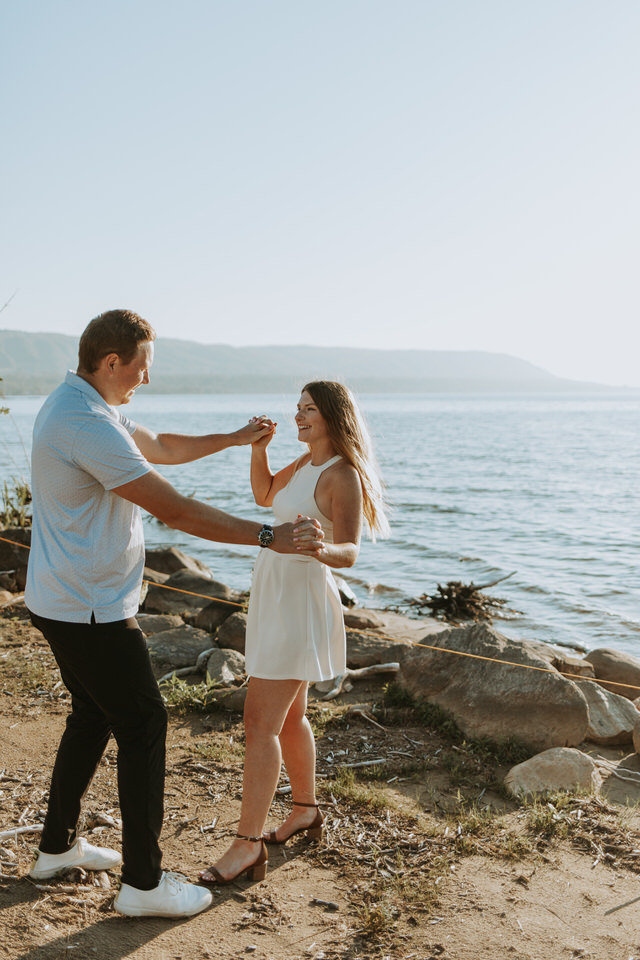
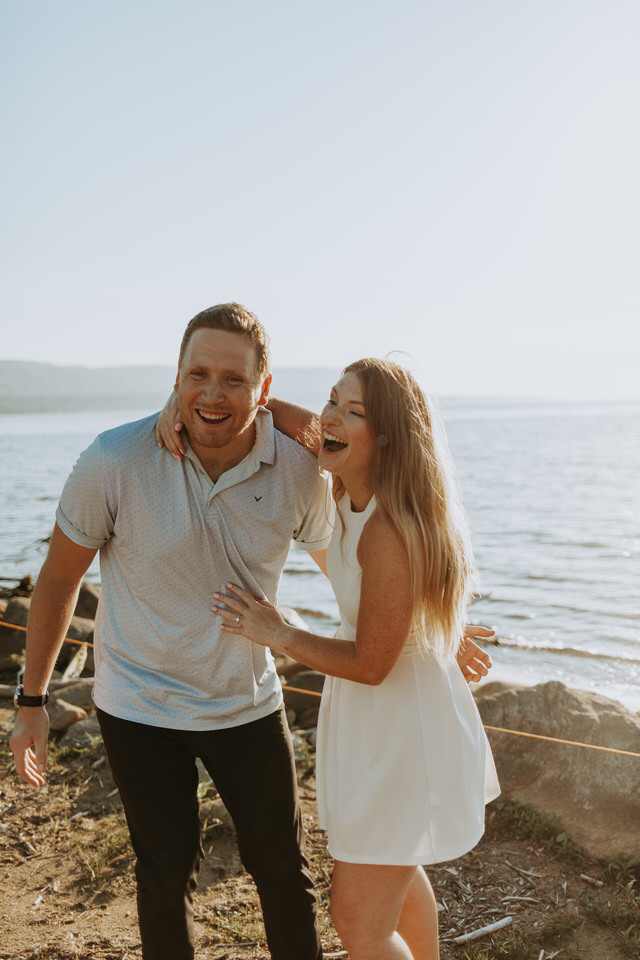
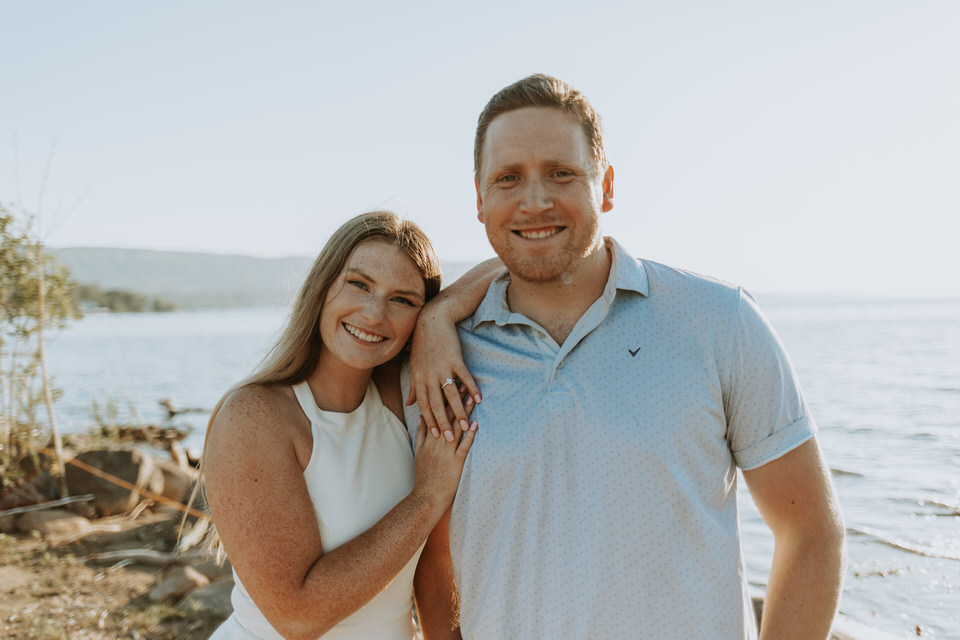
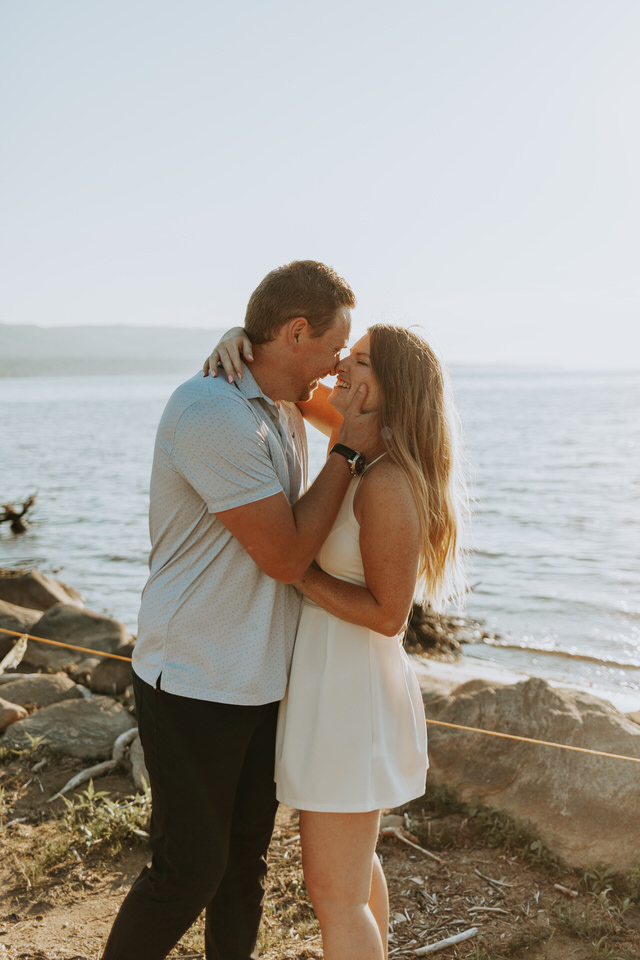
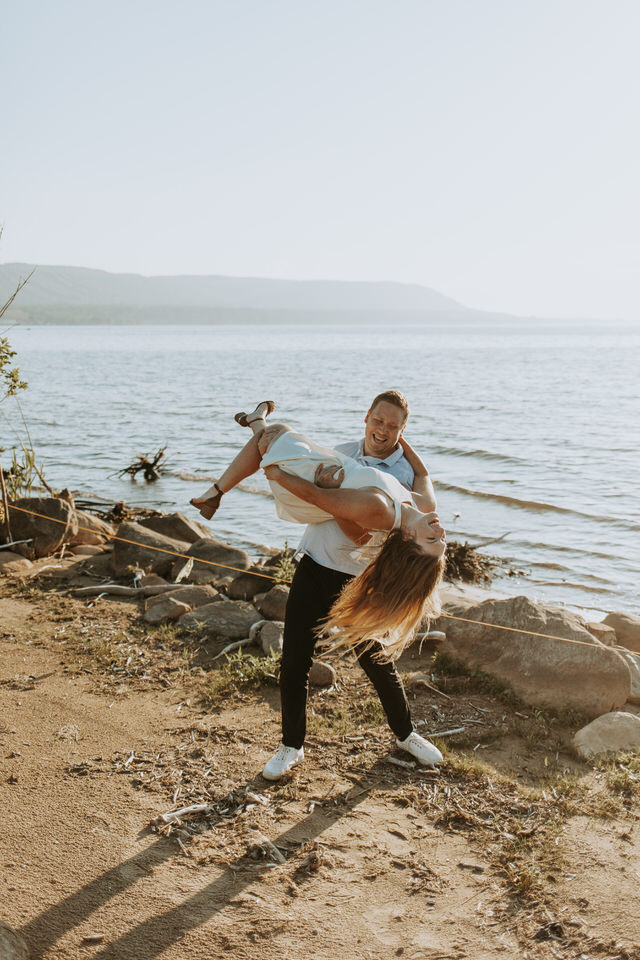
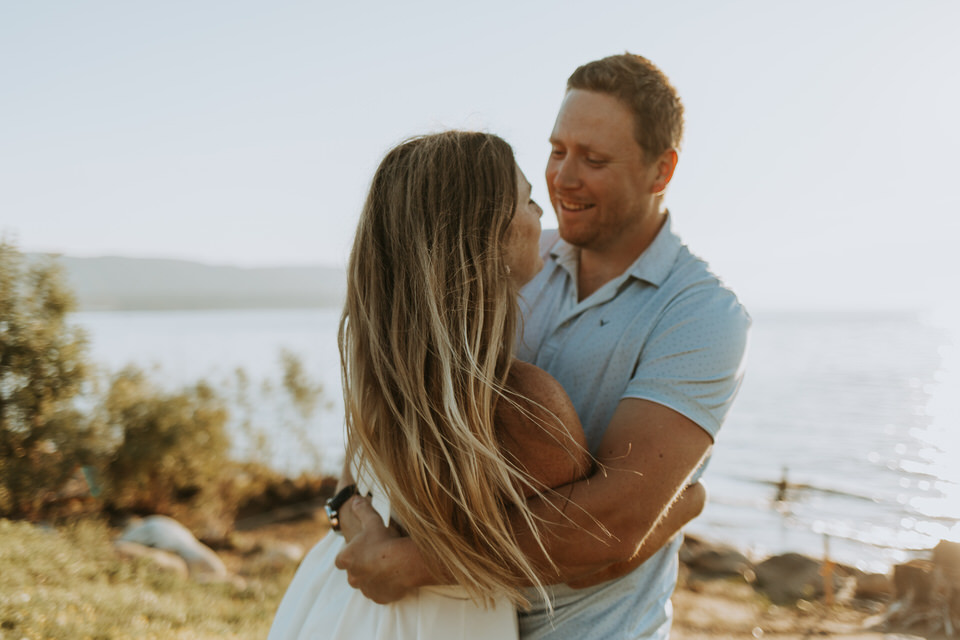
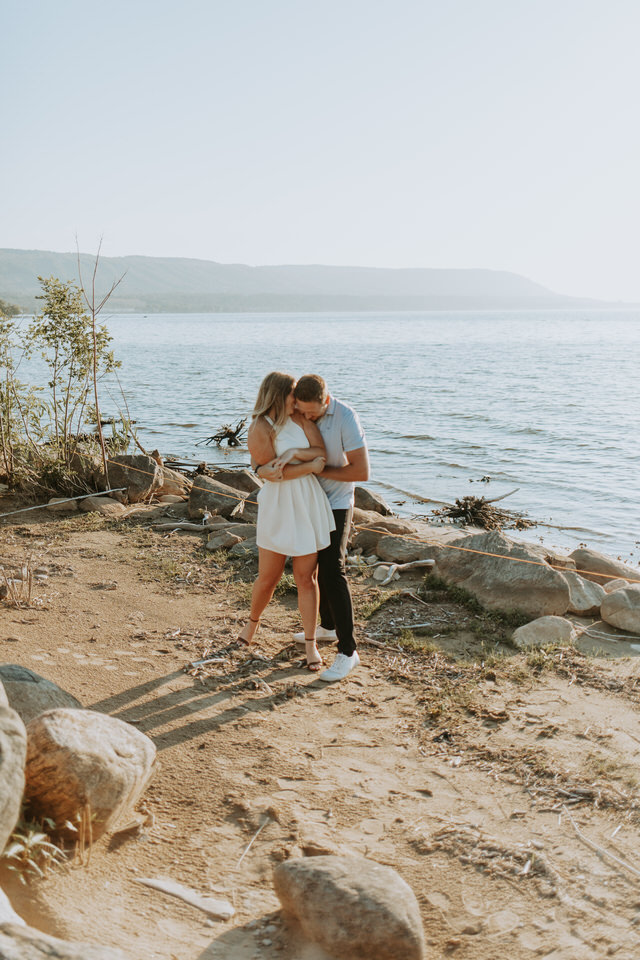
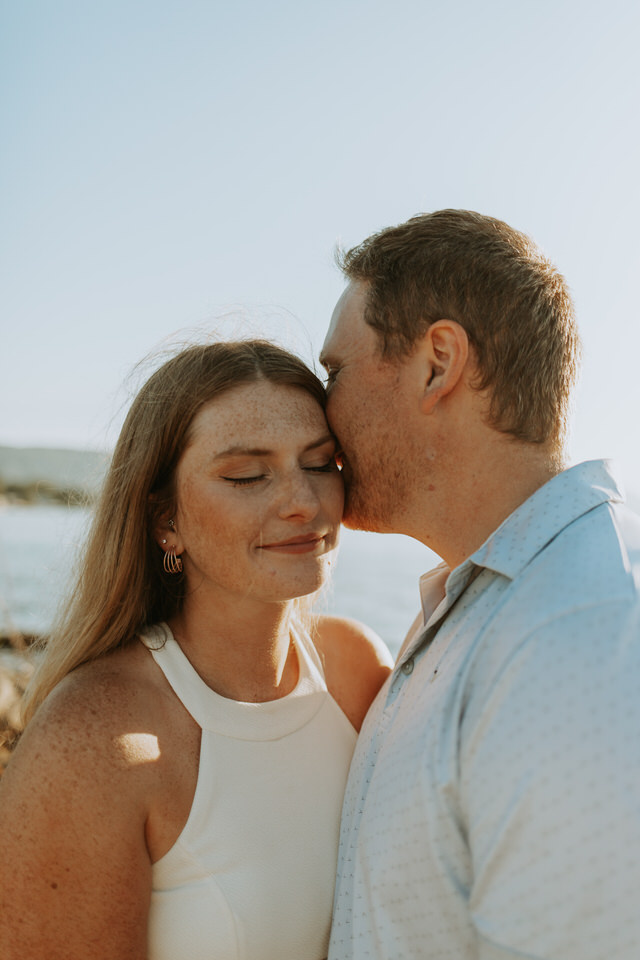
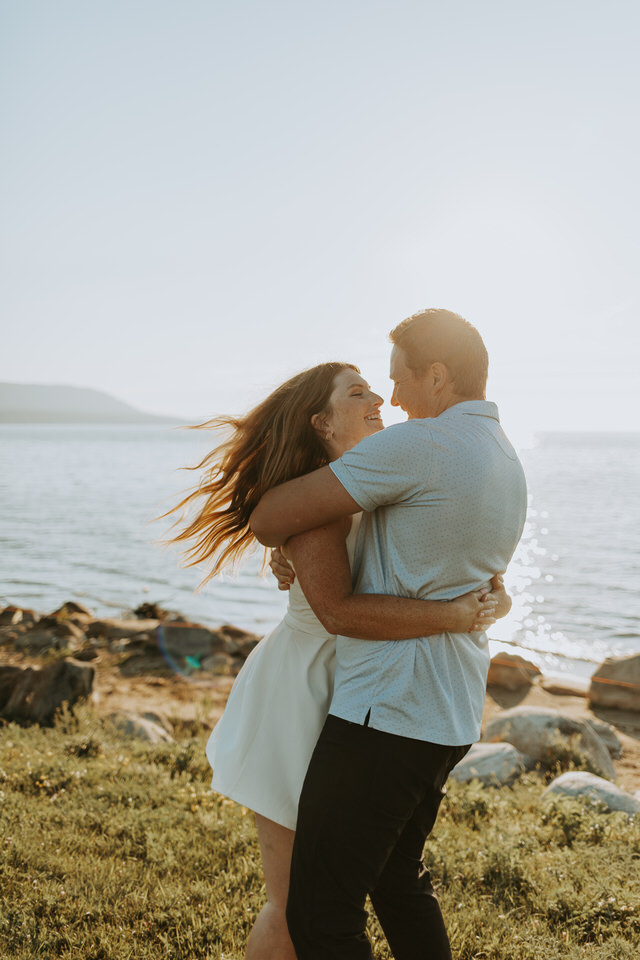
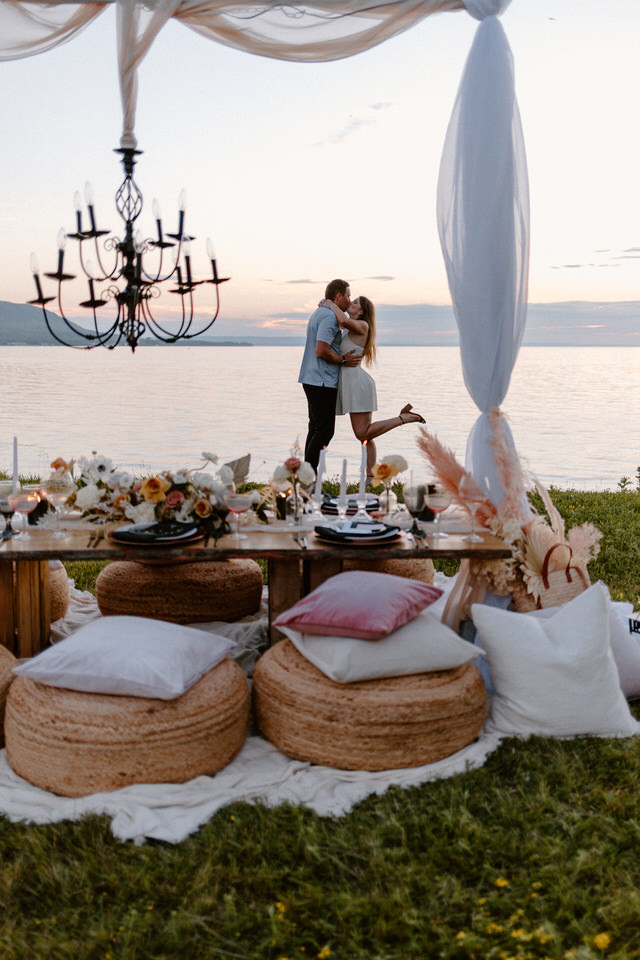
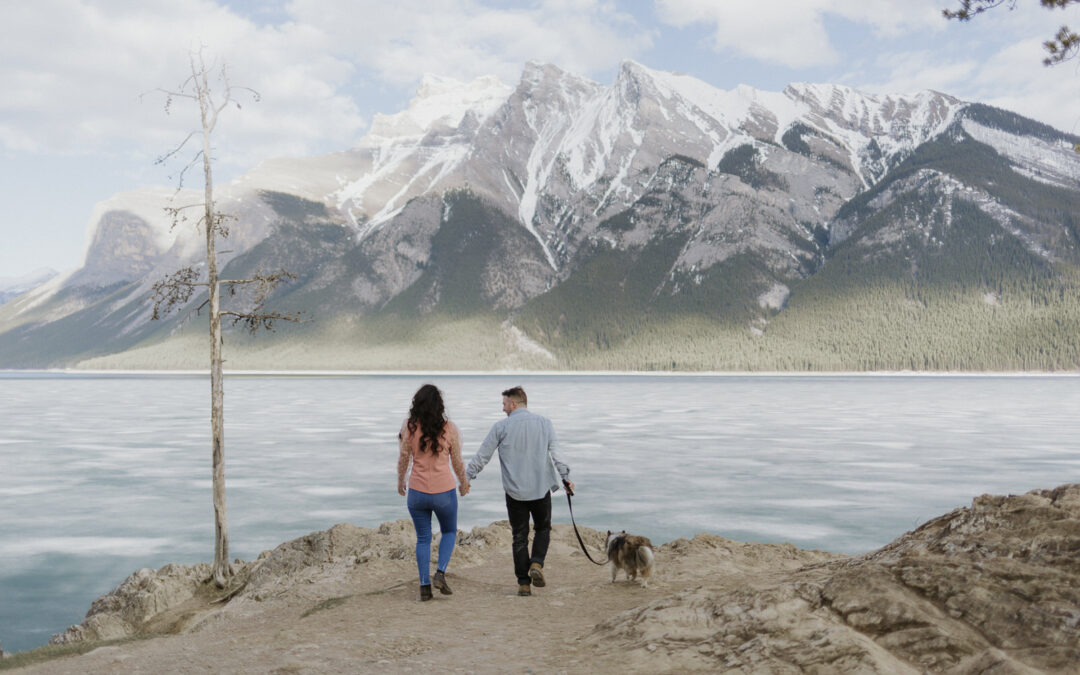
If you’re considering a Lake Minnewanka engagement session check out the photos below and I’m sure you’ll be convinced its a magical place.
M
PLANNING A WEDDING IN CANADA?
I’m ready to help you plan the elopement or intimate wedding of your dreams. Take it from the girl who has been around the country and knows all the best spots. You deserve to have the best adventure guide & photographer for your wedding or elopement!
by Marie | Aug 6, 2021 | Travel
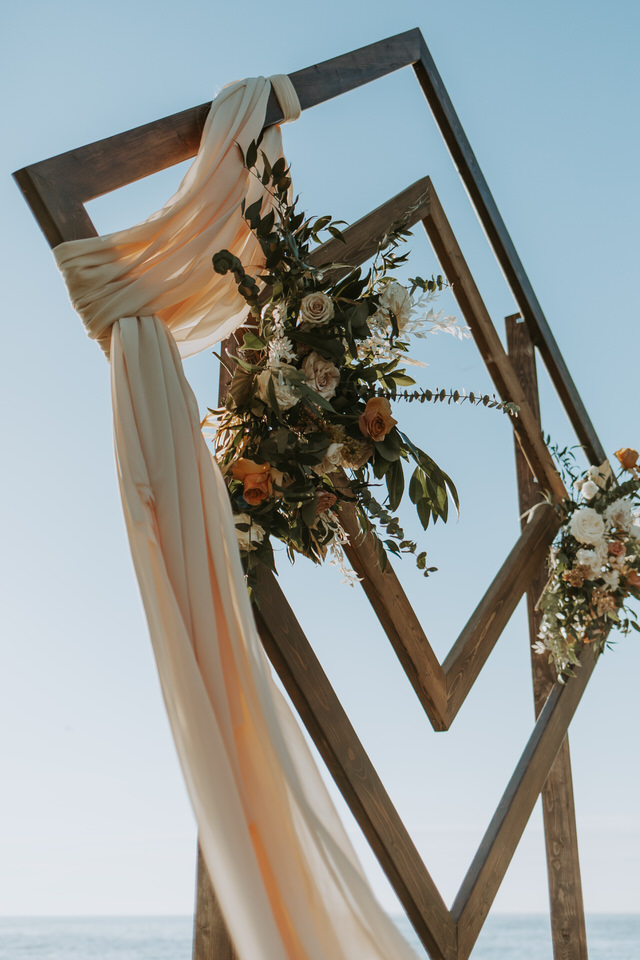
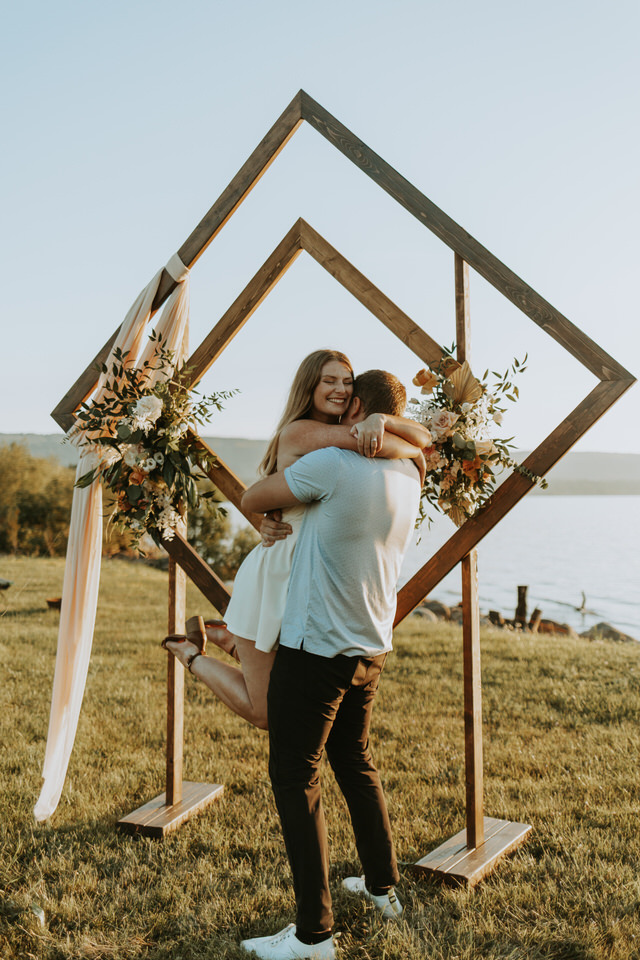
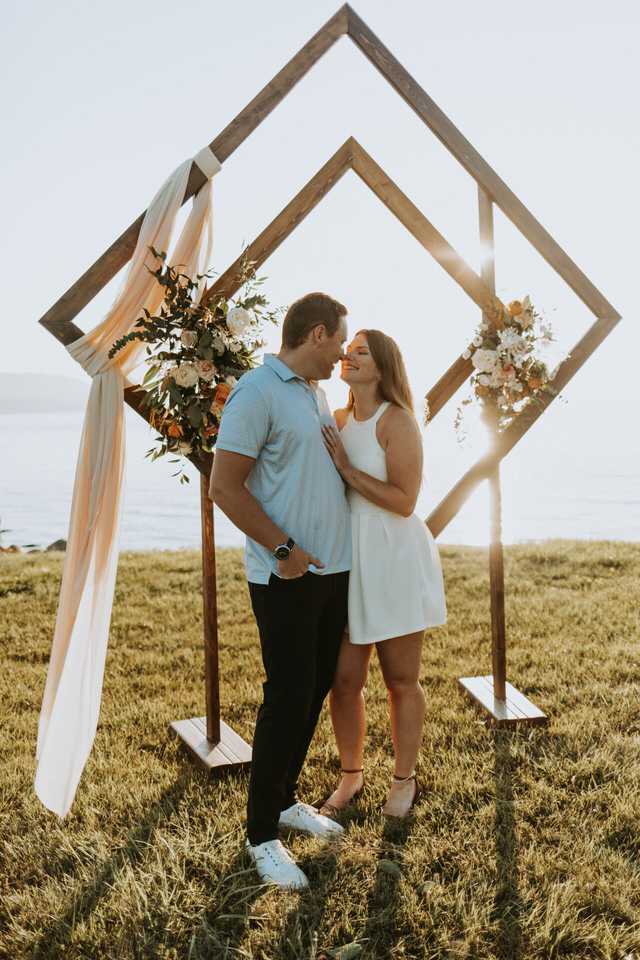
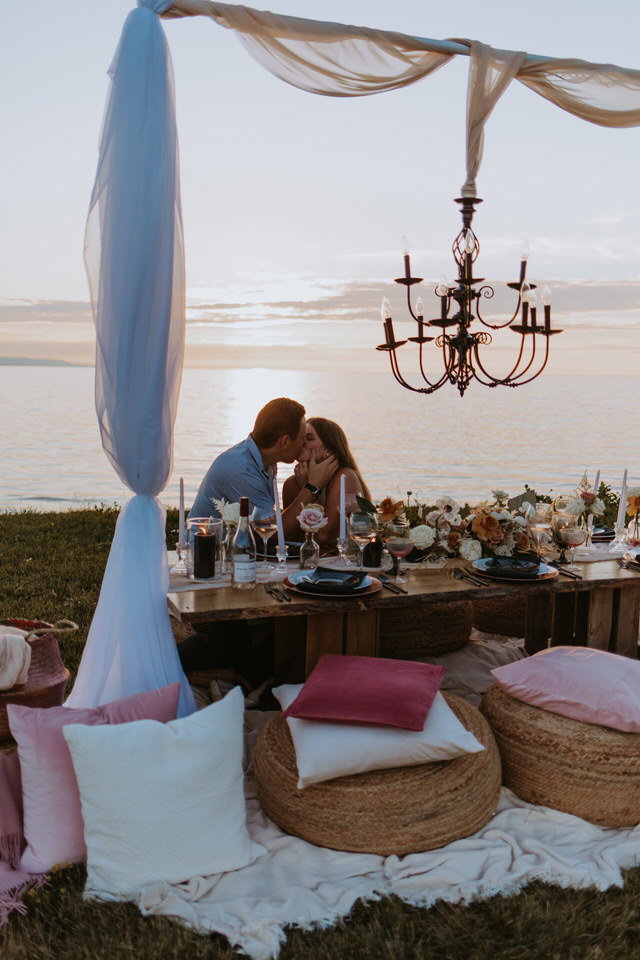
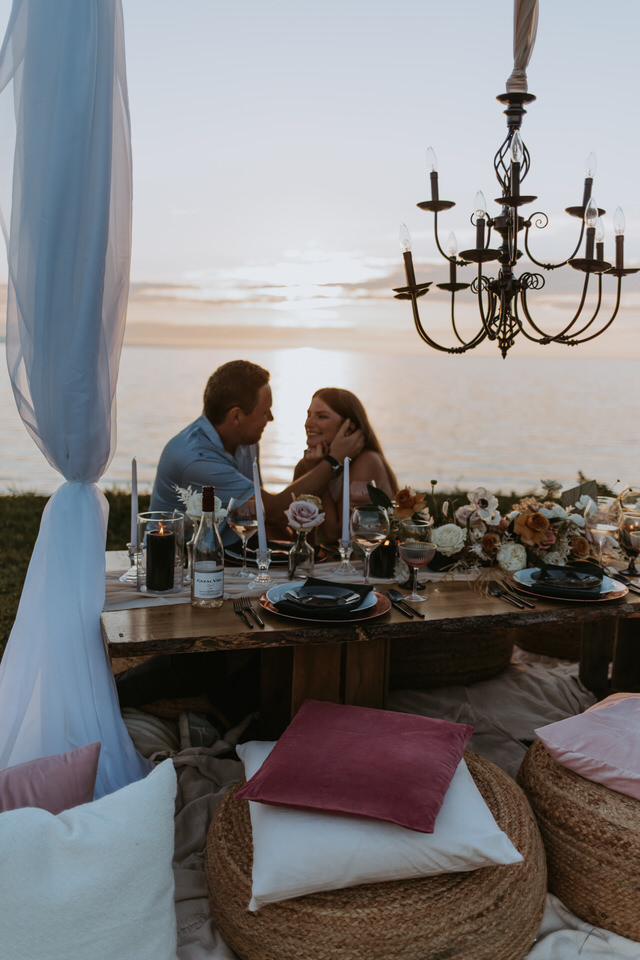
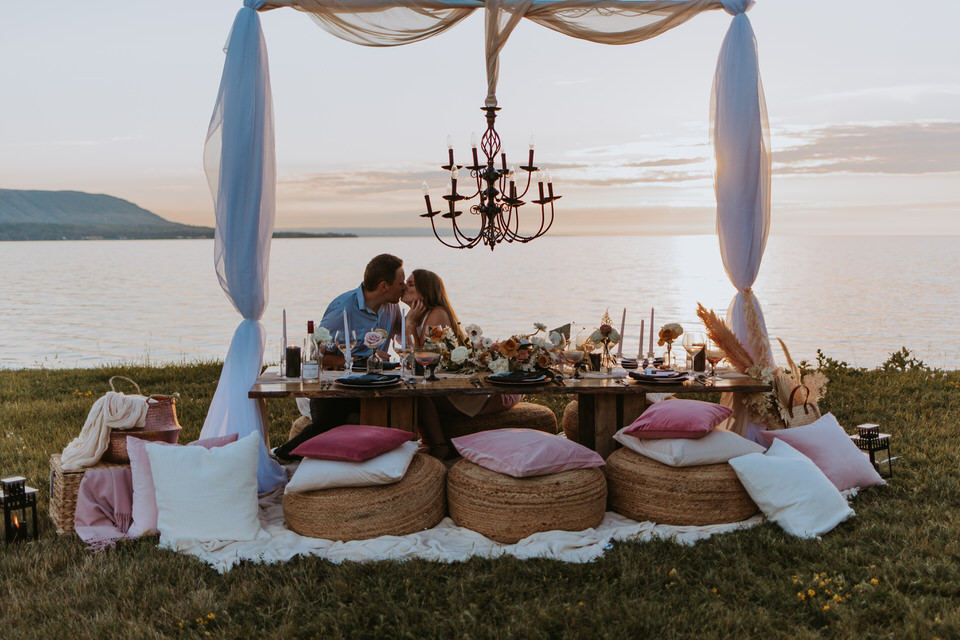
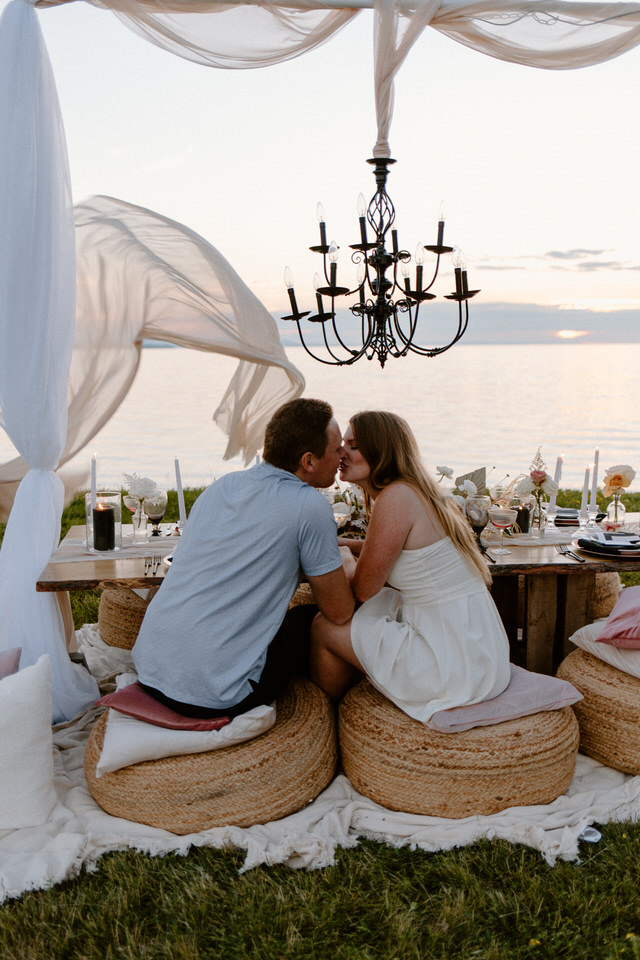
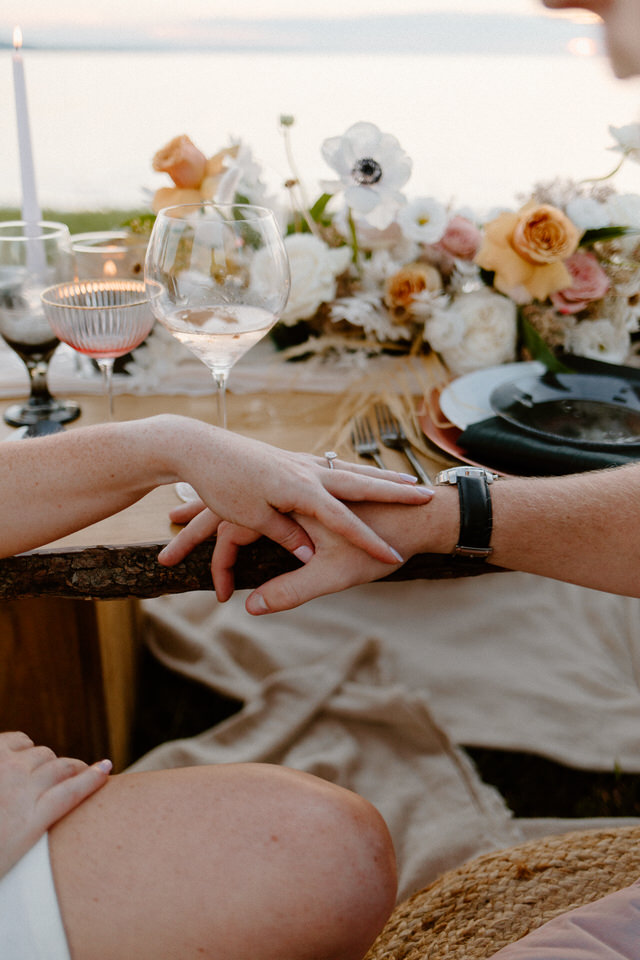
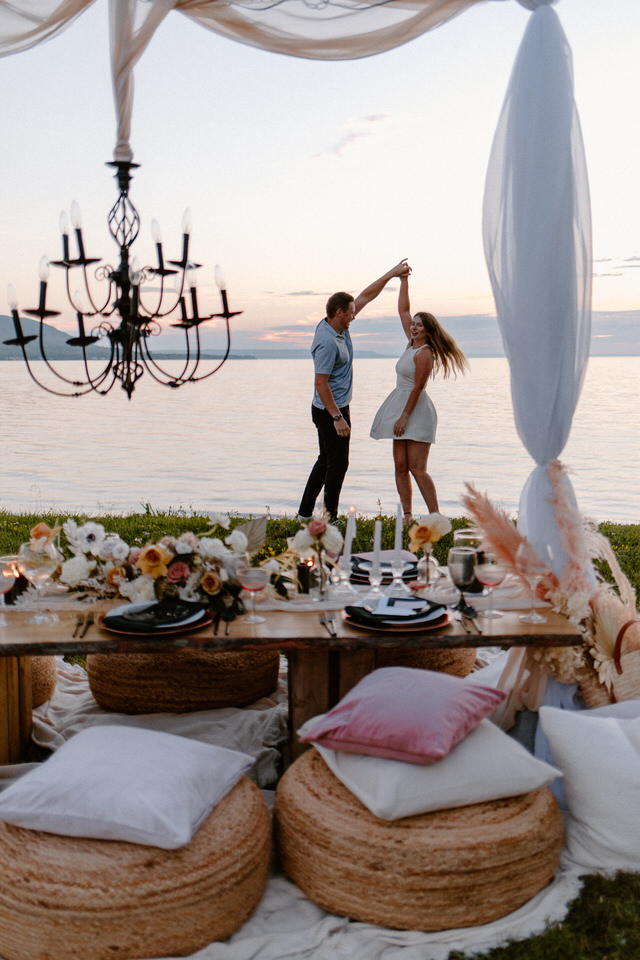
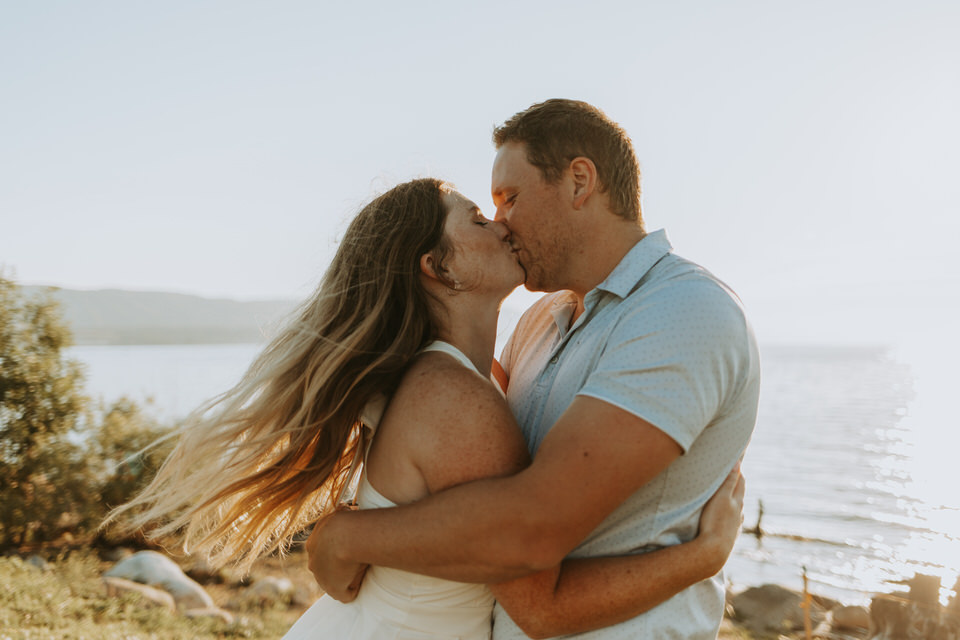
A Blue Mountains engagement session looking over the stunning Georgian Bay coast is just what I had been waiting for after this pandemic. If you’re into it, check out Tyrolean Village Beach Resorts and make your engagement session a weekend to celebrate and explore arguably the best towns in Ontario. The resort is part of a network of vendors that all collaborated to make this special day happen. It started with a sweet proposal under a stunning arbour and ended with a sunset engagement party picnic to celebrate with all their friends. This Tyrolean village beach resorts engagement session is the one to beat. If you are eager to find out more about this spot for your own engagement or anniversary please reach out and lets organize your session.
Picnic set up: The Pop-up Event Company
Photography: MOI! Marie Scholz Photography
Video: Naturally Captured
Florals: Jessica Hobson
Arbour: Victoria Ciampichini
xx
M
PLANNING A WEDDING IN CANADA?
I’m ready to help you plan the elopement or intimate wedding of your dreams. Take it from the girl who has been around the country and knows all the best spots. You deserve to have the best adventure guide & photographer for your wedding or elopement!
by Marie | Dec 15, 2017 | British Columbia, Travel Advice
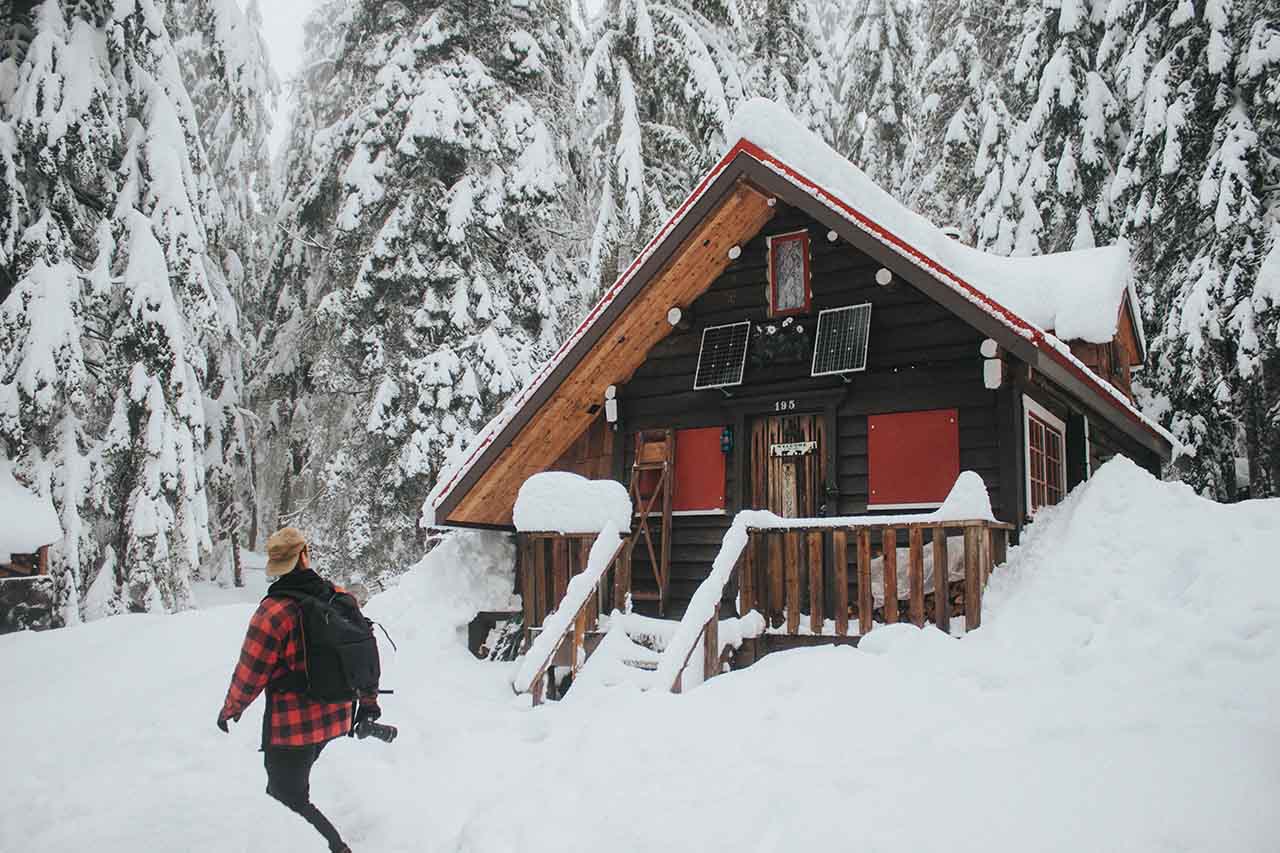
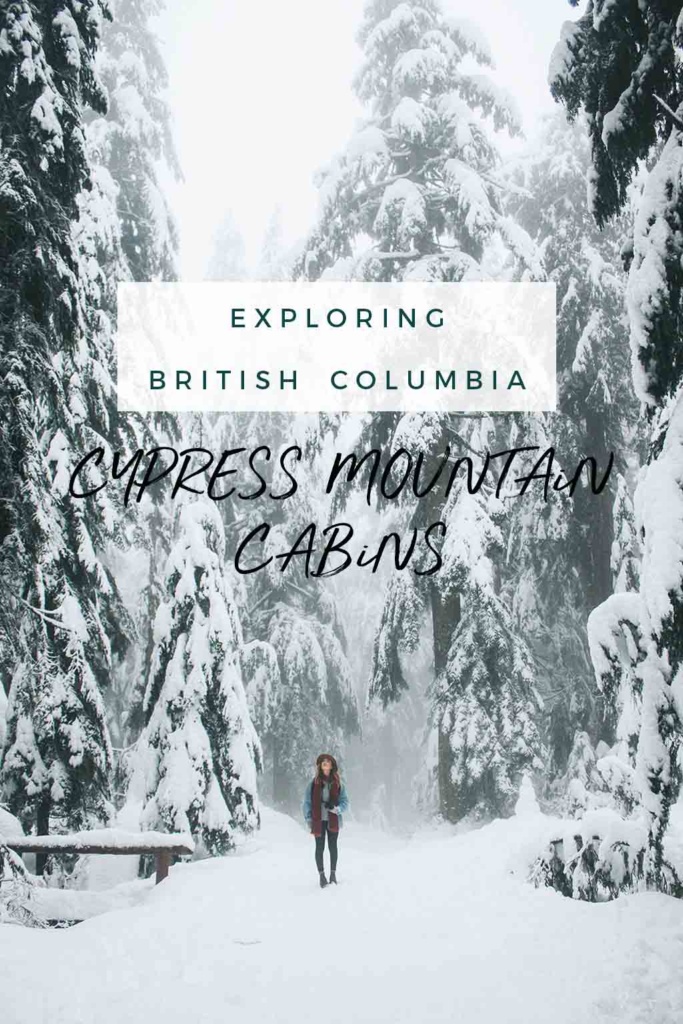
One November evening I received a message from a group of friends asking me to join them on an adventure to go hunt for cabins on Cypress Mountain. I had seen a cabin or two before in passing and so I gladly accepted. Our plan was to get there and spend maybe an hour walking leisurely to each hut but when we got there we realized we’d be spending hours here.
My boyfriend and I hopped on the train in New Westminster and went to meet our friends. The driver Chris had a trusty red Kia Soul which we all piled into and cruised through the city and up the mountain roads towards Cypress.
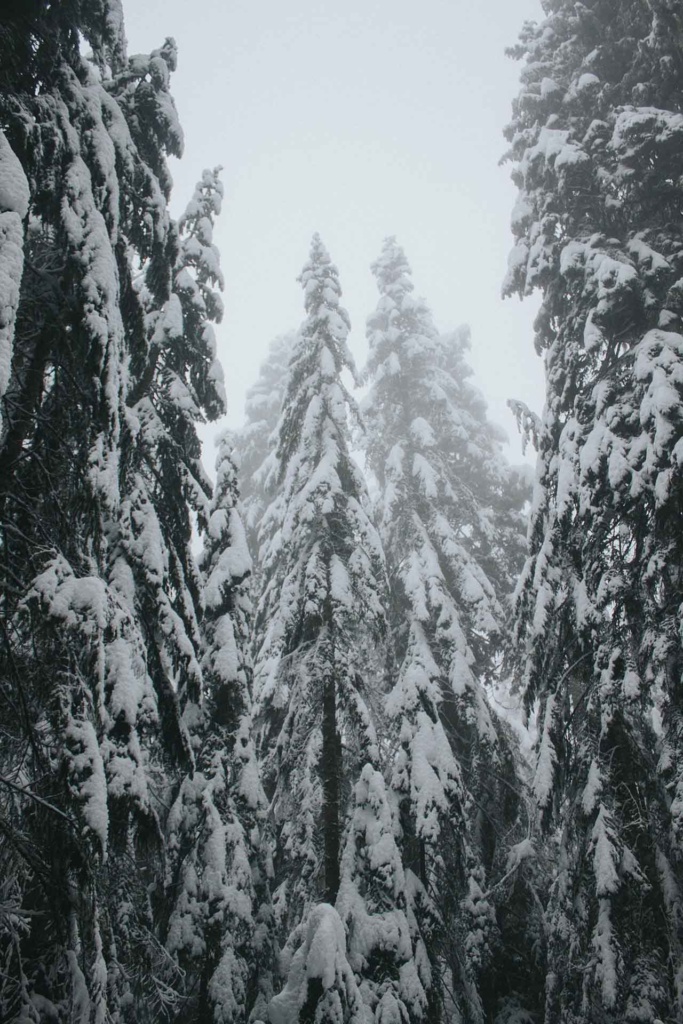
It’s kind of amazing, that drive. There is one instance where you immediately go from dry pavement to three feet of snow on either side of you. The trees hold so much snow that they look cartoonish. This is a great place to stop if you’re heading to Cypress Mountain to do some skiing. Also, Cypress Provincial Park is cheaper than Whistler to ski so I’d highly recommend heading there and taking a quick detour to the Cypress Mountain cabins.
HOW TO GET TO THE CYPRESS MOUNTAIN CABINS
It took us about 45 min from Vancouver to get up to the turnoff and we were stopped a few times due to traffic headed into the ski area. Your turnoff will be on your right. Look for signs for the cross country ski area. Head all the way to the end of the parking lot (there were no cars this far into the parking lot) and there is an obvious trail for skiiers and snowshoers.
Follow the trail and you’ll see the first two cabins which are the most photographed of the bunch about 250m in. The trail gets icy because of how many skiiers travel on it so wear grippy footwear!
You’ll come to a clearing where there are signs saying you shouldn’t go further without a ski pass. This is obviously for people who are actually skiing and you can continue to the right to get to the cabins less photographed. Go get lost in the trails and bring some seeds for the birds. They’ll fly right into your hands.
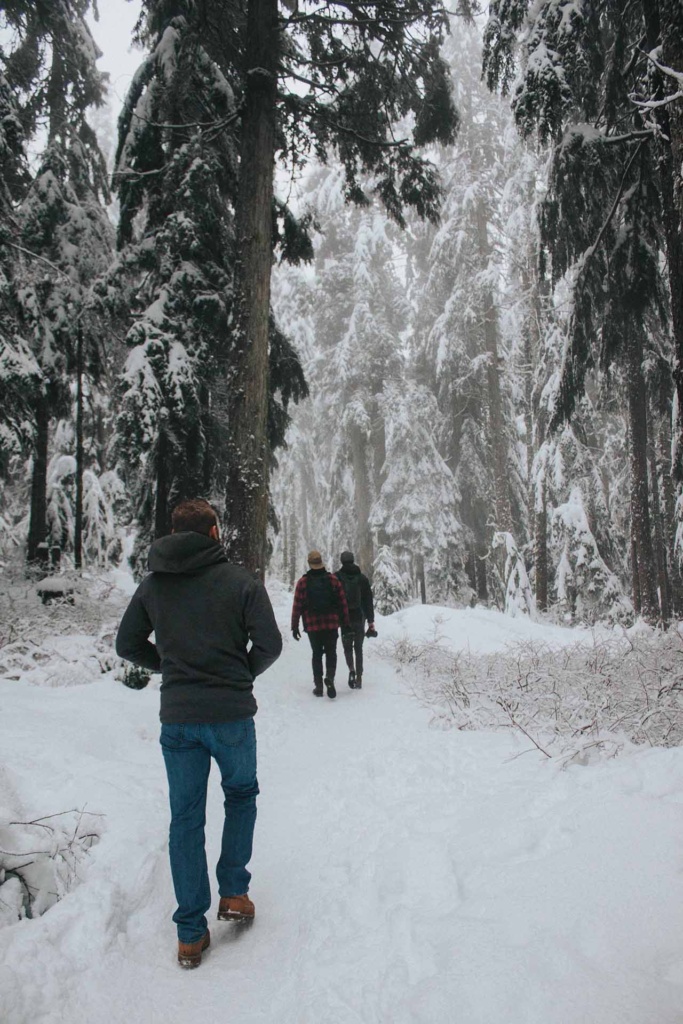
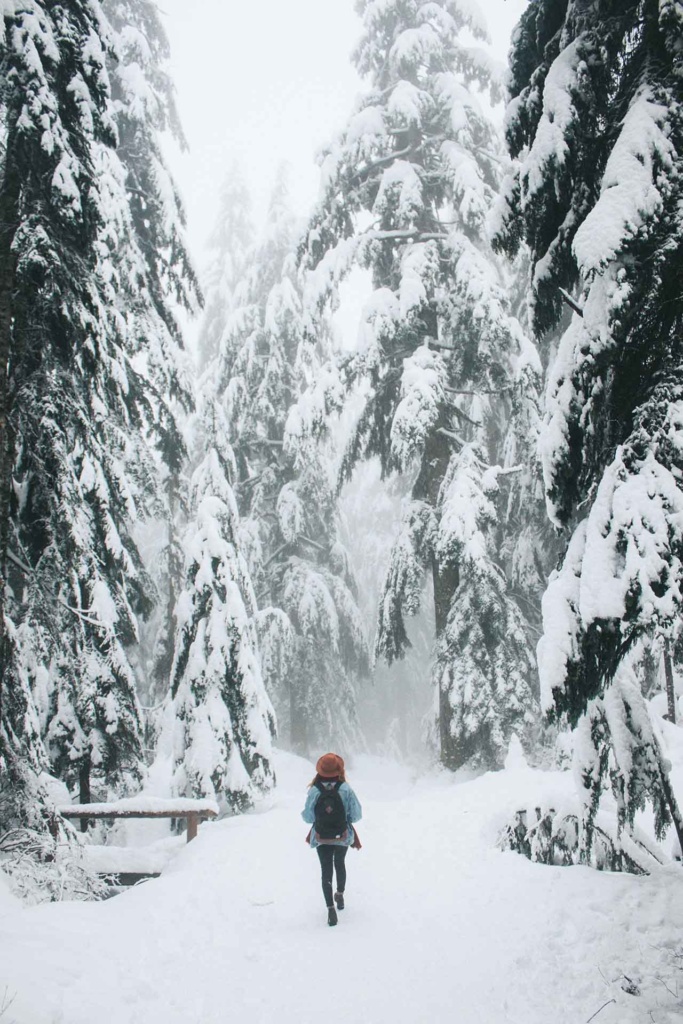
Cypress Mountain in the winter is one of the most beautiful things I’ve ever seen. Think, Narnia but in real life.
QUICK FACTS ABOUT THE CABINS
The cabins are rentable and you’ll see a few signs that say Boy/Girl scout cabins.
We saw about 6 or 7 cabins but the snow made some extra difficult to get to especially because we went without snowshoes.
Please be respectful of the area and the cabins themselves. Some were obviously livable so there could be people in them who have paid to have their privacy. Give them that.
Since the trails are so slick they prove to be awesome tobogganing runs so bring a sled!
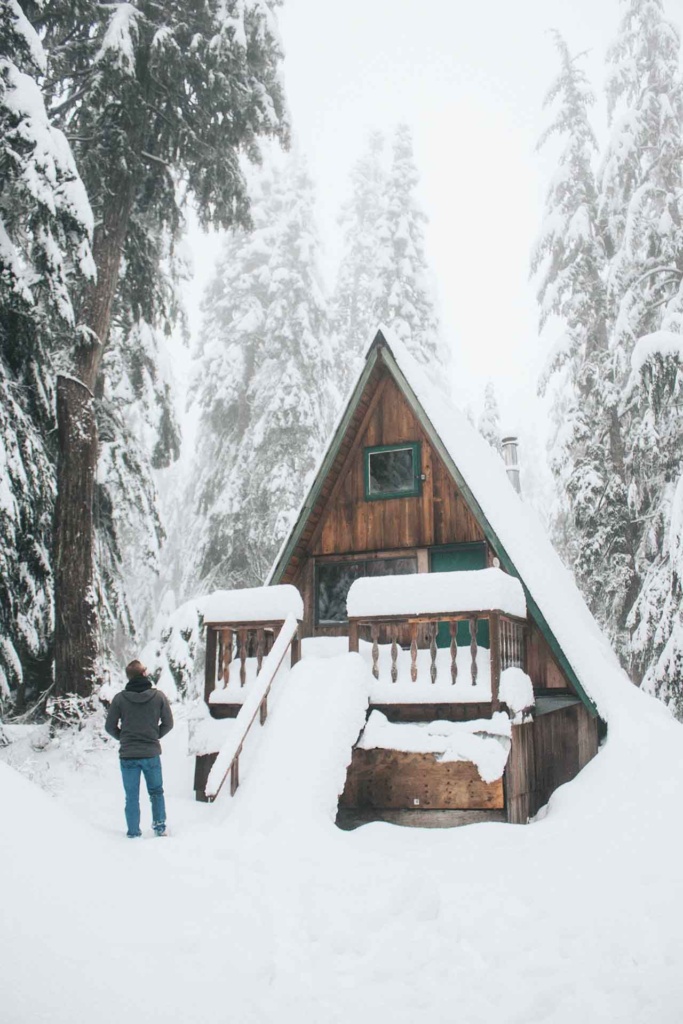
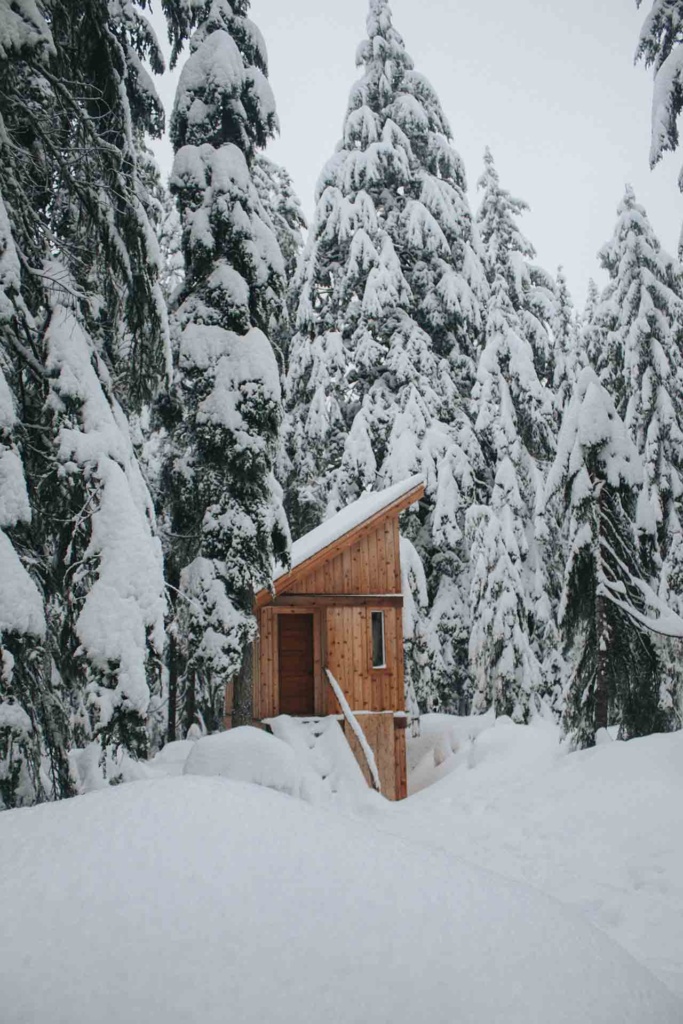
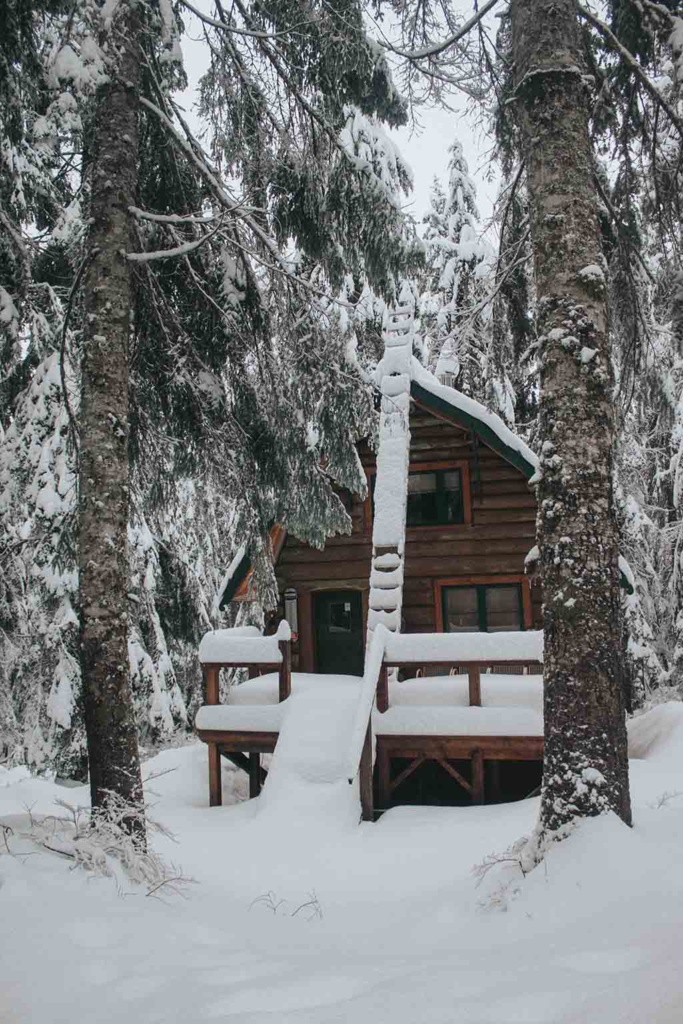
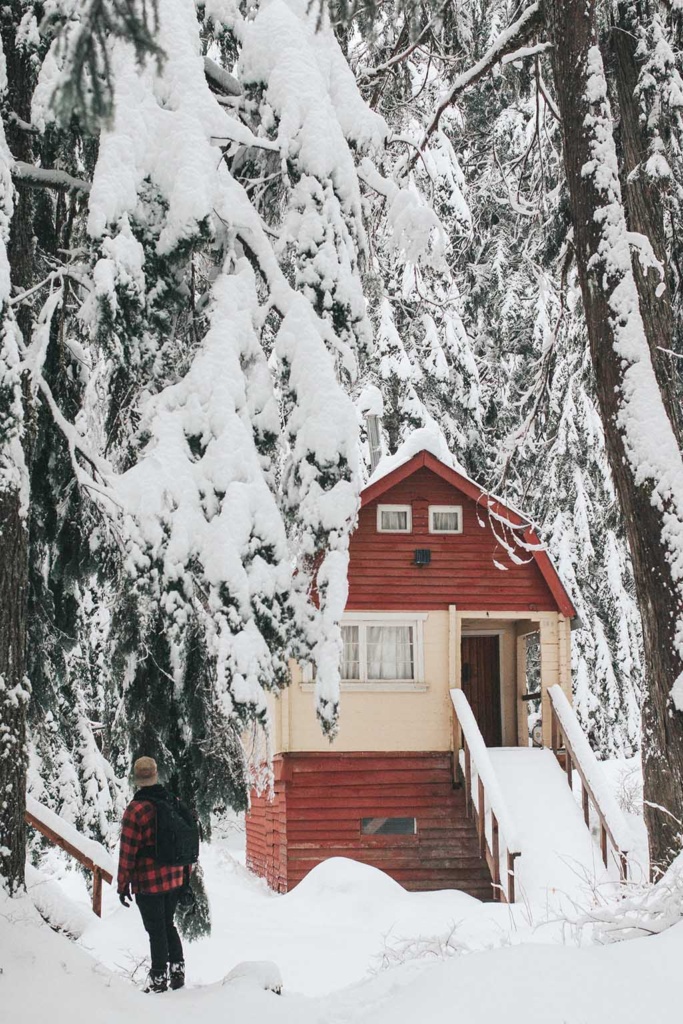
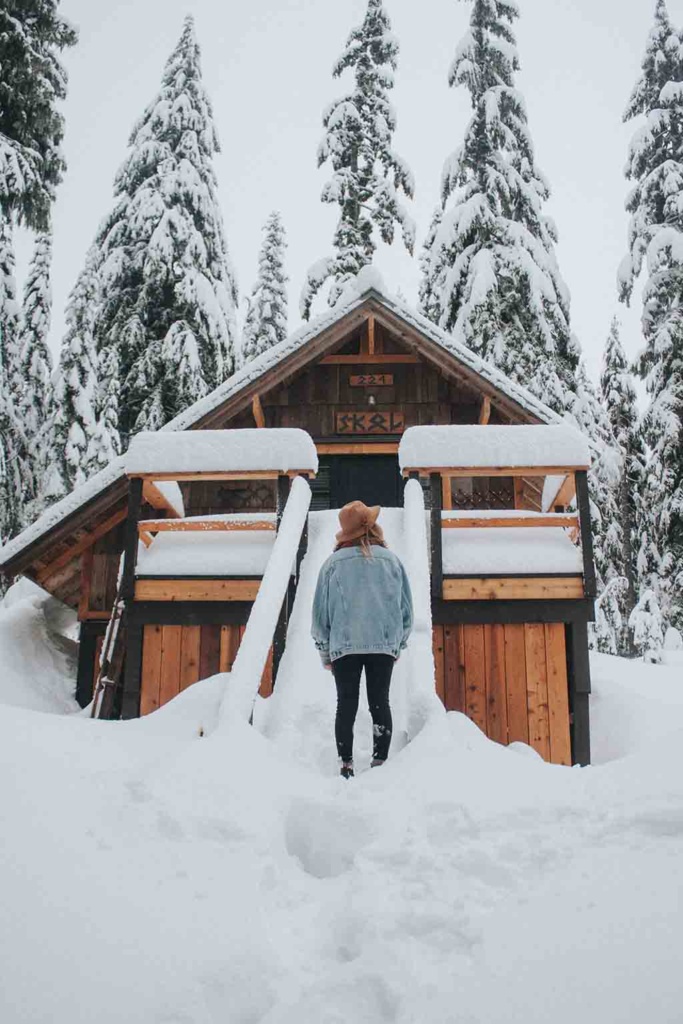
Have you explored the Cypress Mountain Cabins? Let me know in the comments!
Read More: How to Feel Adventurous Everyday
Read More: A Quick Guide to Thailand for Budget Travelers
Want more inspiration? Follow my Adventure Board on Pinterest
by Marie | May 5, 2017 | Thailand, Travel
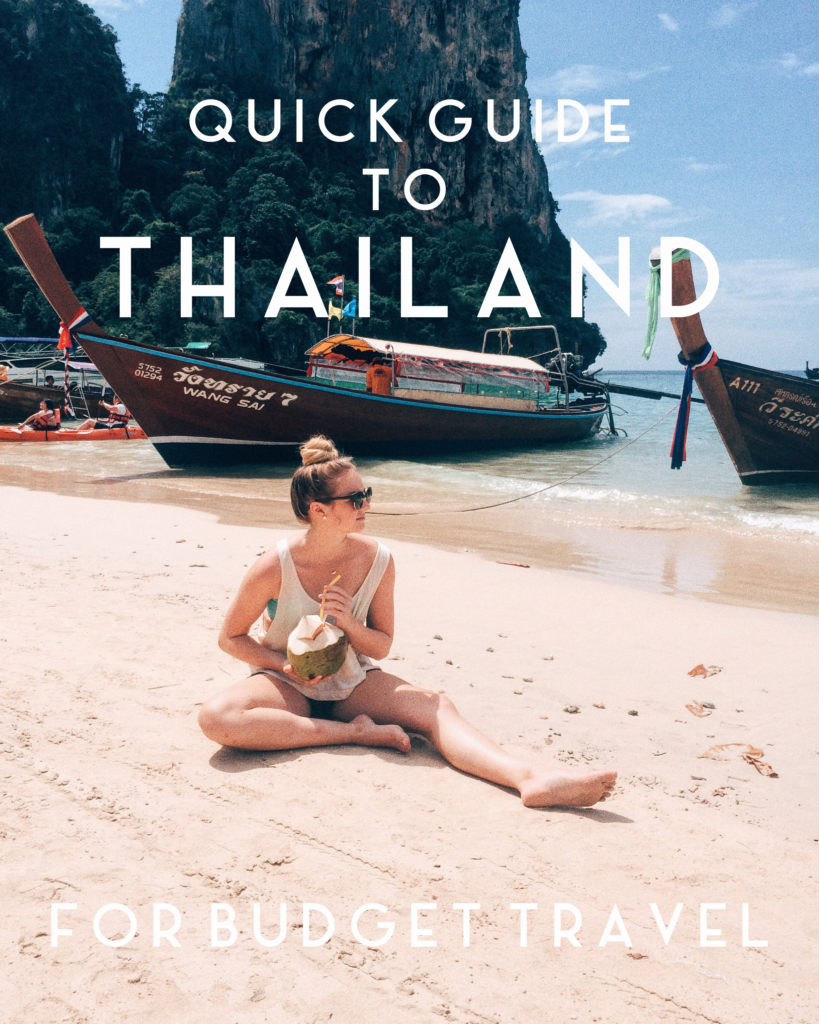
Oh Thailand, the most backpacker friendly/sunburn mandatory/party til you can’t stay up anymore country I have ever been to. It’s also incredibly cheap if you do a bit of thinking and saving dollars makes me gitty so I have gifted you this perfect itinerary for island hopping in Thailand, including how to get there, what to do and extra tips.
My Quick Guide to Thailand
Main airport locations: Krabi, Bangkok, Phuket and Surat Thani
Bangkok
Where to stay: Any hostel on Khao San road. I recommend Khao San Immjai hostel which is a 5 min walk from Khao San Road. Stay 2-3 nights.
What to do: Explore the city! Walk around Khao San road and meet other backpackers. Temples are beautiful but require you to cover up for a lot of them so be prepared. Take the water taxis/buses to get around and go see a drag show! Thailand is famous for ladyboys and they put on a great performance. The Hangover 2 was filmed at the Sky Bar in Bangkok. It definitely lives up to its name.
Other Tips: In April Khao San Road turns into a water gun fight for three days in celebration of the Thai New Year. You will not be able to get to your hostel without getting soaked but it is hilarious and awesome and was the highlight of our trip. The portions of alcohol in Thailand are different than what you’re probably used to so have less than usual.
Koh Tao (MY FAVOURITE ISLAND EVER)
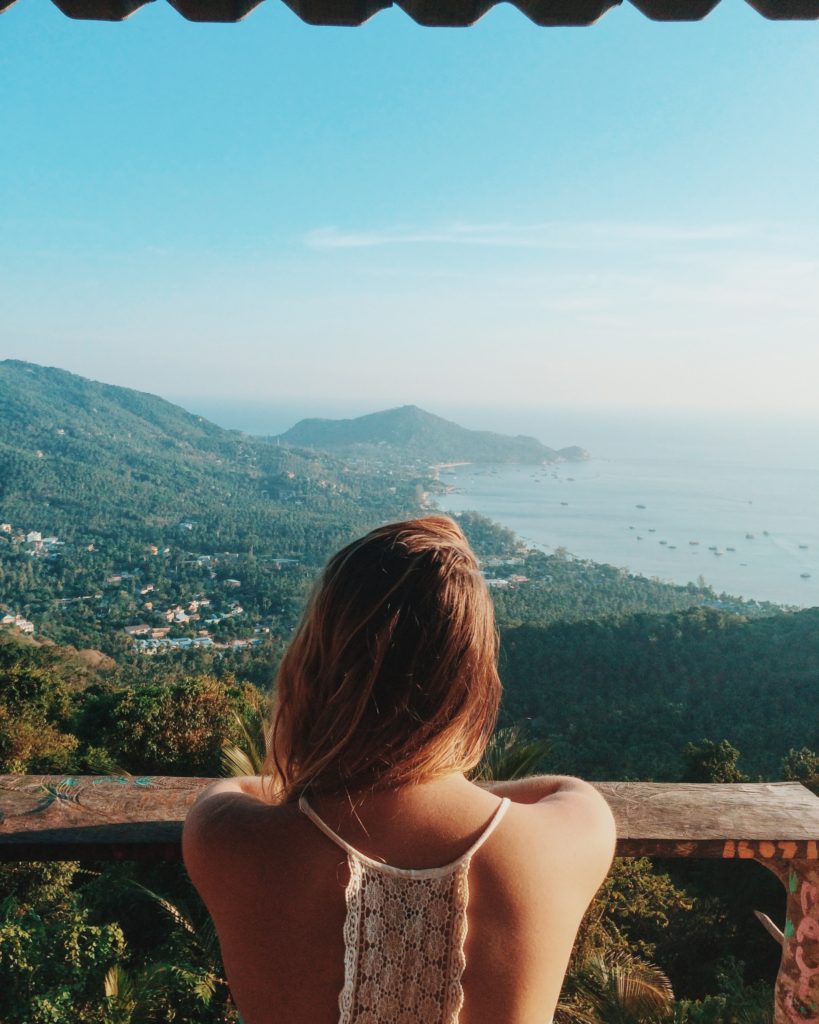
Getting there: Train from Bangkok (overnight) to Chumphon and ferry to Koh Tao.
Where to stay: Good Dream Hostel, stay for 3-5 nights.
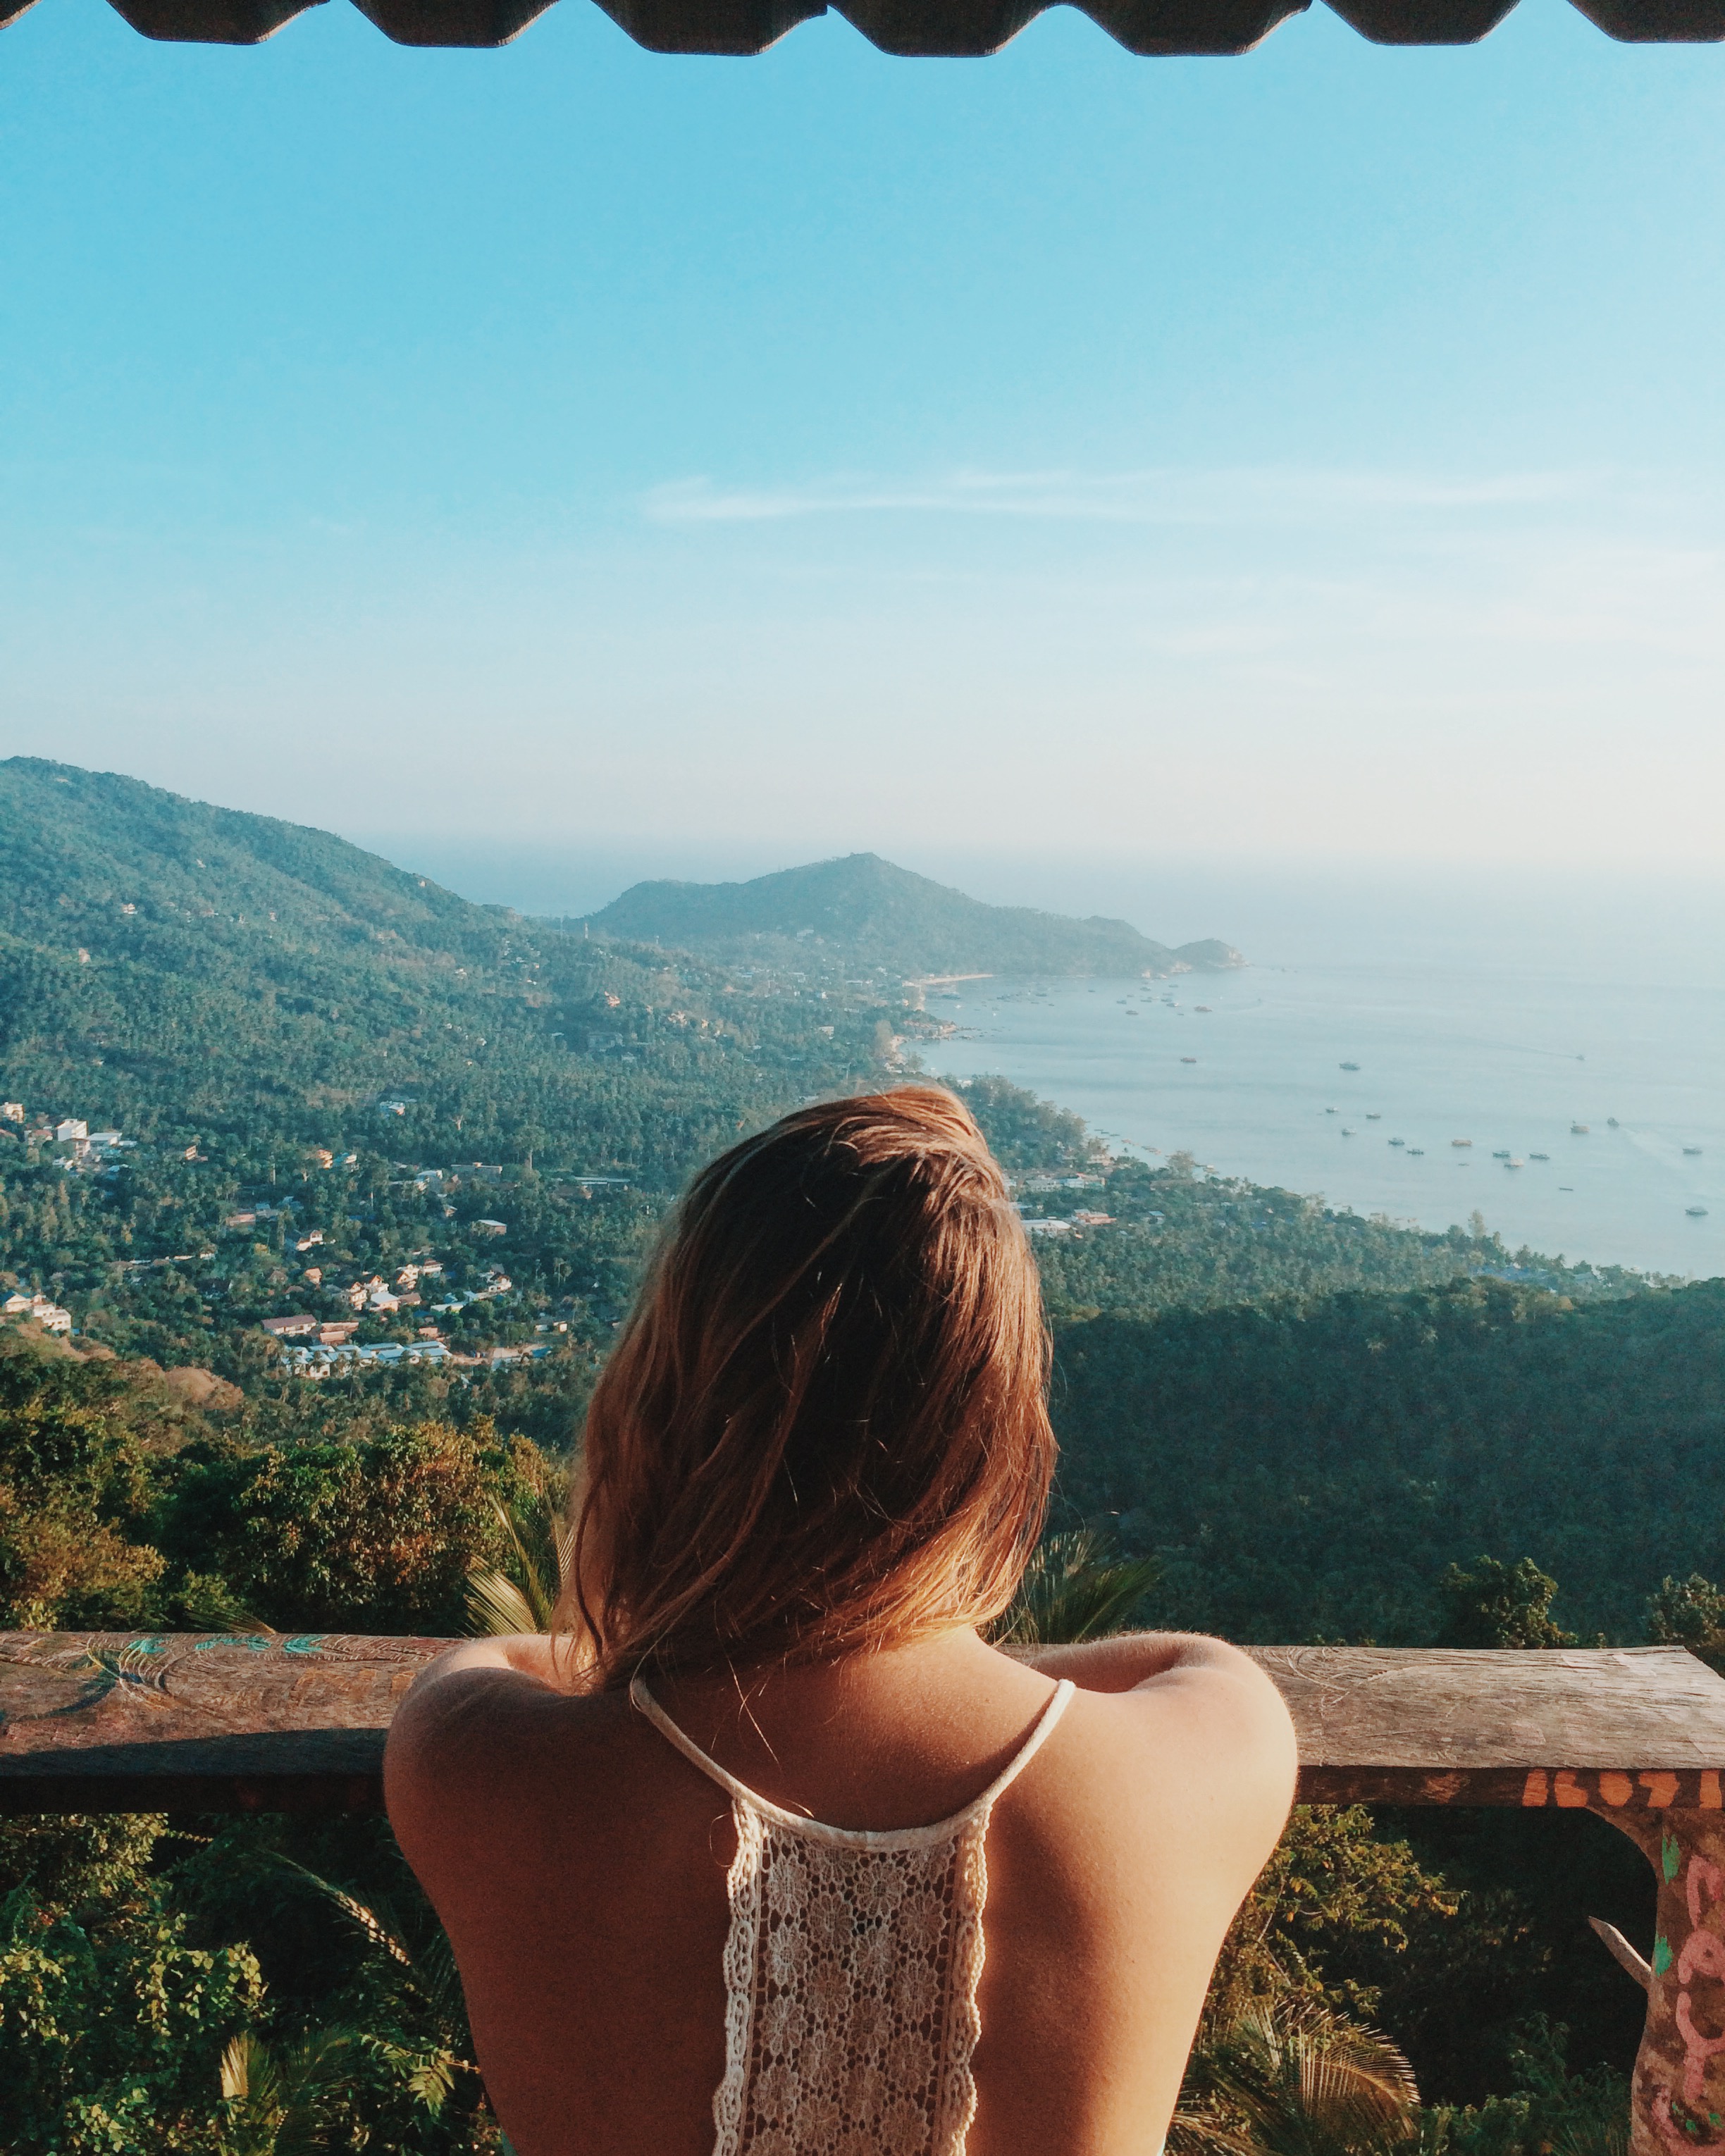
What to do: Rent a scooter and drive up to the lookout on the quiet side of the island with hammoks! Take a fast boat over to the smaller island, Nangyuan, and hike up to the top. Koh Tao is famous for scuba diving so you can become certified here. See a drag show or a Muay Thai fight. Relax on the gorgeous beaches.
Other Tips: The island is small enough that you only have to stay at one hostel. Beware of pickpockets on the trains.
Koh Pha Ngan
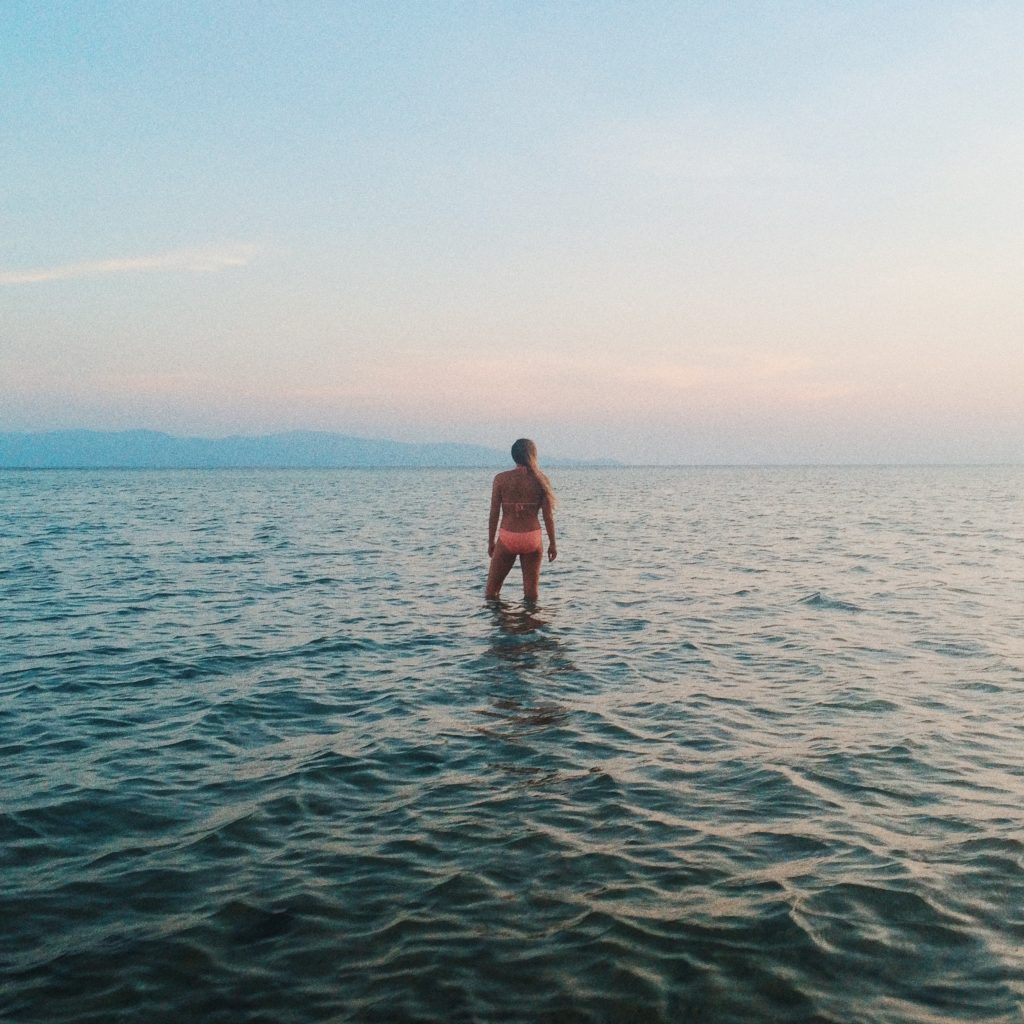
Getting there: Fly to Surat Thani and then take a boat to Koh Pha Ngan. You can also ferry from here to Koh Tao or Koh Samui. Stay for 3 nights.
Where to stay: There are so many options for under 30 bucks a night. Book very far in advance for full moon party dates. We stayed in Sarana Bungalows farther away from the full moon beach and they were way more peaceful than I expected on this island.
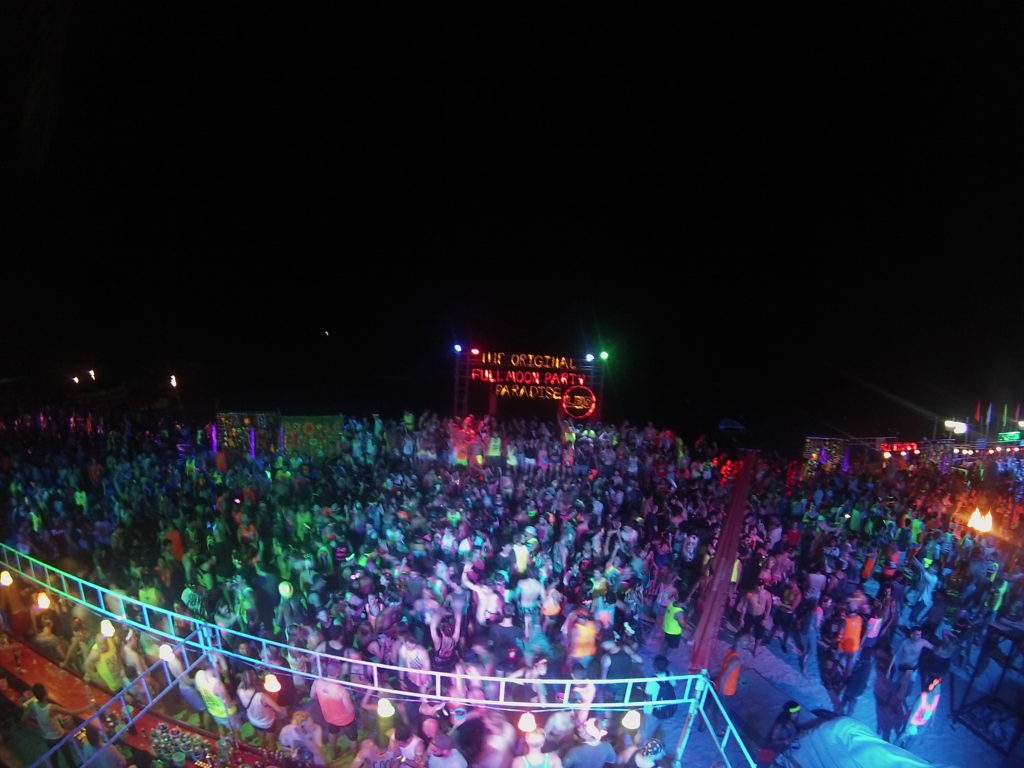
What to do: Full moon, half moon, and jungle parties. Lounge in the shallow sandbars far away from the full moon beach. I suggest getting a waterproof case for your phone that you can put around your neck if you are going to a full moon party (you can buy these all over the island) because you will want to take photos of this.
Krabi
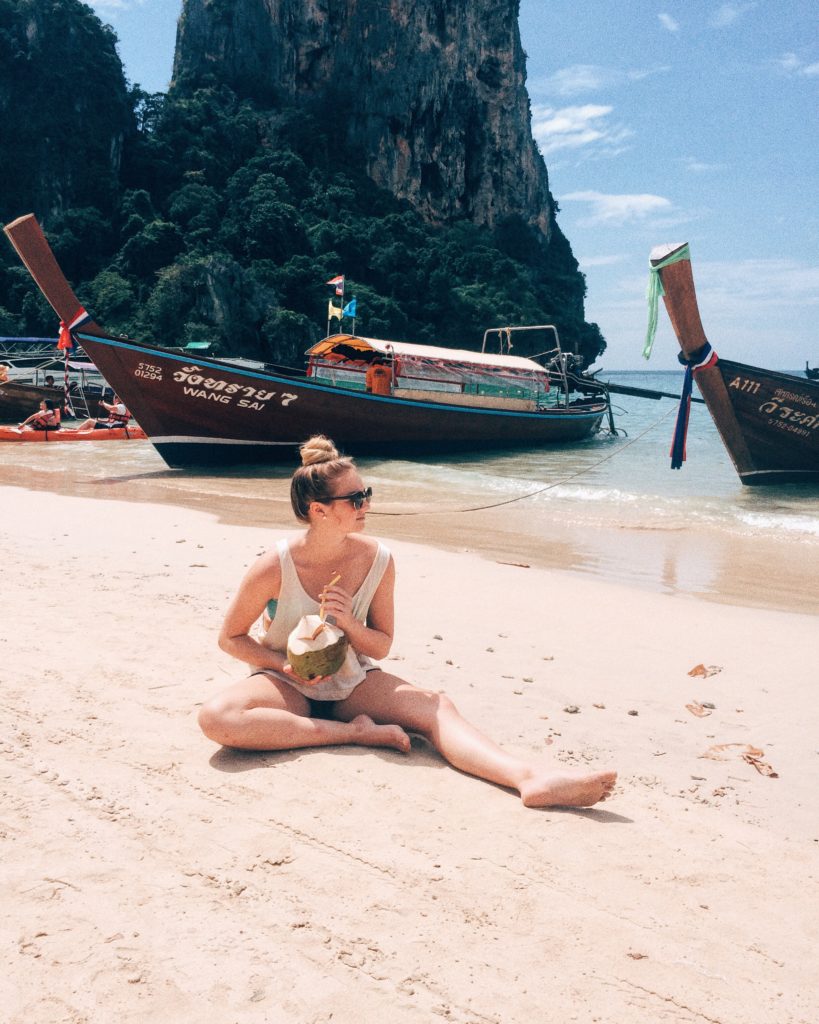
Getting there: You can ferry to the mainland and bus to Krabi if you are already on Koh Tao, Koh Pha Ngan or Koh Samui or you can fly here.
Where to stay: Pak Up Hostel. Stay for 1-2 nights.
What to Do: Head to Railay Beach for the day, the water is beautiful and clear and have a snack at one of the cute food stands! Krabi was a stop over when I did it so we didn’t spend much time here, however, there is great hiking here, try Tab Kak Hang Nak.
Koh Phi Phi
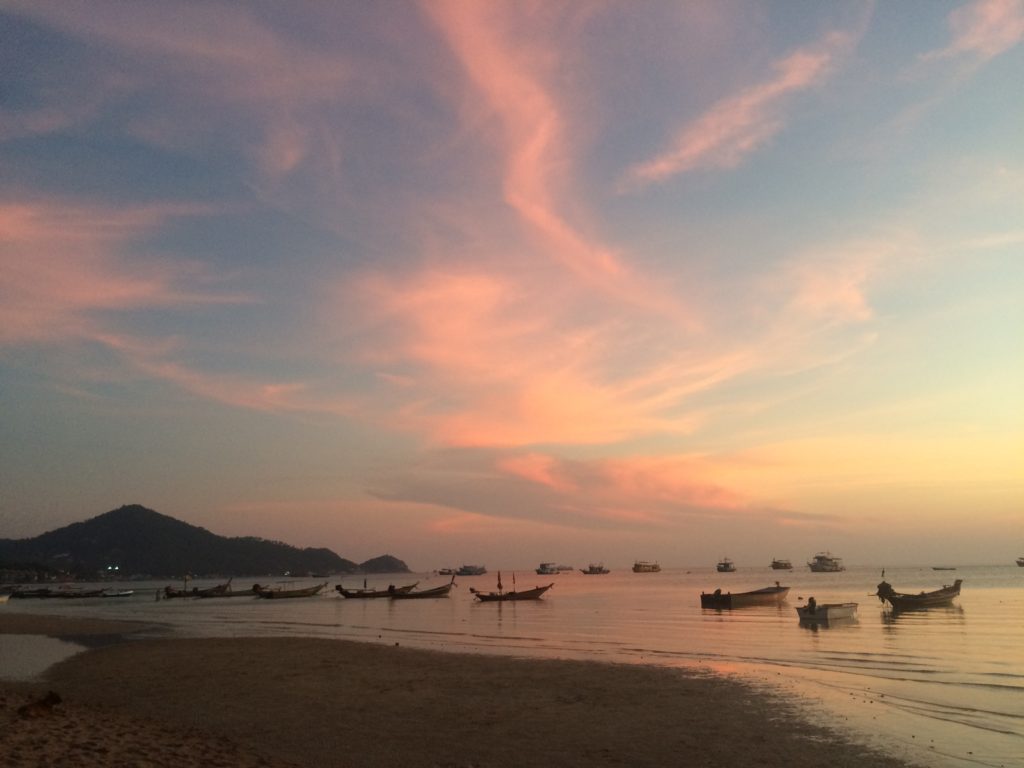
Getting there: Take a ferry to Koh Phi Phi from Krabi.
Where to stay: Blanco Beach Bar or Stones hostel. Stay for 3 nights.
What to do: Every night there’s a beach party with fire dancers and blaring music, walk through the streets and get authentic hand rolled ice cream. Watch a muay thai fight here. Take a day trip to Maya Bay where the Beach was filmed. Disclaimer: you have to pay 200 baht to get off the boat in Maya Bay.
Other tips: The men with fire are there every single night and prey on women as the night goes on so be very careful when you are drinking and hanging around them on the beach.
Finally, General Things You Should Know
- Cash is easy to exchange in Thailand
- Wifi is easy to come by (I never once used data)
- Don’t get drunk with people you don’t know
- Sunscreen is very expensive
- Pickpocketers are everywhere so keep your belongings close to you all the time
- Sometimes ATMs will eat your cards so when you exchange do it with a teller, there are western union stands all over.
- Get used to the term toasties. These are packaged sandwiches you can find at 7/11 and they grill them for you. This processed goodness will be the cheapest meal you can buy and they’re everywhere.
- Barter Barter Barter.
I hope you enjoyed this quick guide to Thailand. Hostels not for you? Get a discount on Airbnb with My 4 Favourite Airbnb Stays in Thailand post.
by Marie | Feb 19, 2017 | Hawaii, Travel

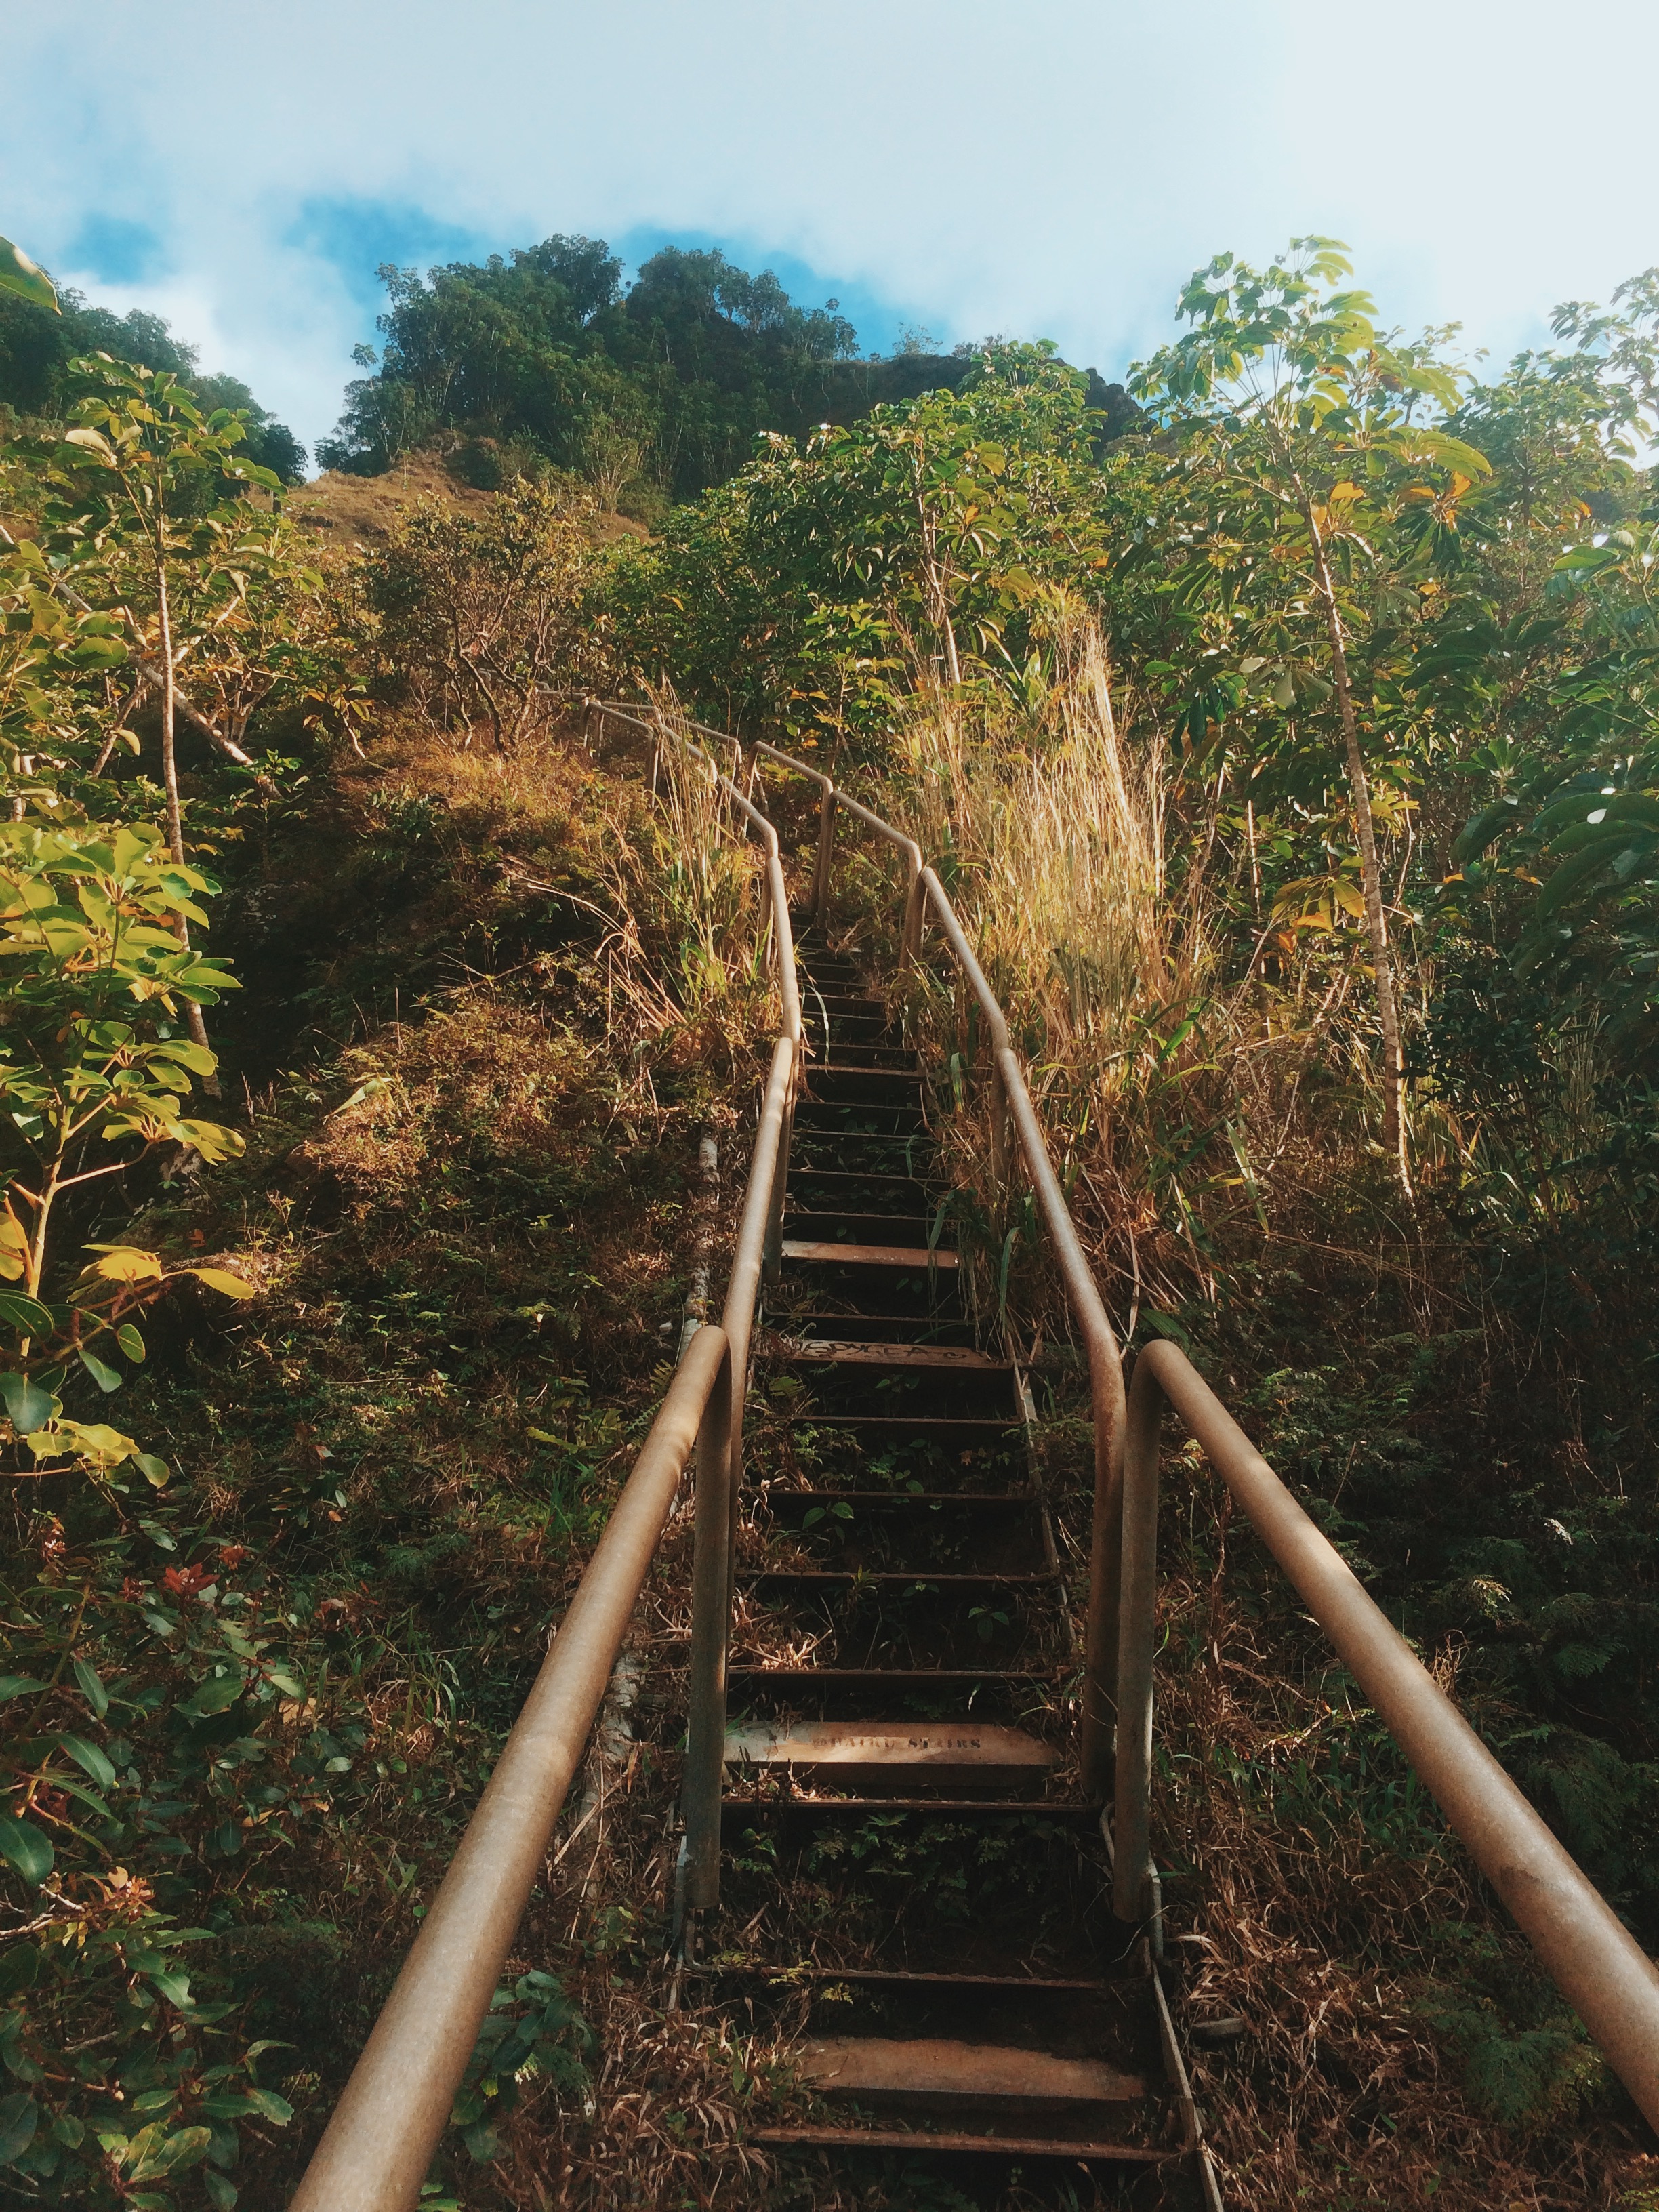
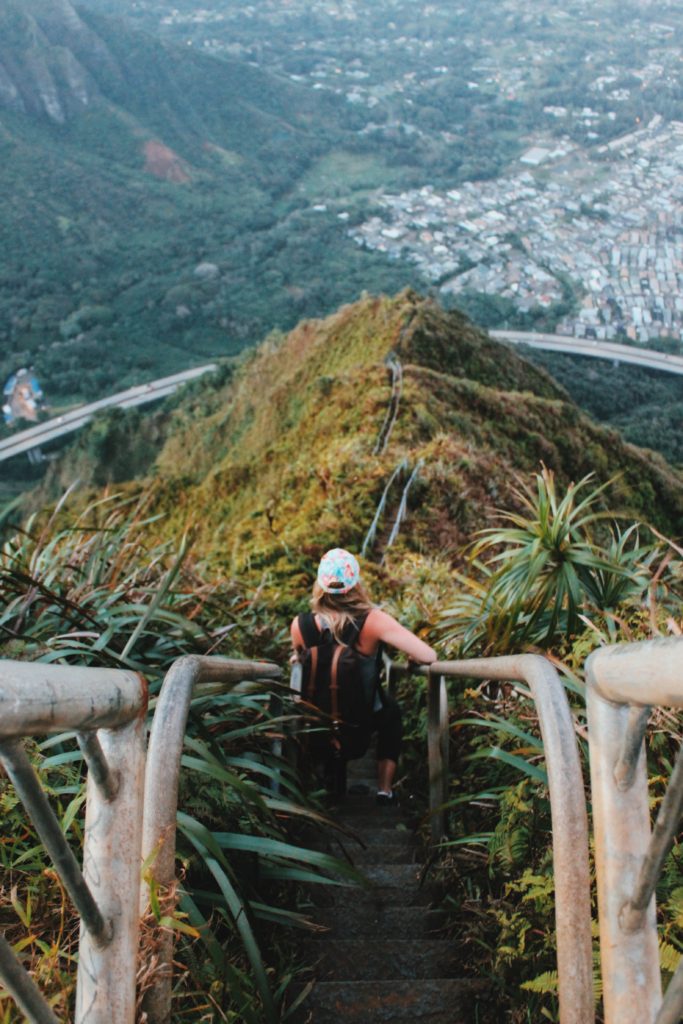
The hike I am referring to is commonly known as the Stairway to Heaven or Haiku Stairs.
I’m not supposed to recommend this hike because it’s illegal BUT it was hands down the highlight of my trip to O’ahu, Hawaii so how could I not?
There are quite a few bloggers who have written about how to get there but I’ll give you my own summary as I had quite a different experience than every other blogger I’ve read so here we go!
Steps
We showed up on Kuneki Street in a cute little neighbourhood around 3:30 pm with not a real great idea of where we were to begin. Here’s the address of the area to park around:
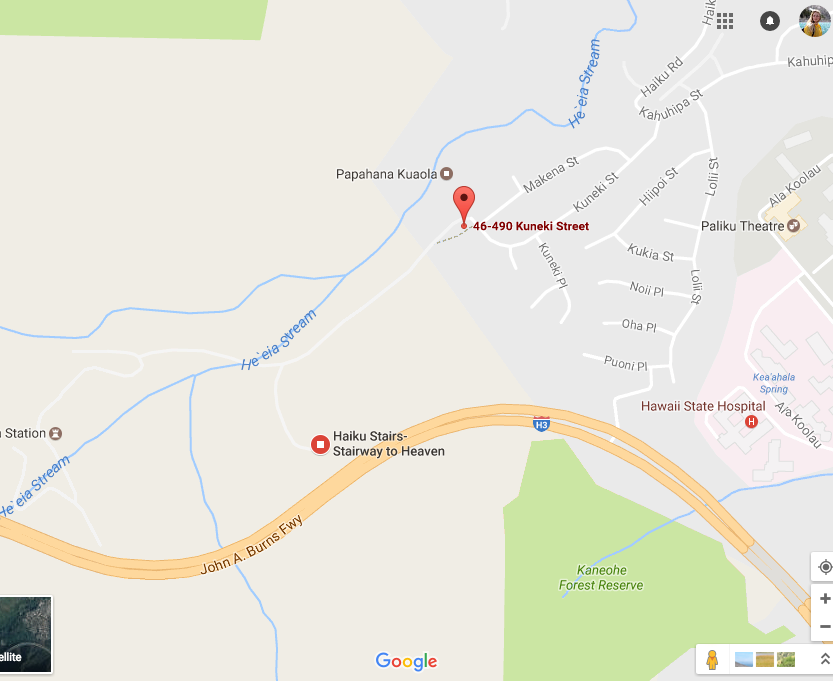
If you park anywhere directly adjacent to the gated road where you start, you will be towed, so I suggest parking a 5 min walk down Kuneki Street or in any of the surrounding neighbourhoods.
Be super respectful of the communities.
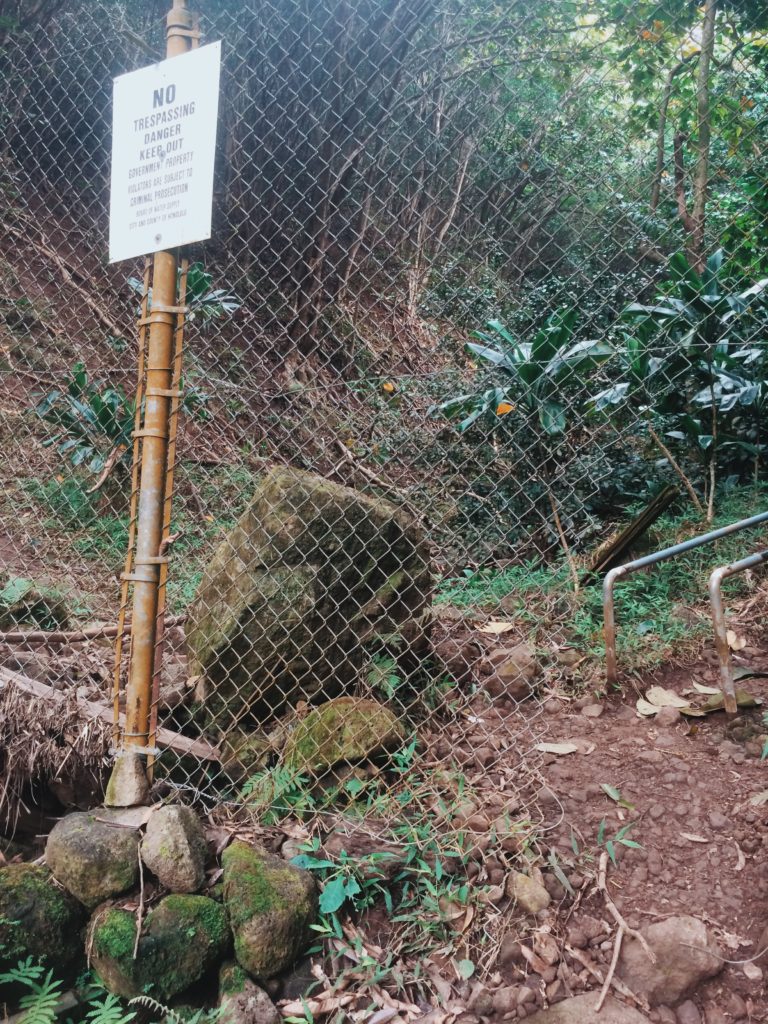
Where Kuneki St met Makena St there was an obvious gate that was wide open and an ancient street sign that said “Haiku” on it. We could see the beaten down path that was left around the right side of the gate from all of those people who embark on this hike in the middle of the night when the gate is closed.
As we started walking, there were many cars that passed us, which made me so nervous! One truck stopped next to us and immediately asked us if we were doing the hike. Unsure of what to say, he continued to tell us that this is a private road and if we did the hike we’d be arrested and given a $5000 fine.
This was BS but sketched us out nonetheless.
We continued on the road making a left at the first fork and a right at the second fork which brought us to some fallen down trees.
10 min later on the left side of the old road/path, we saw an opening in the woods with a red sign that said KAPU.
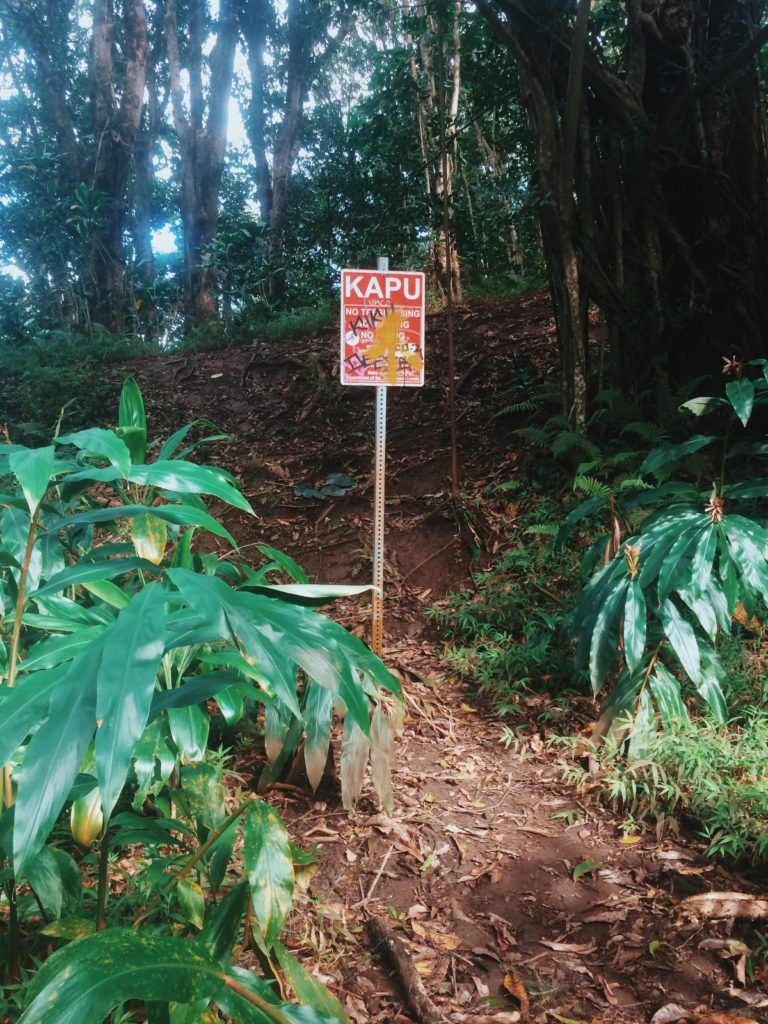
Walking along the dirt path we came across a fence with a hole in it. Under we went and eventually we got to another road. We could see the guard waiting and we prepared ourselves to make a break for it or just chat him up. We had no idea what was going to go down.
Here’s where the real fun began. I was basically peeing my pants at this point because confrontation and I are literal enemies and I obviously didn’t want to be arrested or fined.
The guards cannot arrest or fine anyone
We approached the guard and I think we asked if we could go up. Now that I write this, that was a dumb question. The guard responded by saying that this hike was illegal and if you are caught, the police can fine you $400 and you get a court date. During his spiel about obeying laws, I pointed up at the stairs and said, “there are people coming down the stairs right now.”
He was whistling a different tune in no time
He told us that we could go on up, warning us about the part of the hike where the handrails had fallen and the stairs were deteriorating. He mentioned his shift ended at 6 pm and then there would be a new guard so coming down would be more difficult. He said that if he was still there we had to be careful of a sensor and wait until he gave us “the coast is clear” motion.
So up we went!
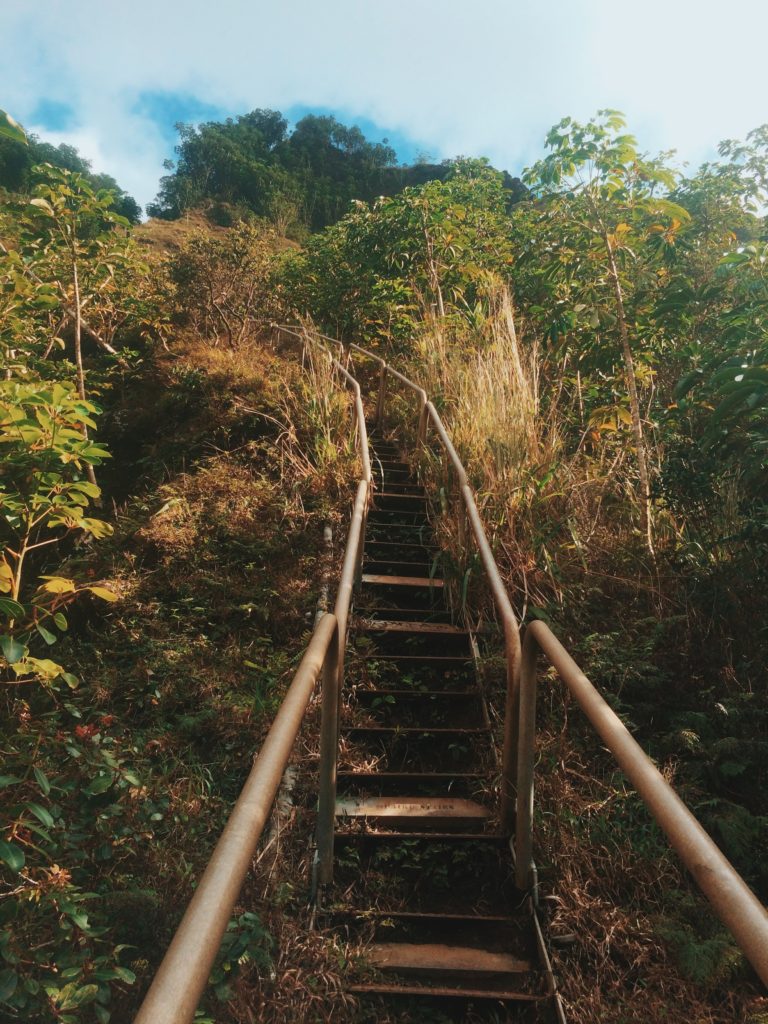
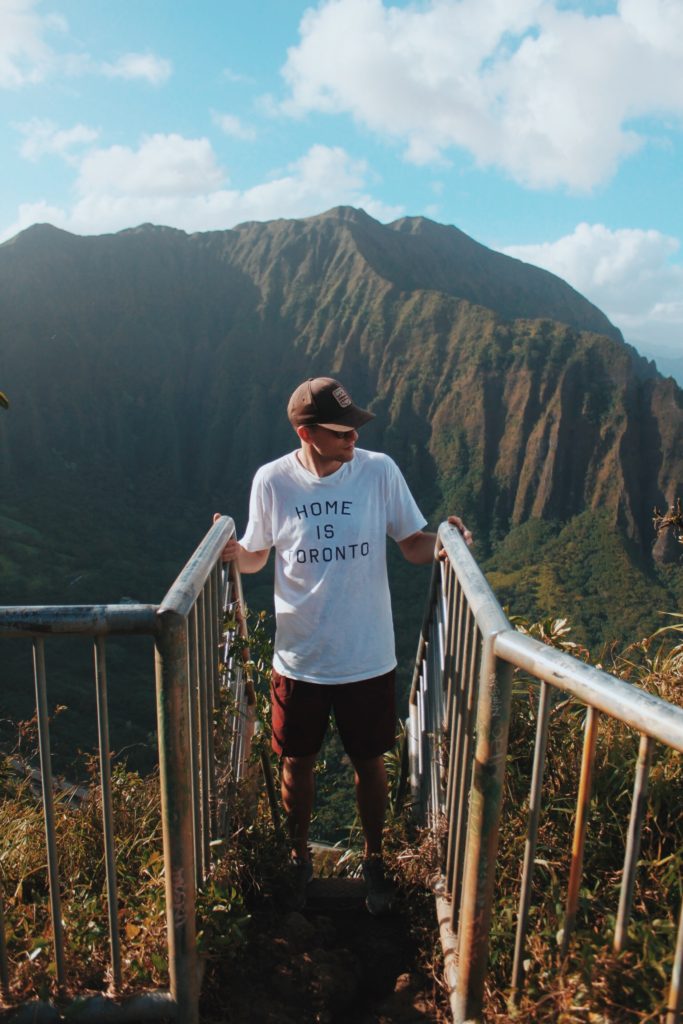
It took us about an hour and a half plus one hour at the top to watch the sunset. There was NOONE up there with us, which was so ideal.
The Stairway to Heaven landscape was unbelievable.
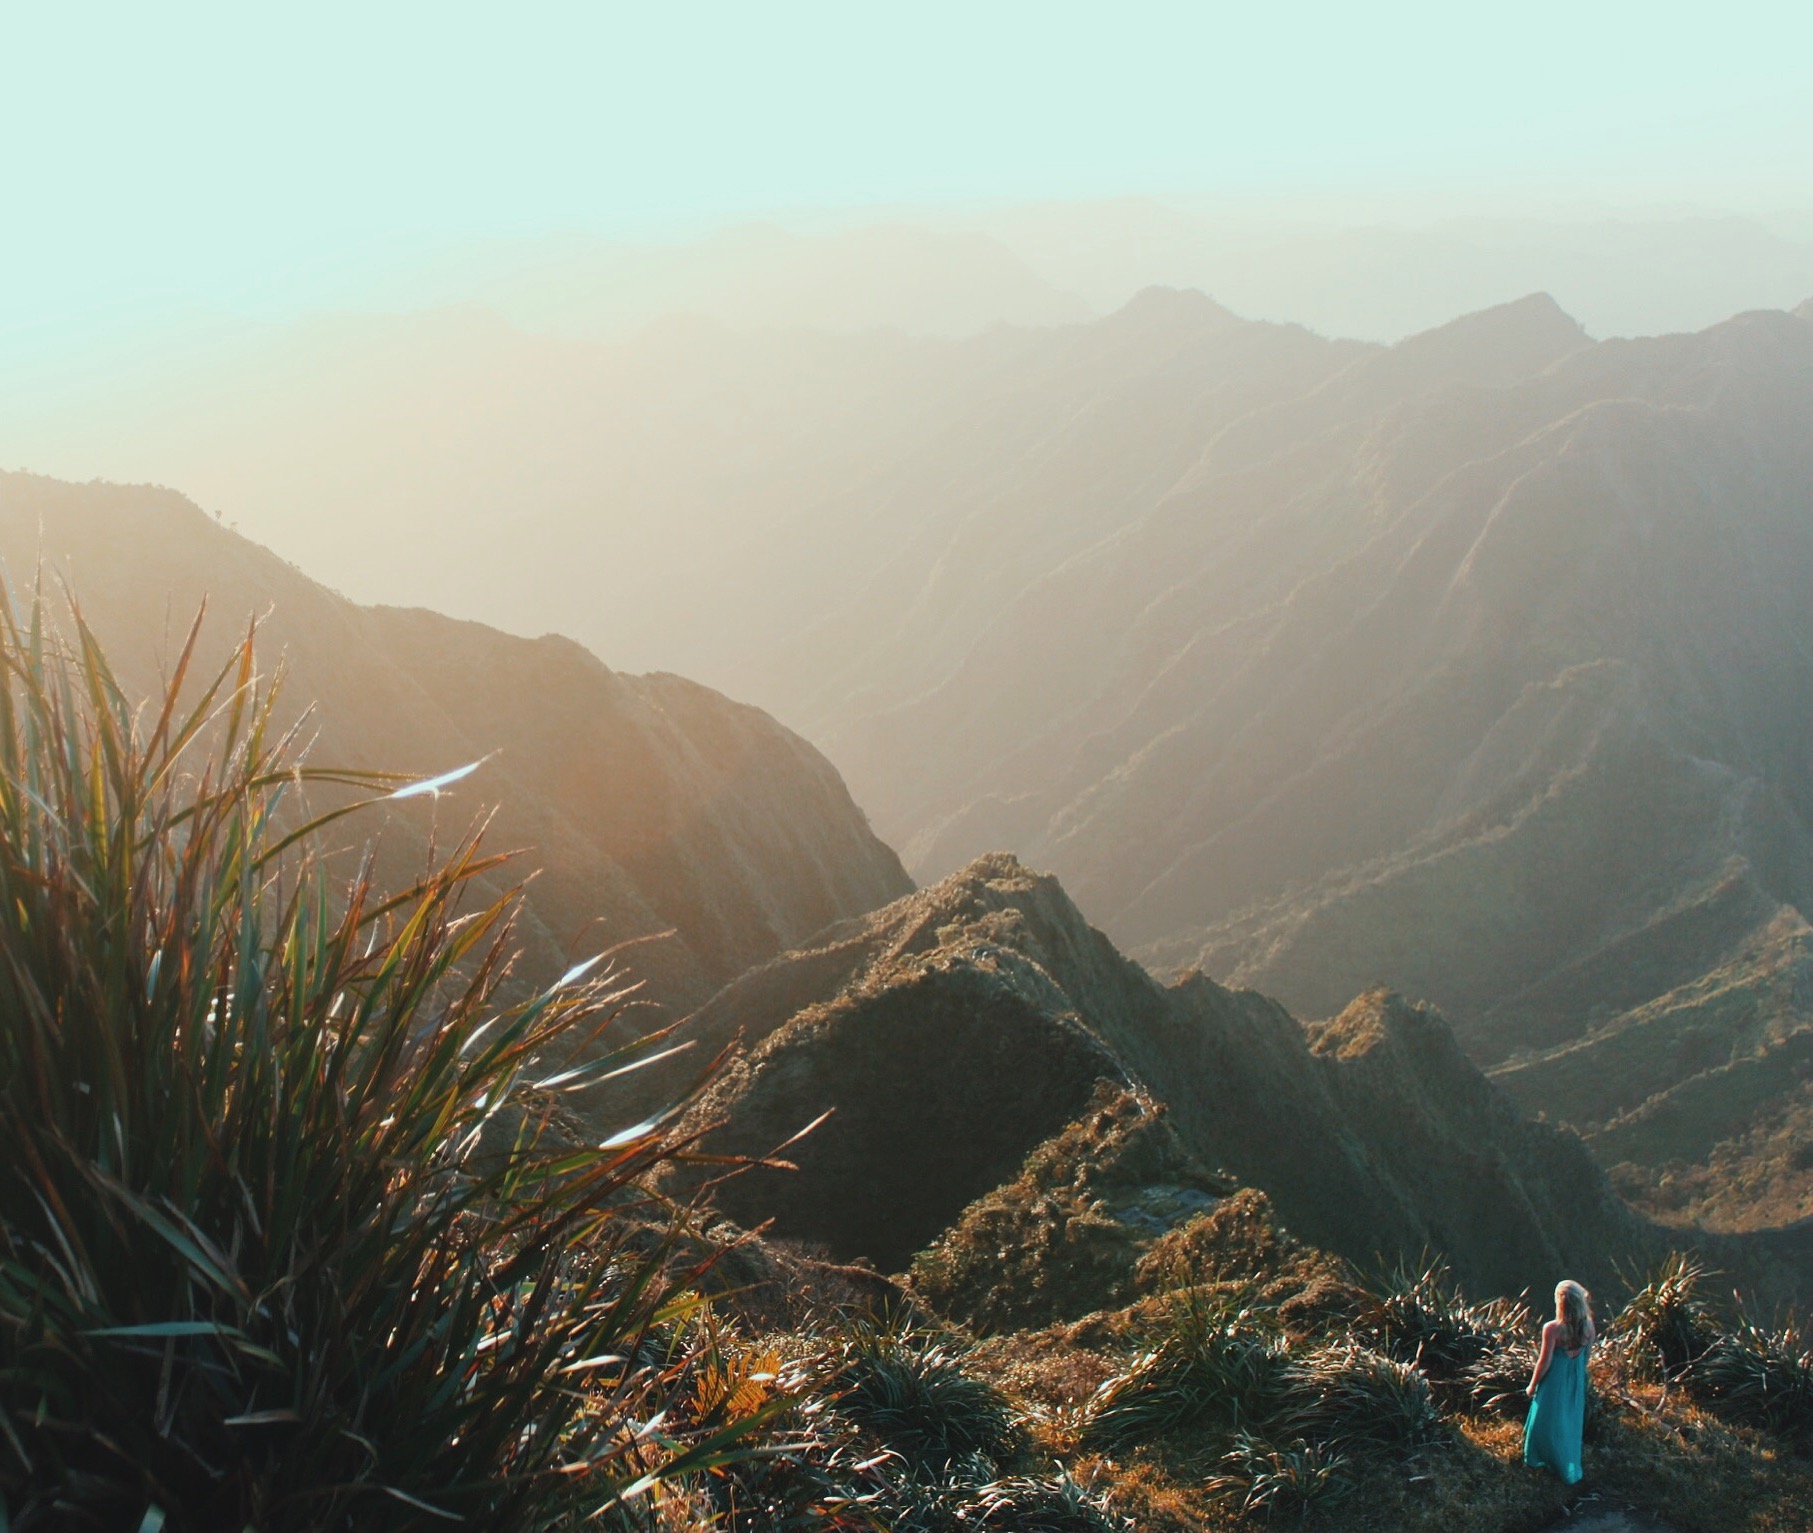
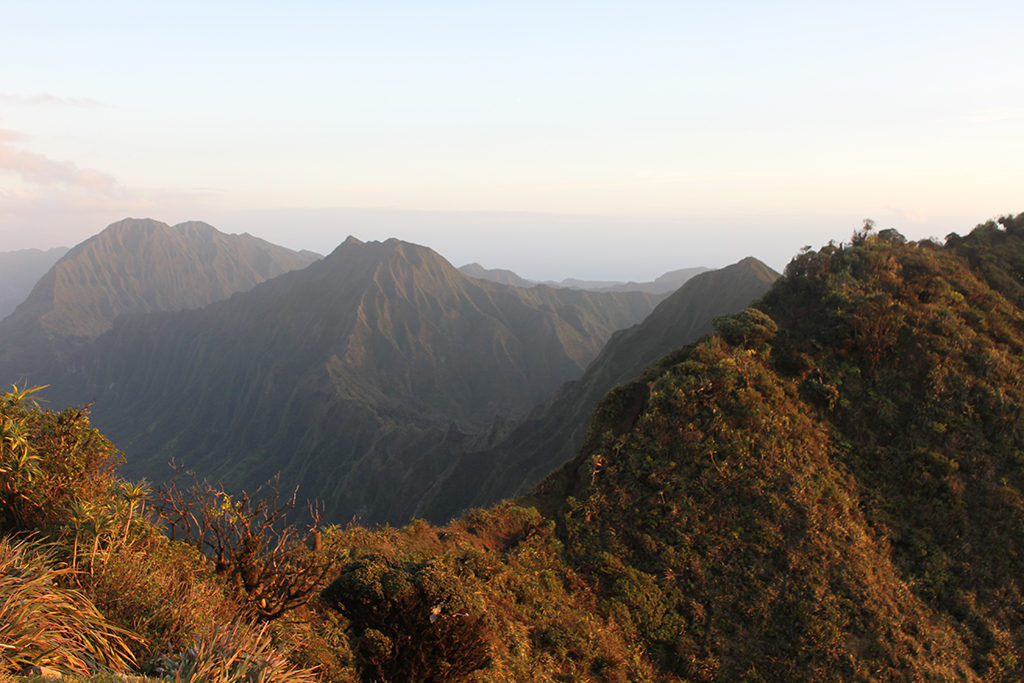
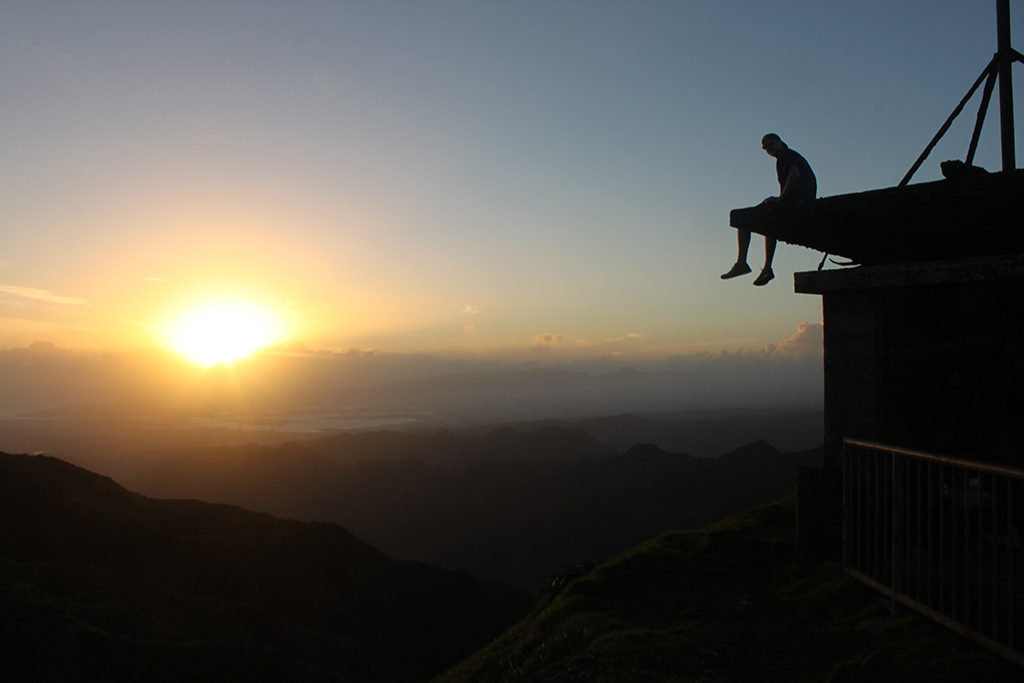
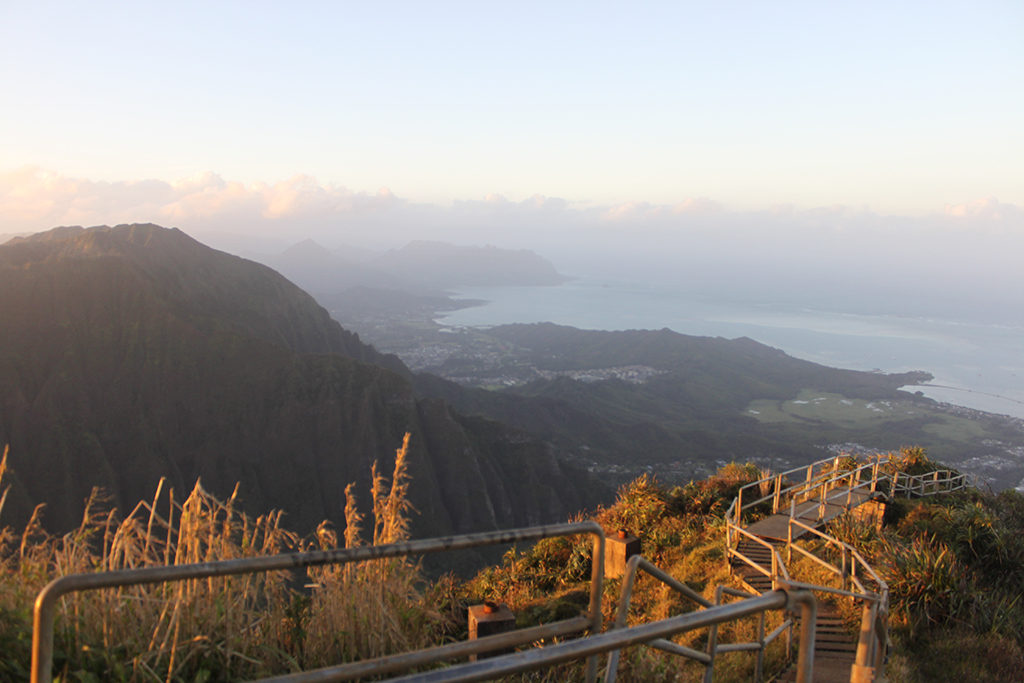
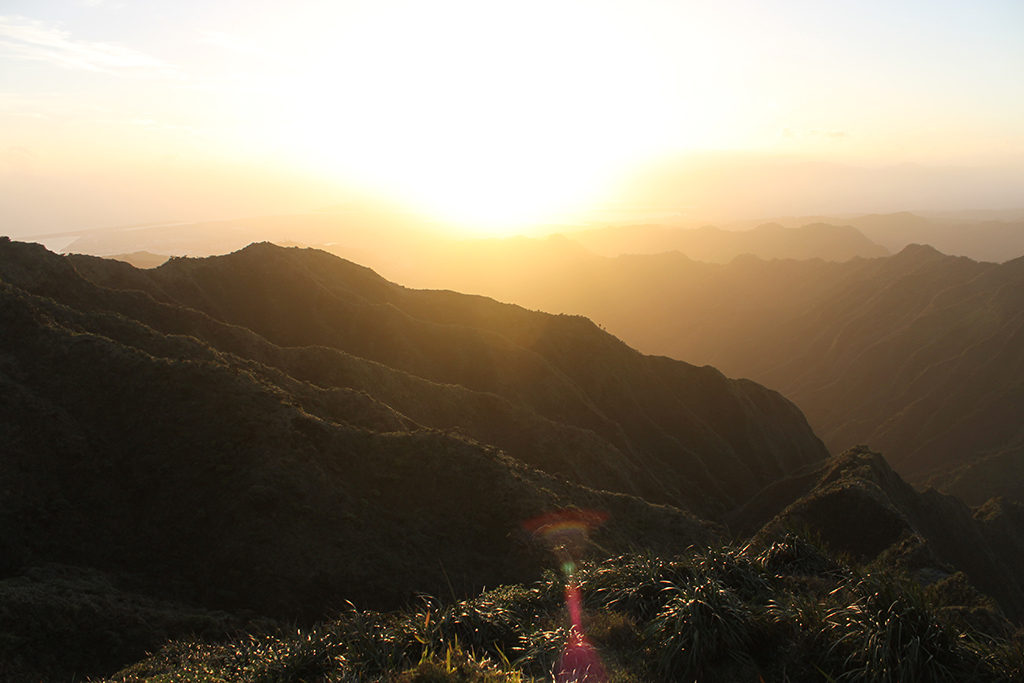
The stairs continued down a different way but we didn’t want to be too far from our car so we decided to retrace our steps. We happened to run into two sweet Instagrammers Sage and Megan as we were about to go down. If you follow Hawaii Instagram feeds you’ll know who these two are.
Descending is totally different than ascending because you’re staring straight down the whole time. Both my friend and I were glad we decided to watch the sunset because we were descending in the dark so we couldn’t see farther than the couple steps in front of us. Less sketchy if you ask me.
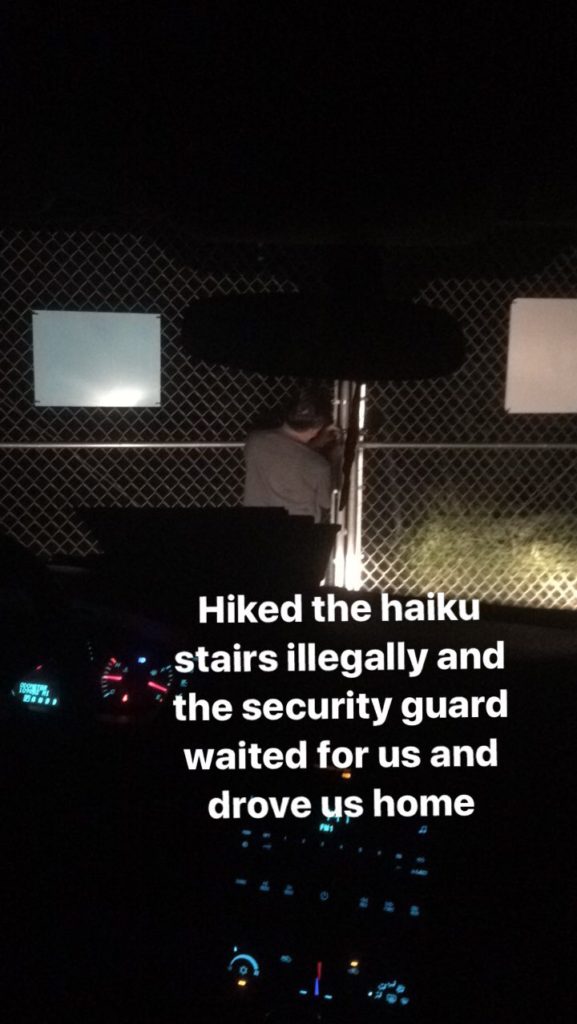
We got to the bottom and once again were sketching out because we knew there may be a cop waiting and a brand new guard. We saw a car as we passed through the gate at the bottom of the stairs and we said to ourselves “whatever happens, happens”. The lights from the car immediately turned on, illuminating us to the point of blinding us and I thought we were FOR SURE getting a fine. We got closer and there was a man standing. He briefly told us that he was worried about us and many people have to call first responders when they come down this late (it was 7:30 and pitch black). After a second of letting our eyes adjust, I realized we were talking to the same guard that said he was off duty at 6 pm. He started to point us towards the way out, which was a small hole in a fence that we didn’t come through before. I was skeptical because of all the talk about cops and the legality of the hike previously so I hesitated speaking. He then said, “I’ll just drive you out to your car.”
SAY WHAT!?
My friend and I looked at each other seemingly in agreement that this was not a setup. So we got in! He drove through two padlocked gates before getting to the road and we spent 10 min getting to know this kind man. We found out that he waited an hour and a half for us even though he had another job to go to! I don’t want to say too much on here and get him in trouble so I’ll leave it at that.
The sheer disbelief
So here are some exposed myths about the hike:
you probably won’t be fined, many people just walk right past the guards without speaking to them
it’s very easy to go during the day as the road gates are freely open
no guard will be there between 6:30 pm and 10 pm usually
you can sleep up at the top, there is a shelter
we didn’t run into any spiders contrary to some blogs we read
If you want to see more photos from this trip follow me @mariescholz or @aidangenik
Peace Out Home Dawgs!
by Marie | Jan 15, 2017 | Alberta, Travel

How do I begin planning a road trip with my friends this summer!?
Planning a road trip is daunting. There is so much information online to sort through and organize into the perfect trip that I have almost thrown in the towel many times. As someone who loves to travel in the cheapest way possible, I have been unable to avoid the road trip, sleep-in-your-car-sometimes, showers-are-optional lifestyle. With that, I have come to the conclusion that the easiest way to plan a road trip lies in a well thought-out map.
If you hate being constrained to an overly planned schedule but also hate sitting around in a beautiful place twiddling your thumbs wondering what to do then this method is for you.
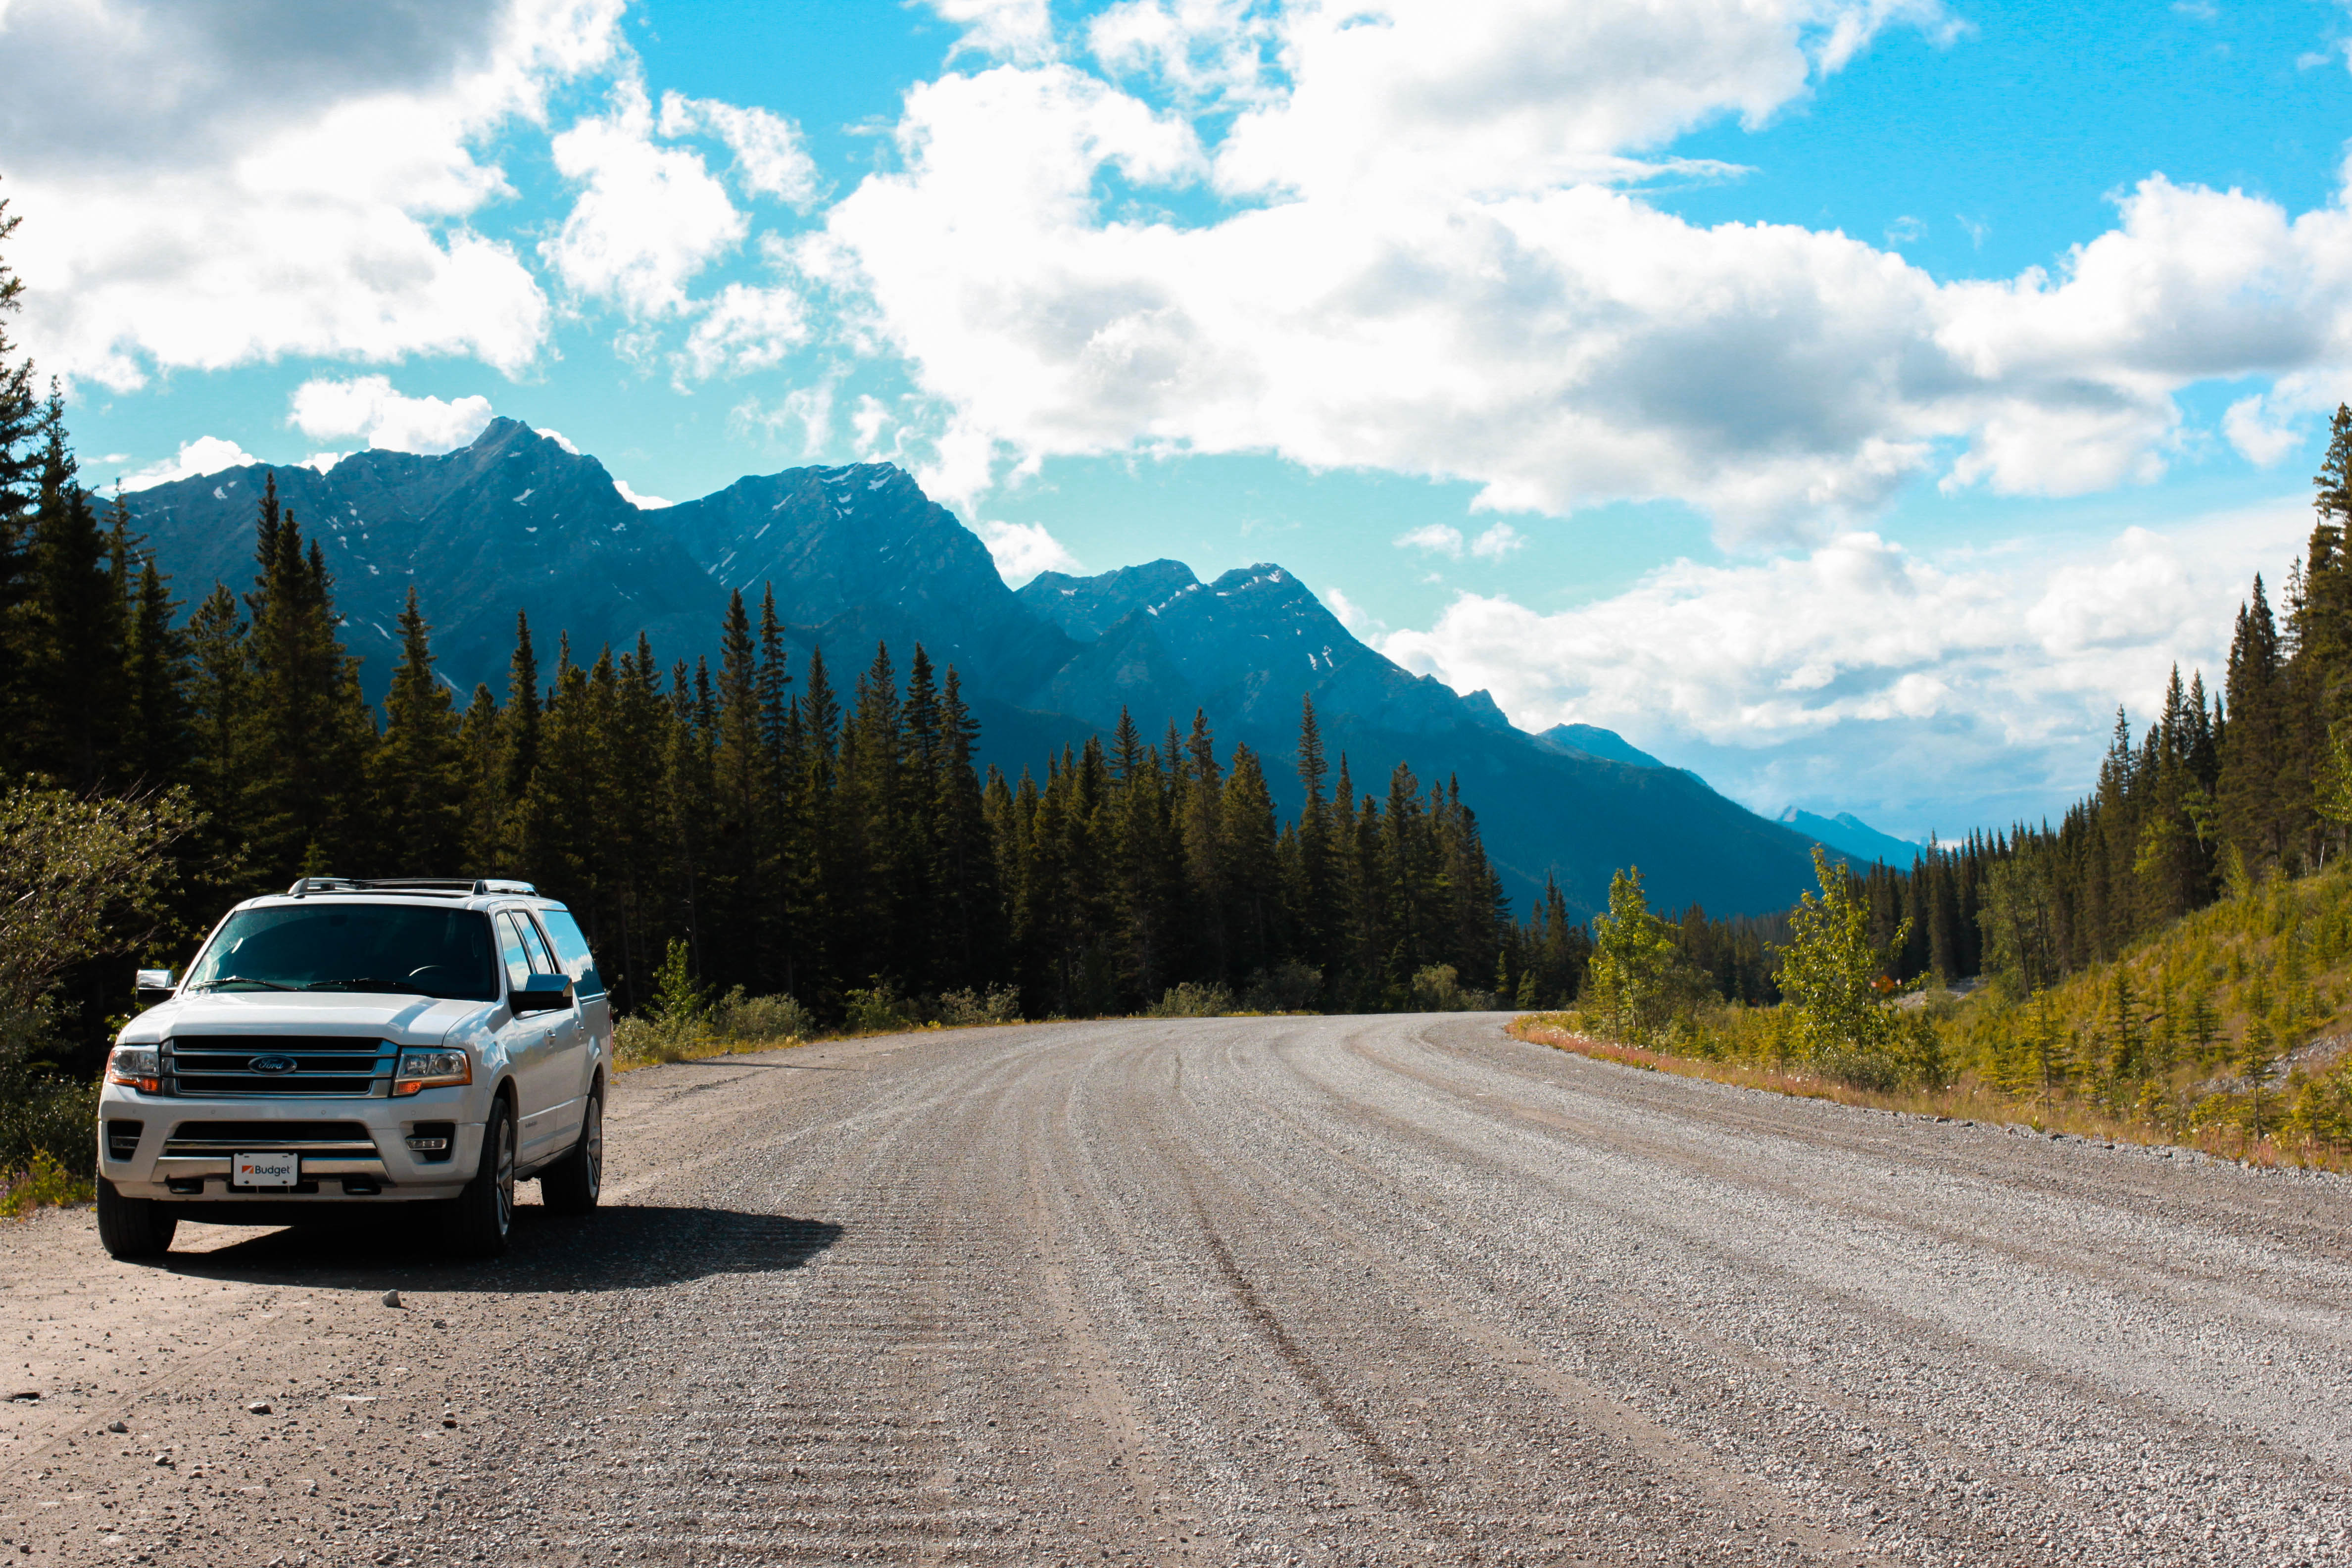
Last summer I went on some unreal road trips through Alberta and British Columbia. I tried wingin’ one and I tried planning everything myself for another but both strategies stressed me out!
Here is the easiest way to plan a road trip that reduces stress and still ensures there is never a dull moment!
1.Do preliminary research. This is the hardest stage but also the most fun. Keep a list going of things you might be looking for, historical monuments, waterfalls, hikes, restaurants, amusement parks, shopping, etc.
2. Open “Google Maps – Route planner” on your desktop. It should look something like this:
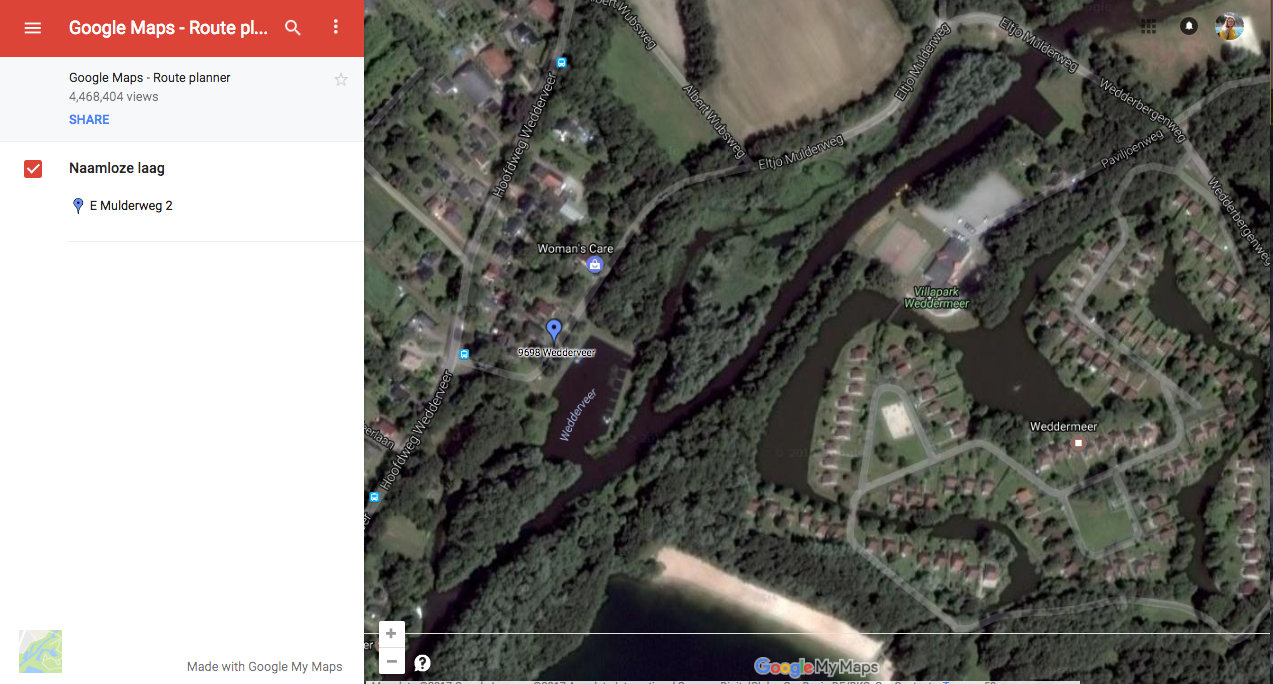
3. Click the menu with the three lines in the top left corner and select create new map. You should be signed into your Google account so this map will save to your Google Drive.
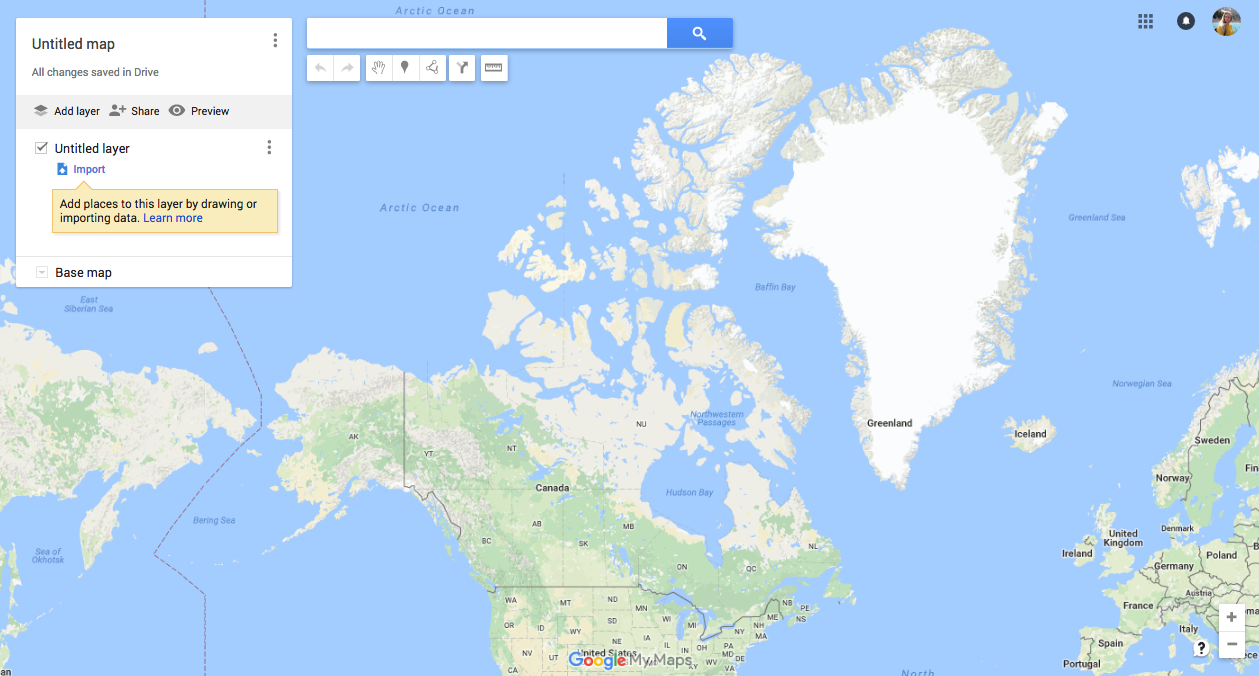
4. Type in each location from your research list and Google maps will drop a pin on where it is. Click add to map. You can colour code each place based on your own criteria or use the layer function on the left sidebar. When you zoom out you’ll be able to see all your pins but no actual route.
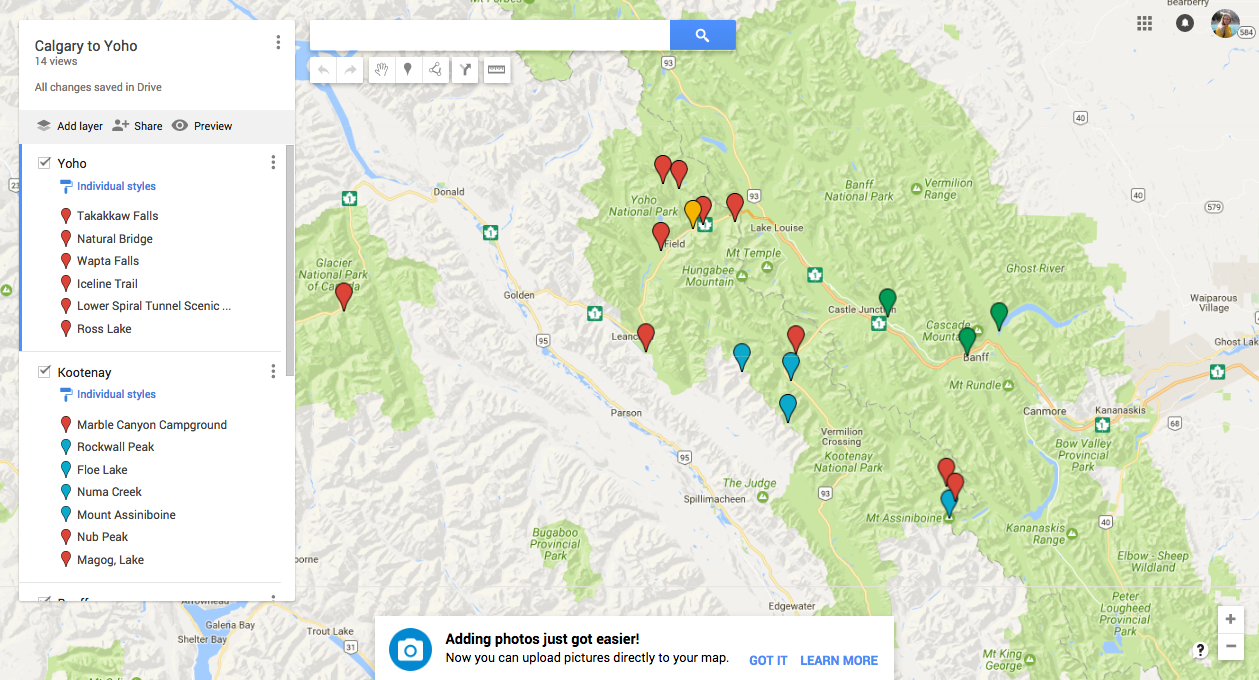
5. Once you’re happy with your map, you can always access it on your Google Drive via your phone when you are on the road and share it with your friends. Now you can choose whatever route you want as you go, keeping the spontaneity without the wasted time googling locations.
Now go out and find a buddy that travels the same way as you do!
This method isn’t for everyone. I’ve been criticized about over planning but when everyone is at a loss for what to do next, guess who they ask… me! If you have a friend who is willing to add to the map you design, you are set for one incredible road trip with room to change things up along the way.
What road trips are you interested in going on this summer? Let me know in the comments!
If this worked for you, help me out and give it a share!


